Blinky's Lab

Geiger-Counters

All posts tagged Geiger-Counters by Blinky's Lab
  • Posted on

    Archived from radmon.org - originally posted 05/12/2021

    Something I really dislike is planned obsolescence, and closely 2nd to that, where things are not user serviceable and have to be returned to the manufacturer for minor things such as battery replacement. I'm a large advocate of 'right to repair'.

    The battery in the Gamma Scout is a 10 year, 3.6v Lithium battery soldered directly onto the board. Gamma Scout (at last check some time ago) wanted 40 Euro plus shipping one way to Germany to replace the battery. Pfft! The original battery is about £20 all in for a replacement, but I decided to go another route and modify the Gamma Scout to take a replaceable battery. I found a supplier (ebay) of a replaceable battery with the identical specs to the original. I ordered one for ~£4.50 and the seller sent me 4! Bonus! 😄 The whole mod came to about £6.50.

    enter image description here

    Parts needed to mod the Gamma Scout:
    - 1x 3.6v Lithium 3.6v 10 year battery
    - 1x AA battery holder with flying leads
    enter image description here

    Instructions:
    1. Remove old battery (desolder or just cut the leads, and cut the cable tie)
    2. Solder + and - of battery holder
    3. Insert new replaceable battery
    4. Glue down with hot glue and add a bit of hot glue to the cables where they are soldered to the board. This will act as a small cable strain relief. I also glued the battery into it's holder.

    enter image description here

    enter image description here

    enter image description here

    enter image description here

    Some notes:

    - The placement of the AA holder is about the only place it can go without having to cut away at something. It fits like a glove, like it grew there. The battery holder is in the best orientation for when the Gamma Scout is held upwards by hand, as you normally would.

    You have to be careful with the - wire (black wire), as it is very close to the screw fixing post, and can get trapped if not orientated away from the post.

    - If you are going to do this mod, or simply disassemble your Gamma Scout, now would be a great time to add a very small amount of silicone lube to the a b y selector switch and spring. It made mine much nicer, smoother and has a better positive detent when selecting. It should also cut down on the plastic wearing and reduce tiny plastic particles inside the unit.

    - When I did the mod, around 6 months ago, the battery read 3.6v. Today it still reads 3.6v. This does go down a little when the clicker is on as the previous battery did.

    - The battery I chose has the same specs as the original: 2,700 mAh nominal (1ma draw), 100ma constant current and 200ma max current.

    - 10 year batteries - There seems to be a misconception with these. Pretty much everyone I know (that are not an electronics engineer) seem to think these should last for 10 years in the appliance. That is incorrect and the 10 year life is their shelf life when they are unused and not fitted into an appliance. 10 years does not mean they will last 10 years. Can you imagine running 100mAh constantly one one of these? It would last no more than 27 hours. And if the battery did last 10 years at 100mAh, the battery capacity would be 8760000mAh, or 8760Ah!

    - The original battery I replaced around May 2021 has a manufacture date of September 2013. It was still working, but when using the clicker the screen was fading away so decided to change it. So it did do well at around 7-8 years!

    enter image description here

    Datasheet for the original battery
    Datasheet for the replacement battery

  • Posted on

    Archived from radmon.org - originally posted 25/12/2018

    Curiosity got the better of me so I decided to open up the Gamma Scout. I managed to carefully remove the sticker enough to reveal the screws so here are some pictures of the inside of the counter. The pictures aren't great as I'm not really setup with good lighting etc.

    enter image description here

    enter image description here

    enter image description here

    enter image description here

    enter image description here

    enter image description here

    enter image description here

    enter image description here

    enter image description here

    enter image description here

    enter image description here

    enter image description here

    enter image description here

    enter image description here

    enter image description here

    enter image description here

    A quick update after living with my Gamma Scout for a few months.

    Despite everything I have written (which my opinion remains true and I stand by) I have really grown to love this counter. It's very handy and just 'there' when I need/want a counter. It is the first counter I pick up now for whatever I want to check. Prior to having the Gamma Scout I would grab my NetIO GC 10 (the one I added to with GPS and SD card (and housed in a nice polycarbonite case)). If I was playing about with sources, and admit it, we all grab our counters and sources occasionally to have a play and see how many clicks they give ;) I would grab my breadboard with my Geiger circuits on and hook up a tube, mainly my LND712, and have a good probe about. But the Gamma Scout is just super handy for doing this kind of thing. I take it out with me occasionally especially to antique stores and warehouses to see if there is anything radioactive and I have found Uranium glass and once an old aircraft clock readout, I think altimeter if I remember correctly, but it had radium of the dial hands. Too expensive for me though at the time.

    And so my final thought on the Gamma Scout is despite it's build quality, the cheap feeling plastics and the fact it not going to last forever, and I would really not want to drop it, it is damn handy. It is there and ready to go. No batteries to mess about with. no having to wait until it is switched on and getting up to count. It is just there, ready for me to pick it up and look at the screen. It still bugs me that it doesn't readout CPM and I forget what the buttons do all the time so have to refer to the manual a lot. Besides all that it does what it should. It reads radiation at a moments notice. Great for low level sources but I don't think would be good for 'the big one' as the LND712 can avalanche at lowish levels. (Avalance is the wrong term but I can't remember nor find what I mean. It's when the tube detects more than it is capable of and reads nothing). I wouldn't call it a survey meter, I would call it the first thing I picked up to see what was going on right before putting batteries in some of my other counters.

    It has it's uses for sure, but I'm glad I didn't buy a new one. I'm relatively pleased with what I paid for mine, but if I paid full retail price I would have probably been disappointed. A good bit of kit for the hobbyist and prepper but I don't think would hold up to a real close radioactive incident. And by that I mean a country changing event.

  • Posted on

    Archived from radmon.org - originally posted 24/12/2018

    As the title suggests, I bought a Gamma Scout. I was, let's say, underwhelmed with it so decided to give my thoughts on it. I'll not cover everything here so if you are interested then it would be advantageous for you to read up on the Gamma Scout Alert on their website prior to reading my thoughts.

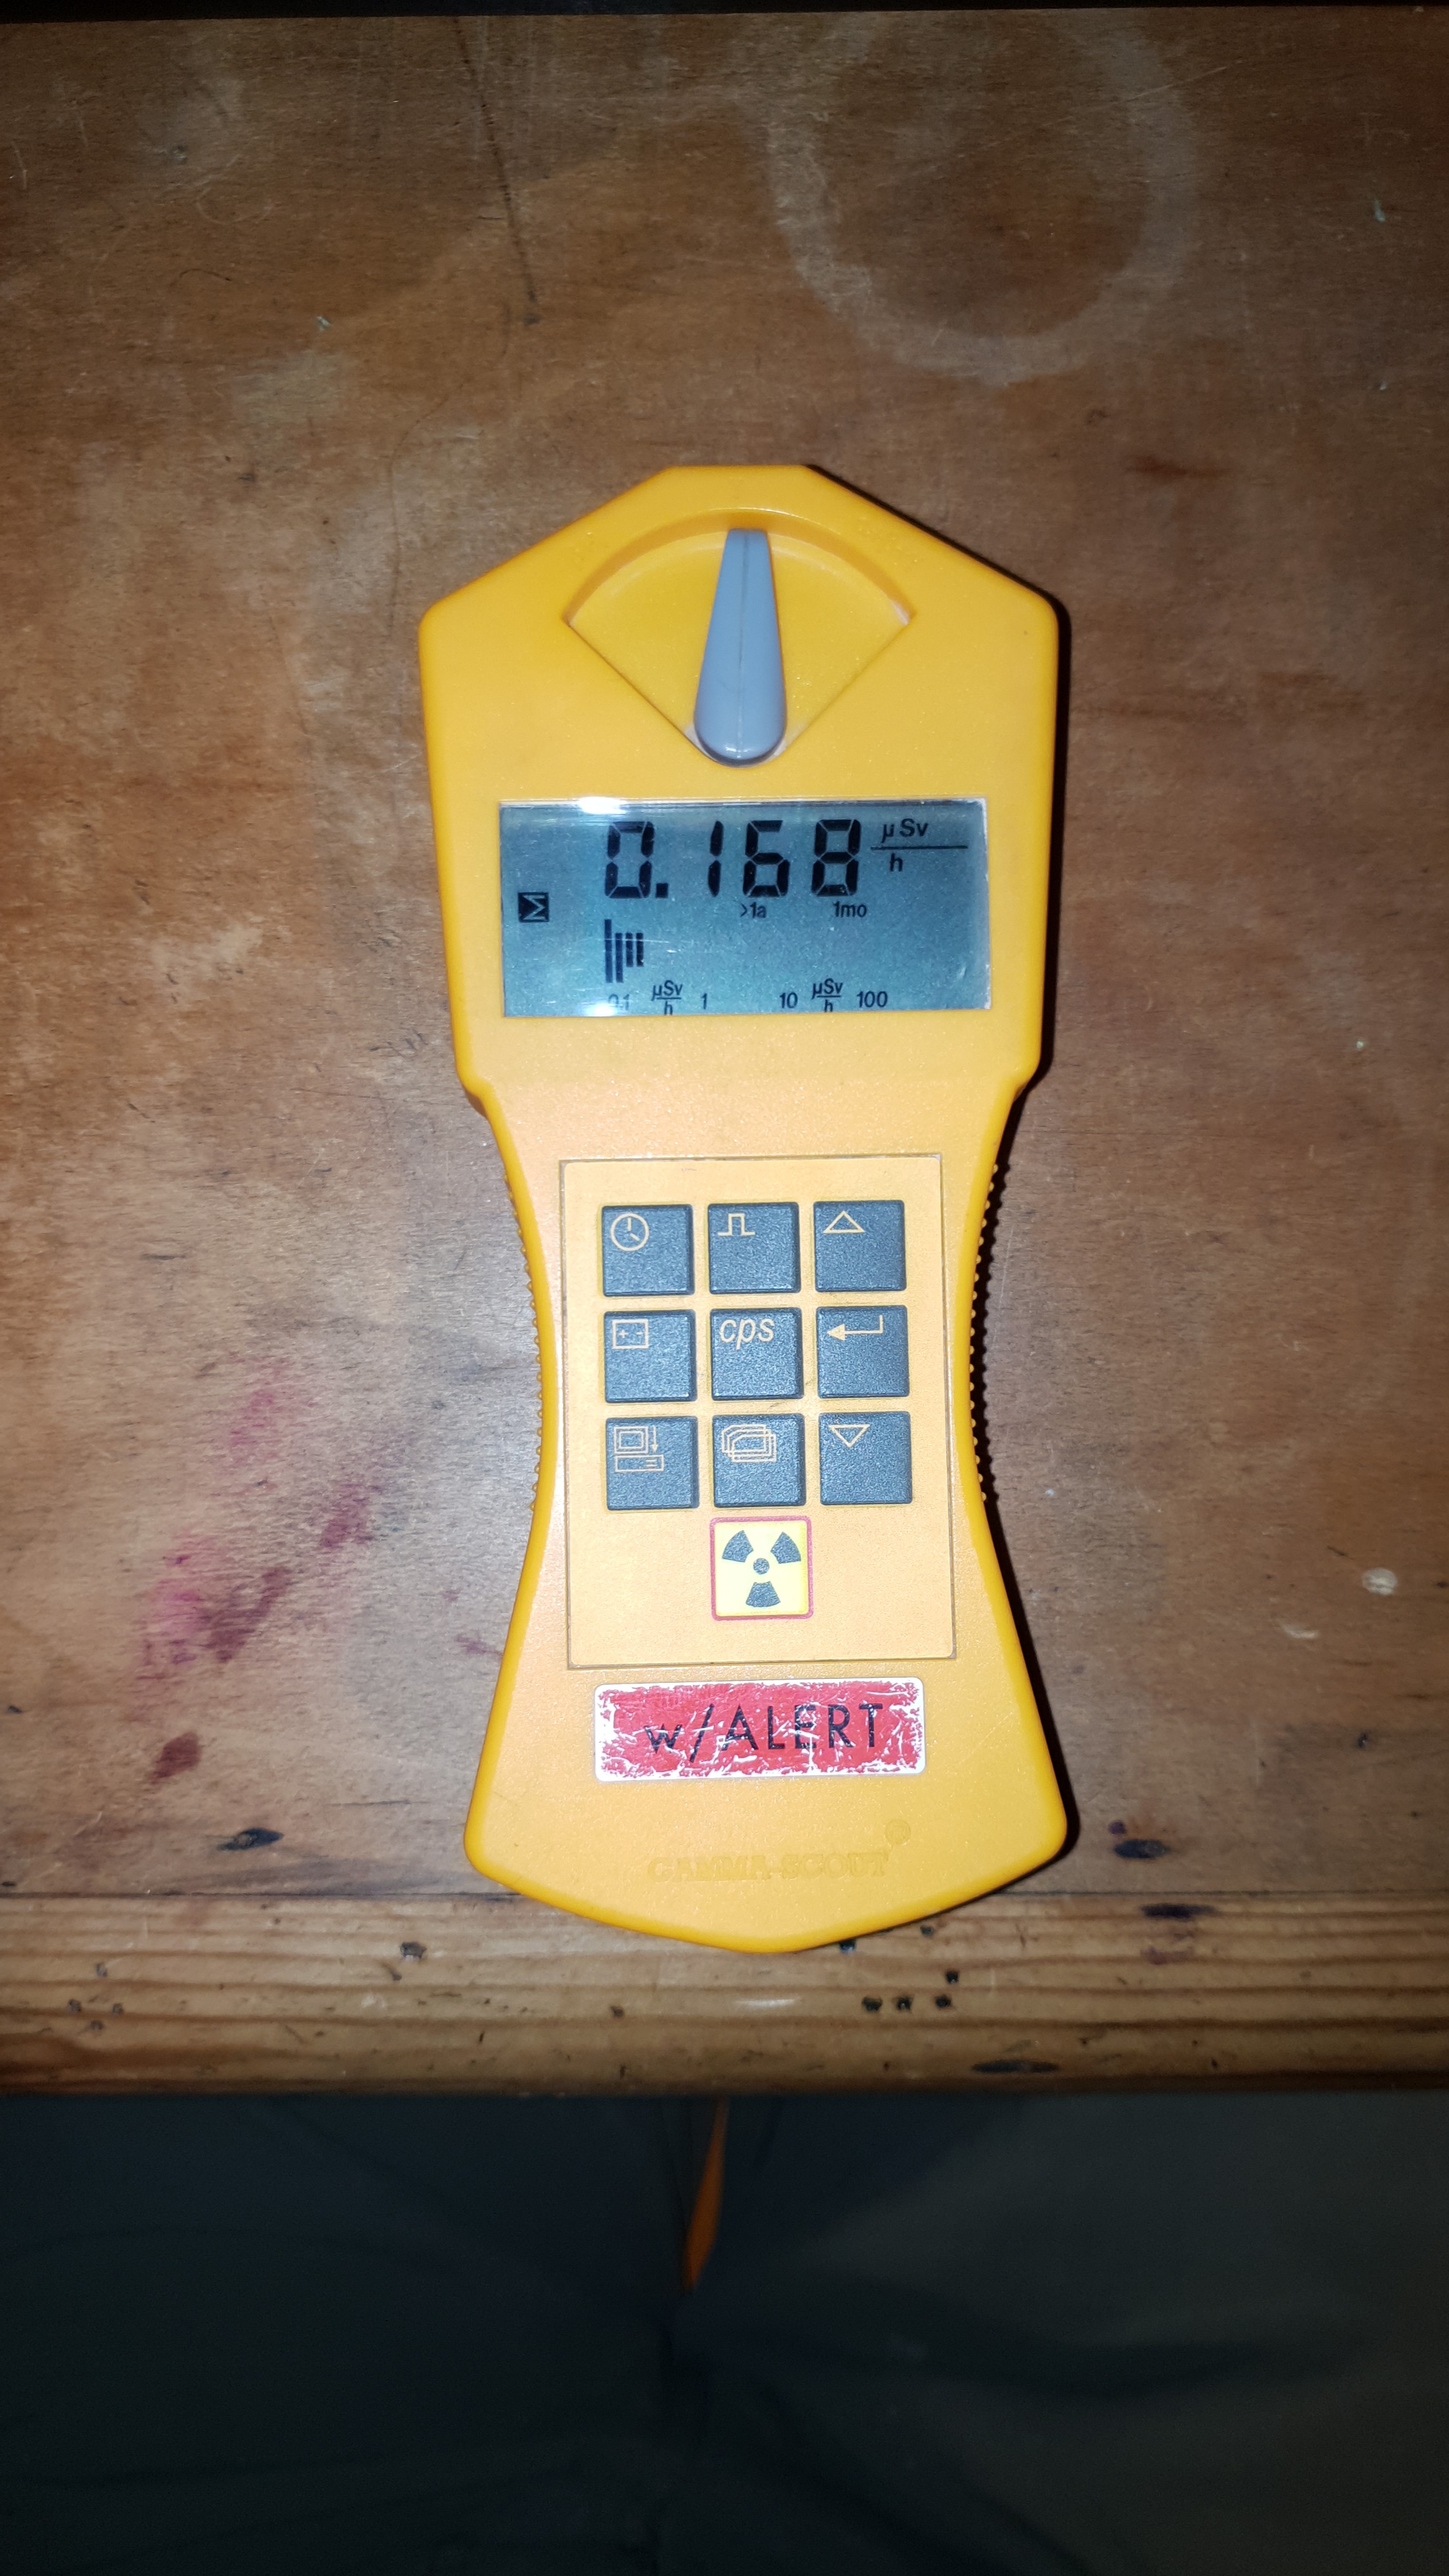
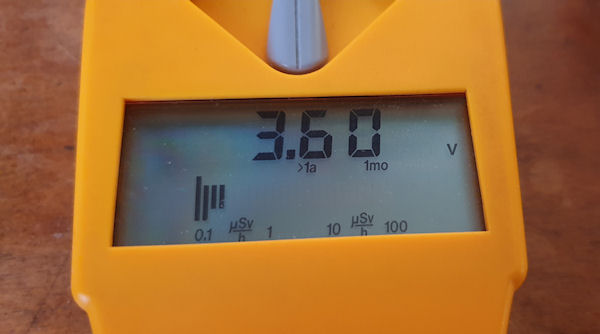
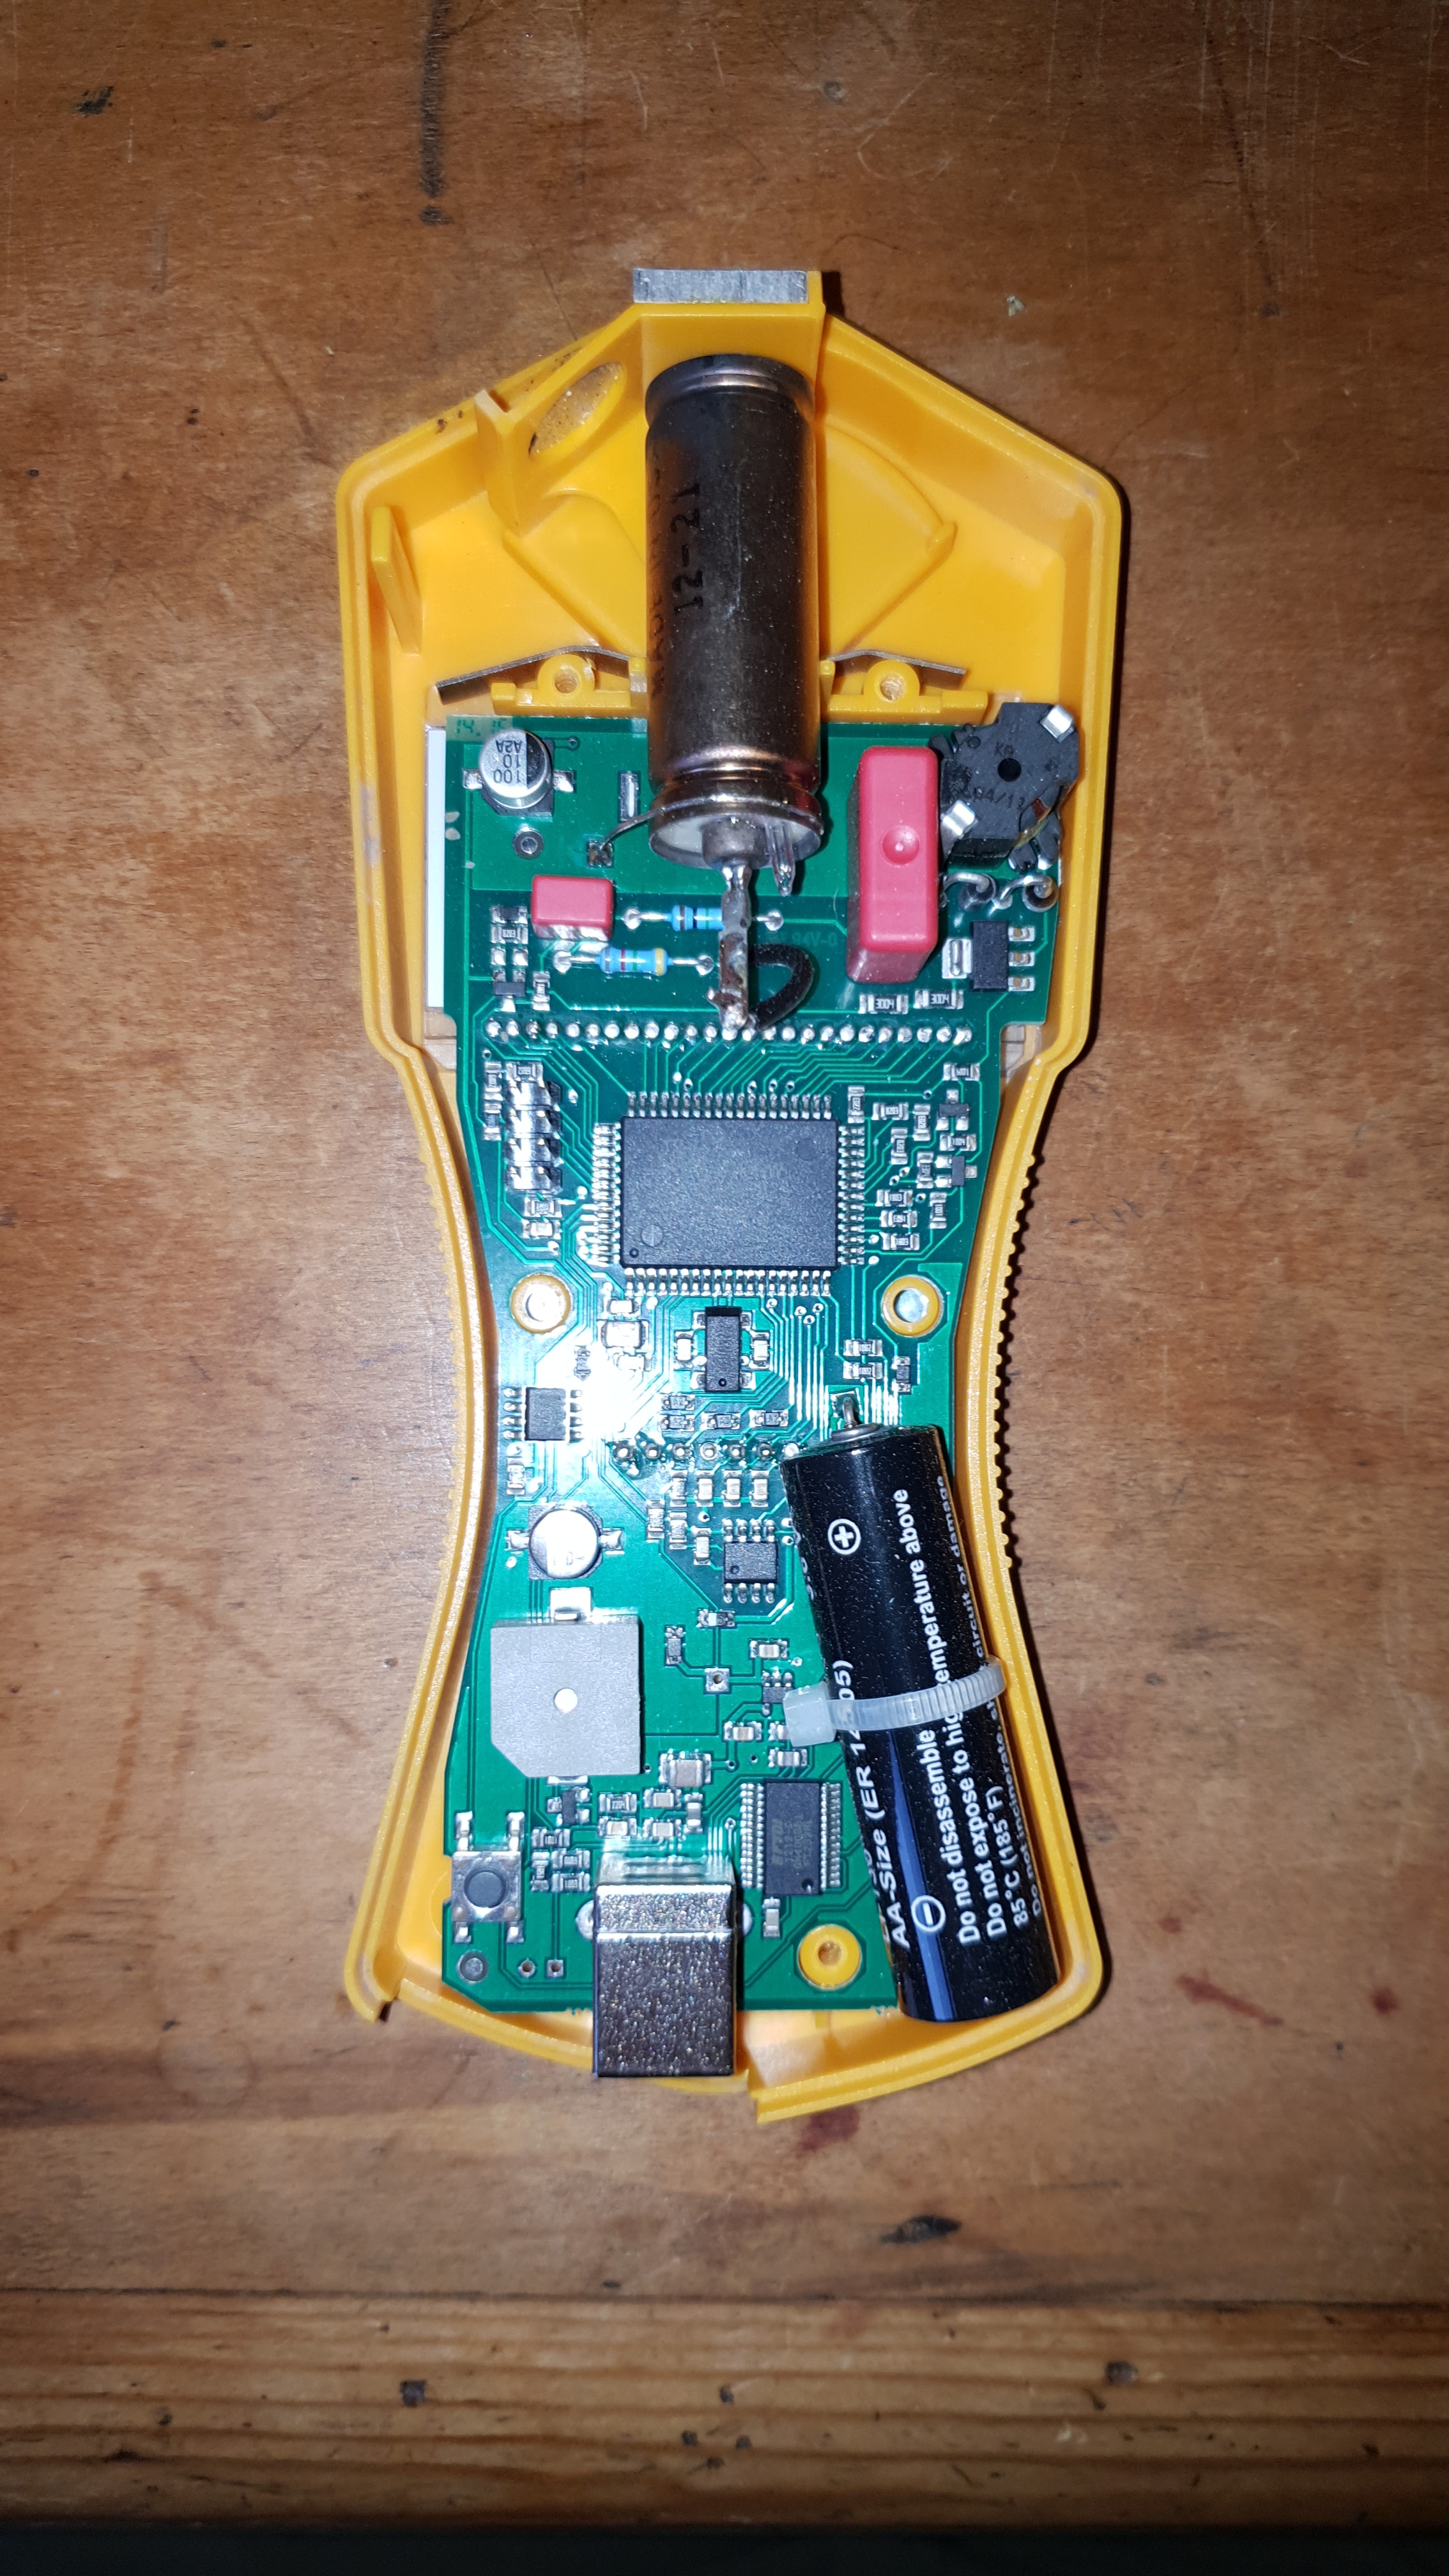
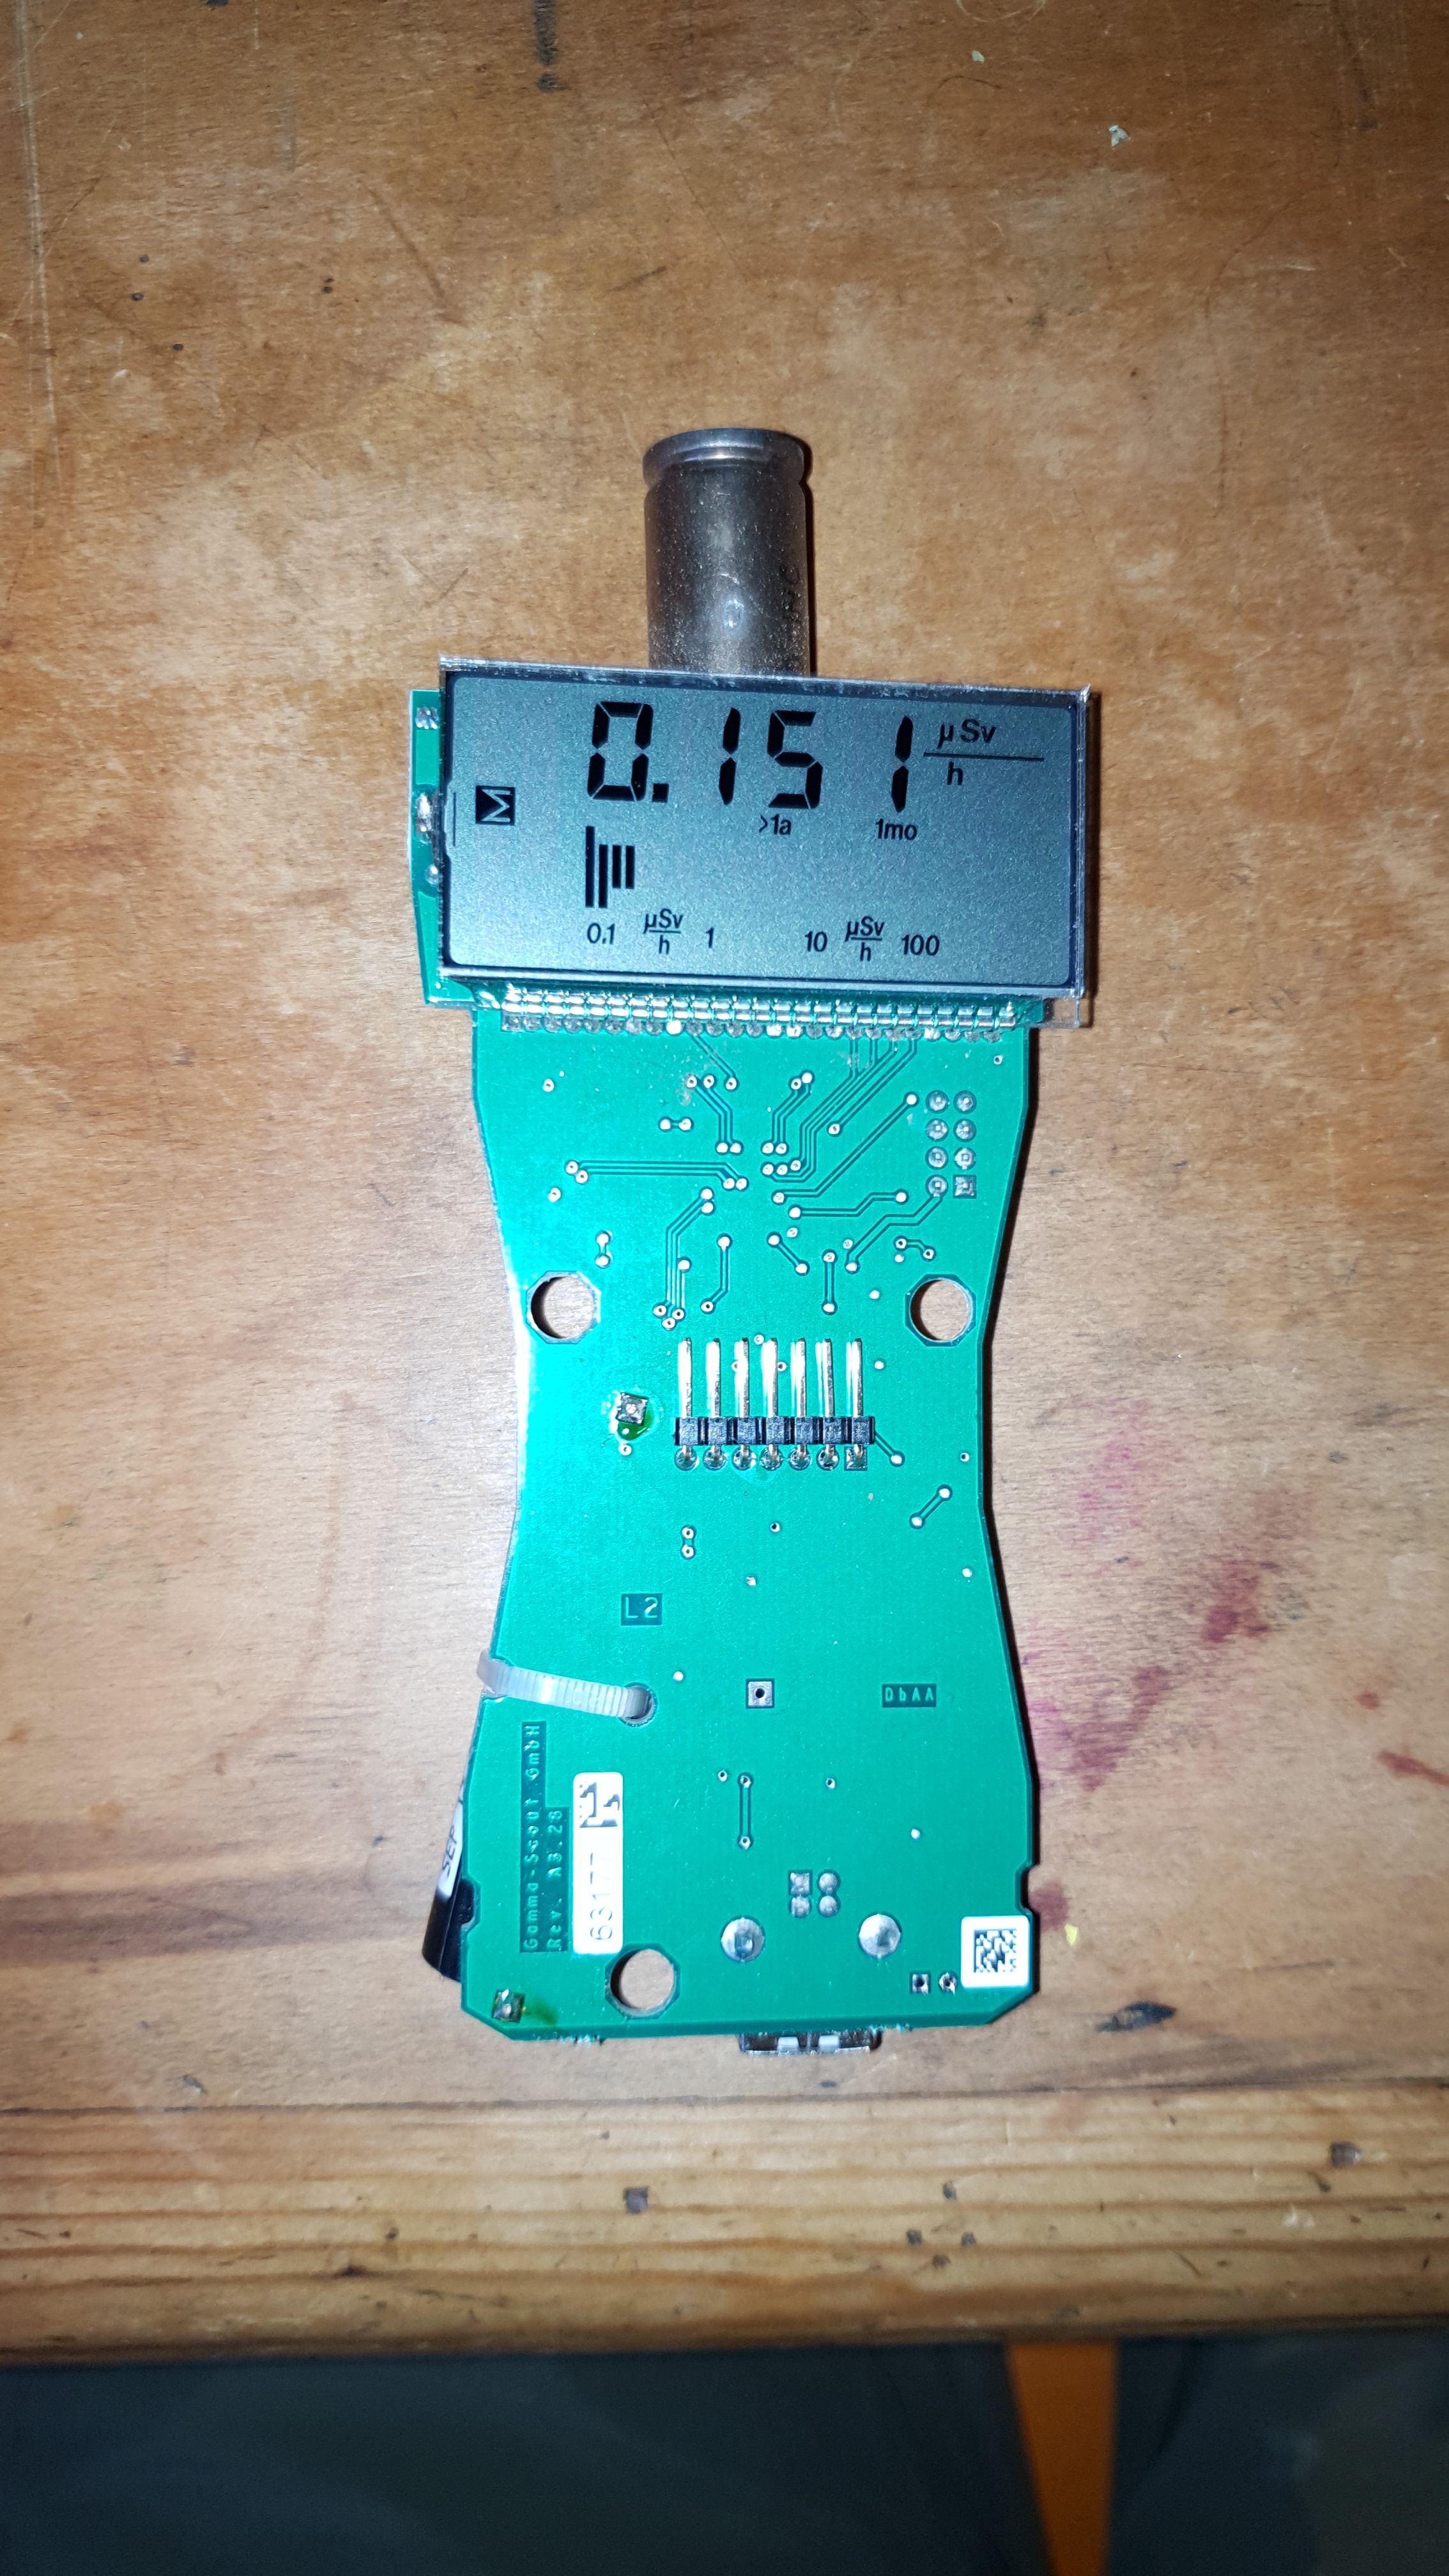
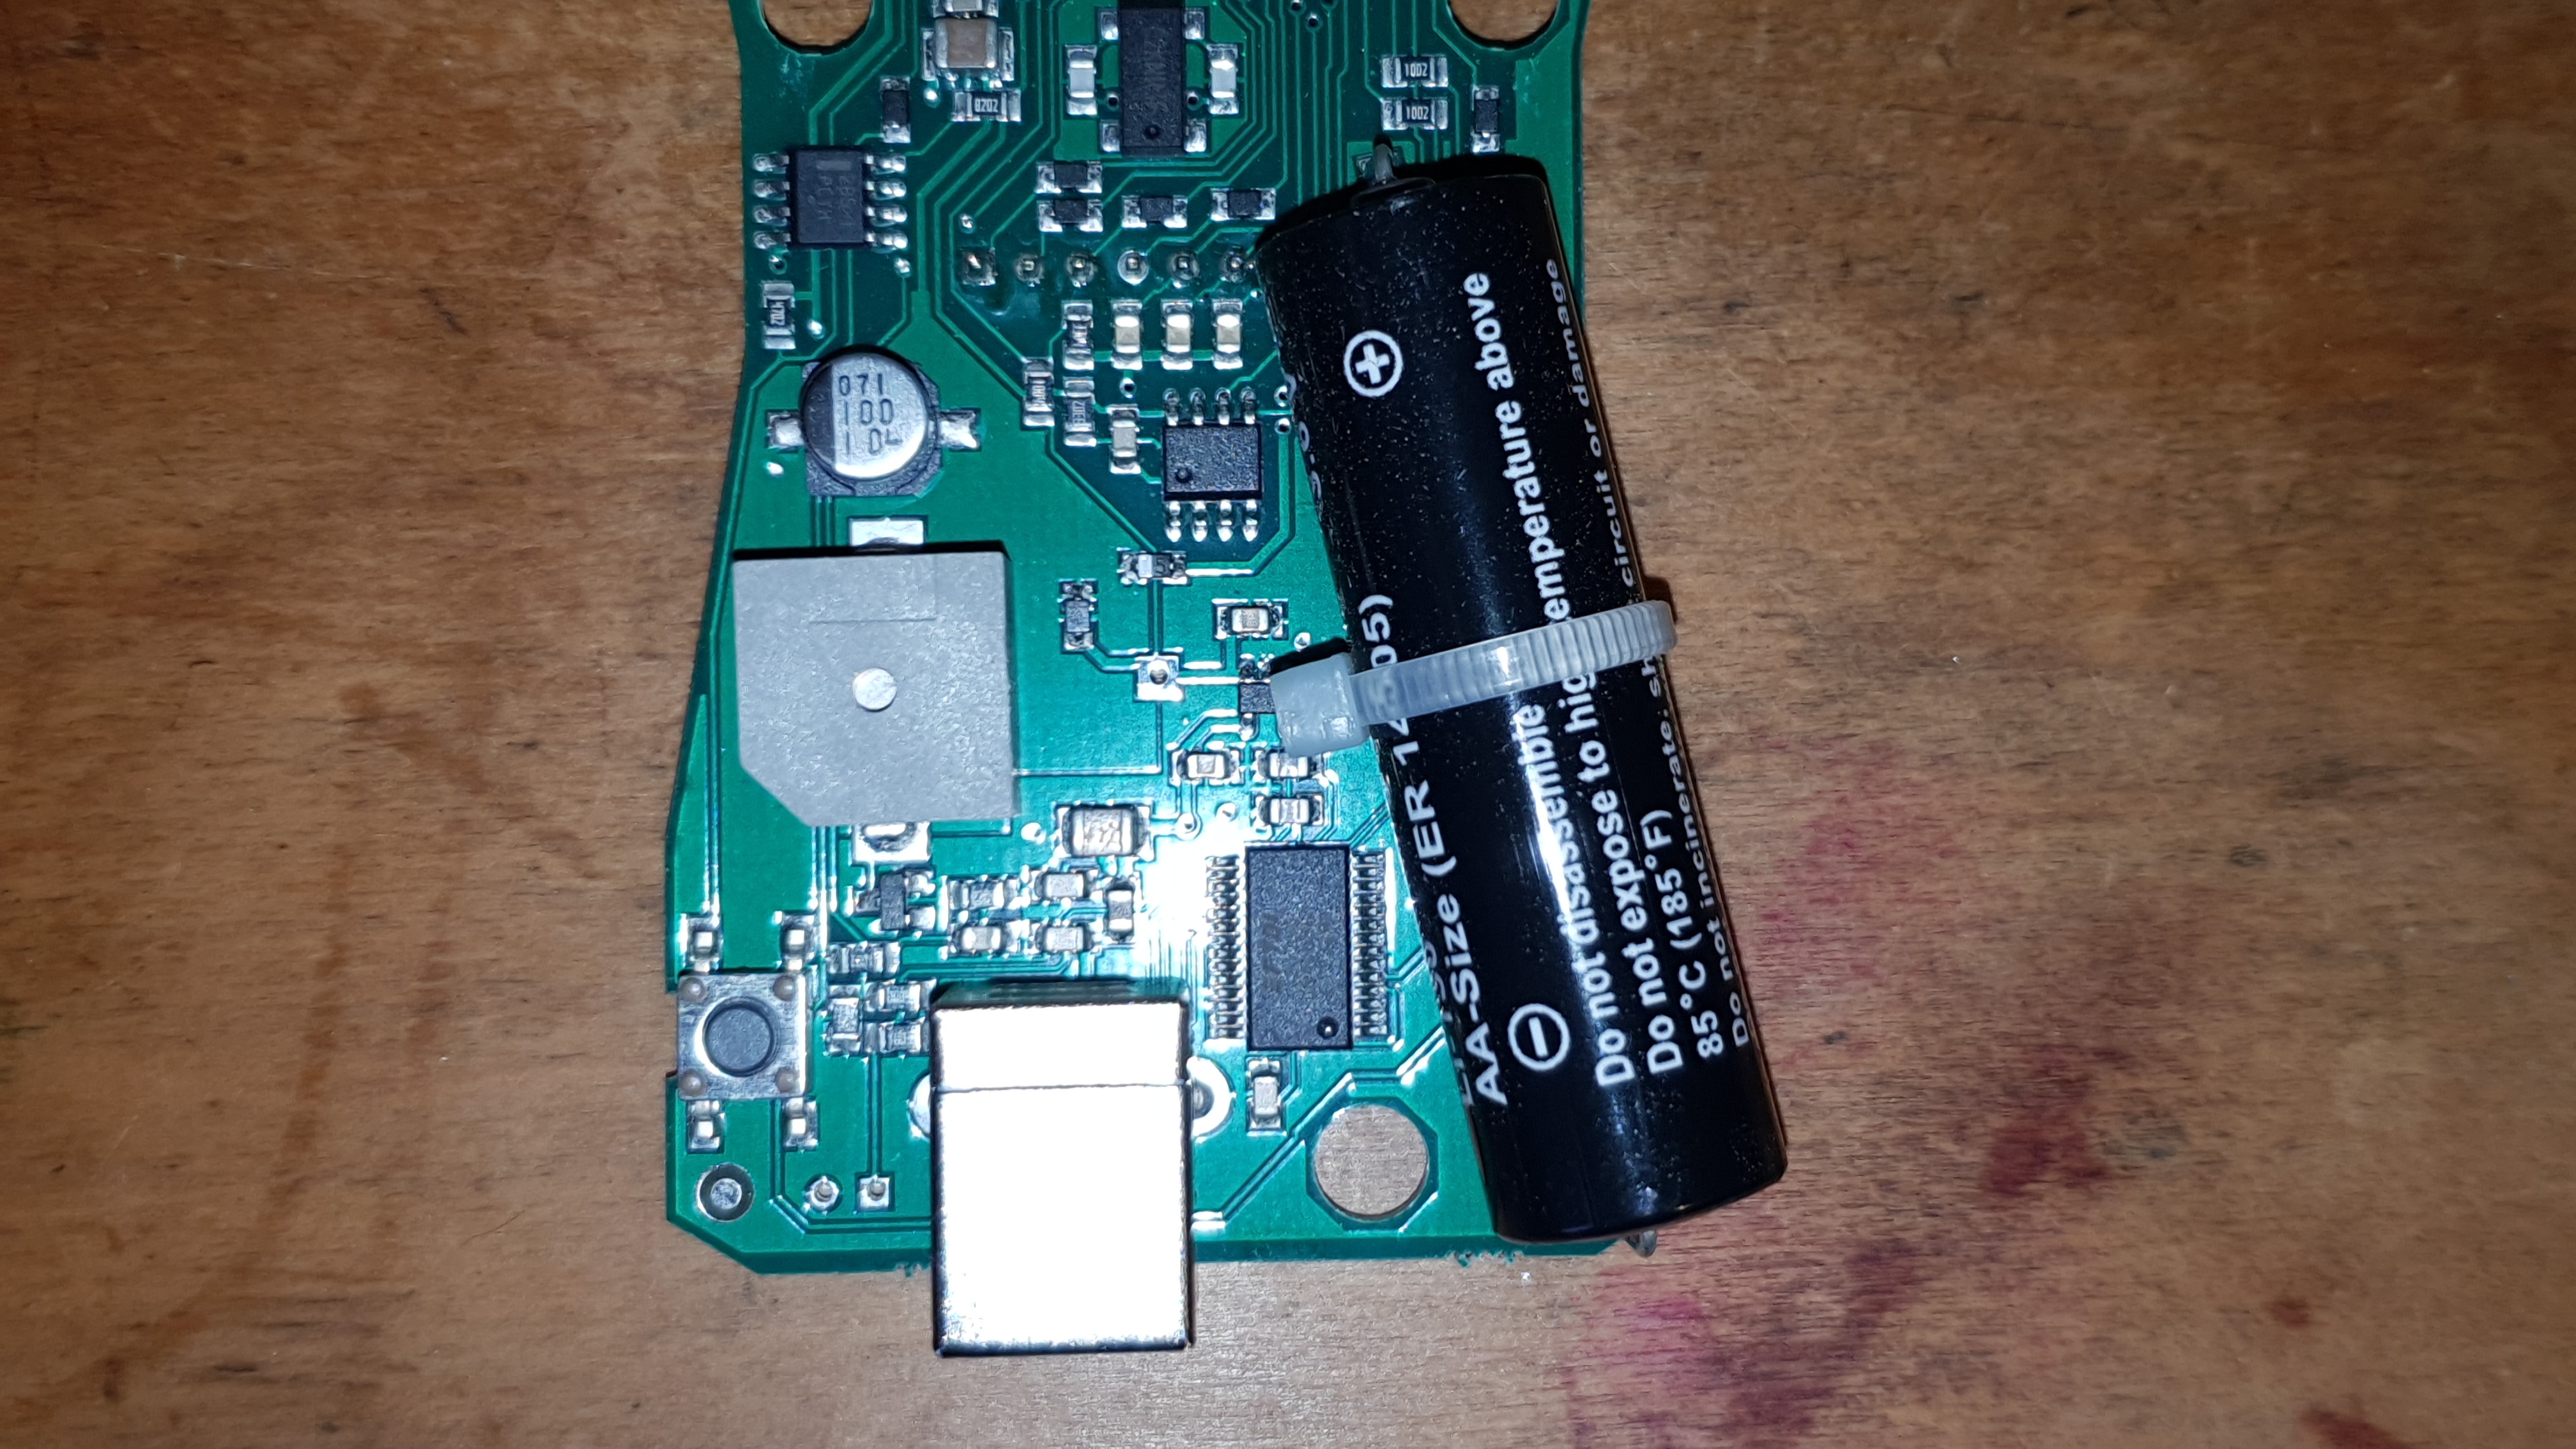
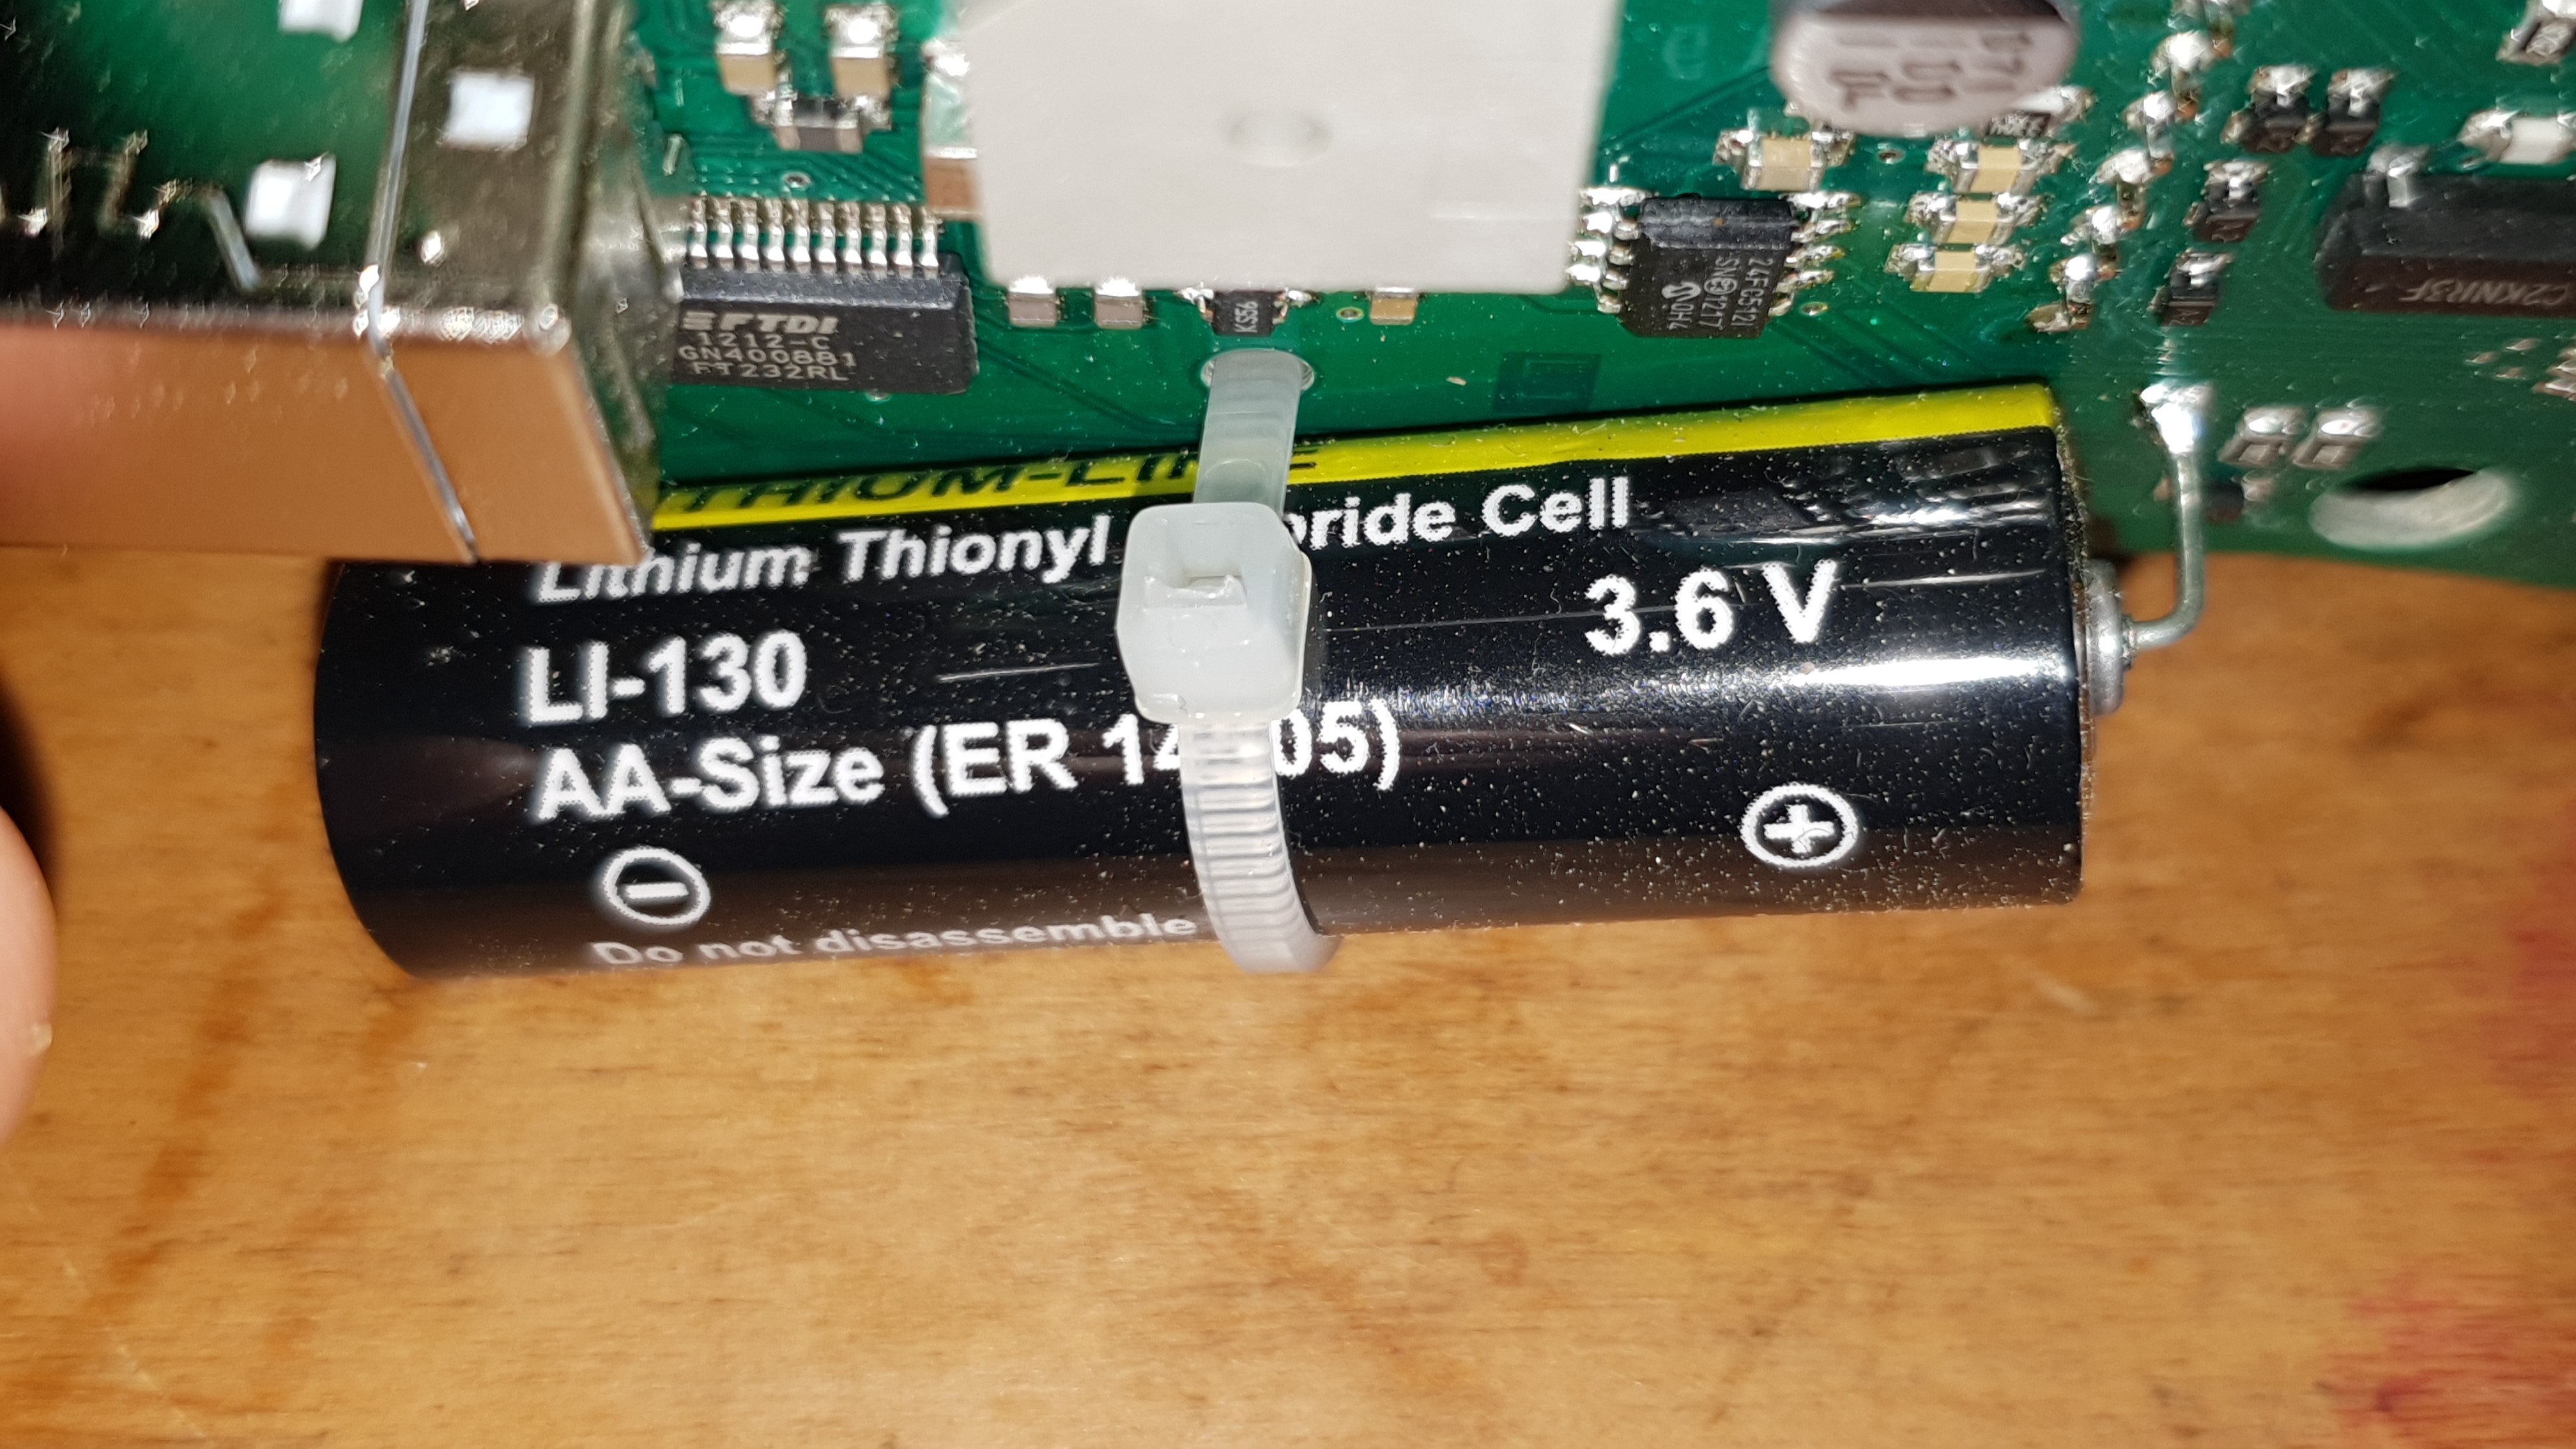
    I had been wanting a Gamma Scout for a couple of years to add to my collection. I'd seen them on the web, in Youtube videos. In places like Fukushima and Chernobyl/Pripyat etc. and from what I had seen I assumed, I think it's fair to say, I'd assumed it better than it actually is. I bought mine 2nd hand from Ebay. It is the alert model and I paid £140 (178$ usd), which I think is a very fair price compared to the retail price, but as a unit, for my collection or to use in the field, I think the right price. I would have been a little let down if I had paid >£150 for a 2nd hand one. I would have most certainly been a little upset if I had paid full whack for it (~£400 new). The counter looks to have had some use. The 'ALERT' sticker shows signs of wear and the screen is slightly scratched. The case is not however. There is only light scuffing on the bottom. The internal battery looks good reading 3.61v which suggests it is not that old (I think 3.7 volts when they leave the factory. The counter stops functioning at 2.7 volts). It came boxed with instructions, certificate, USB lead (unused still sealed in plastic bag) and CD. As far as I know it came complete.

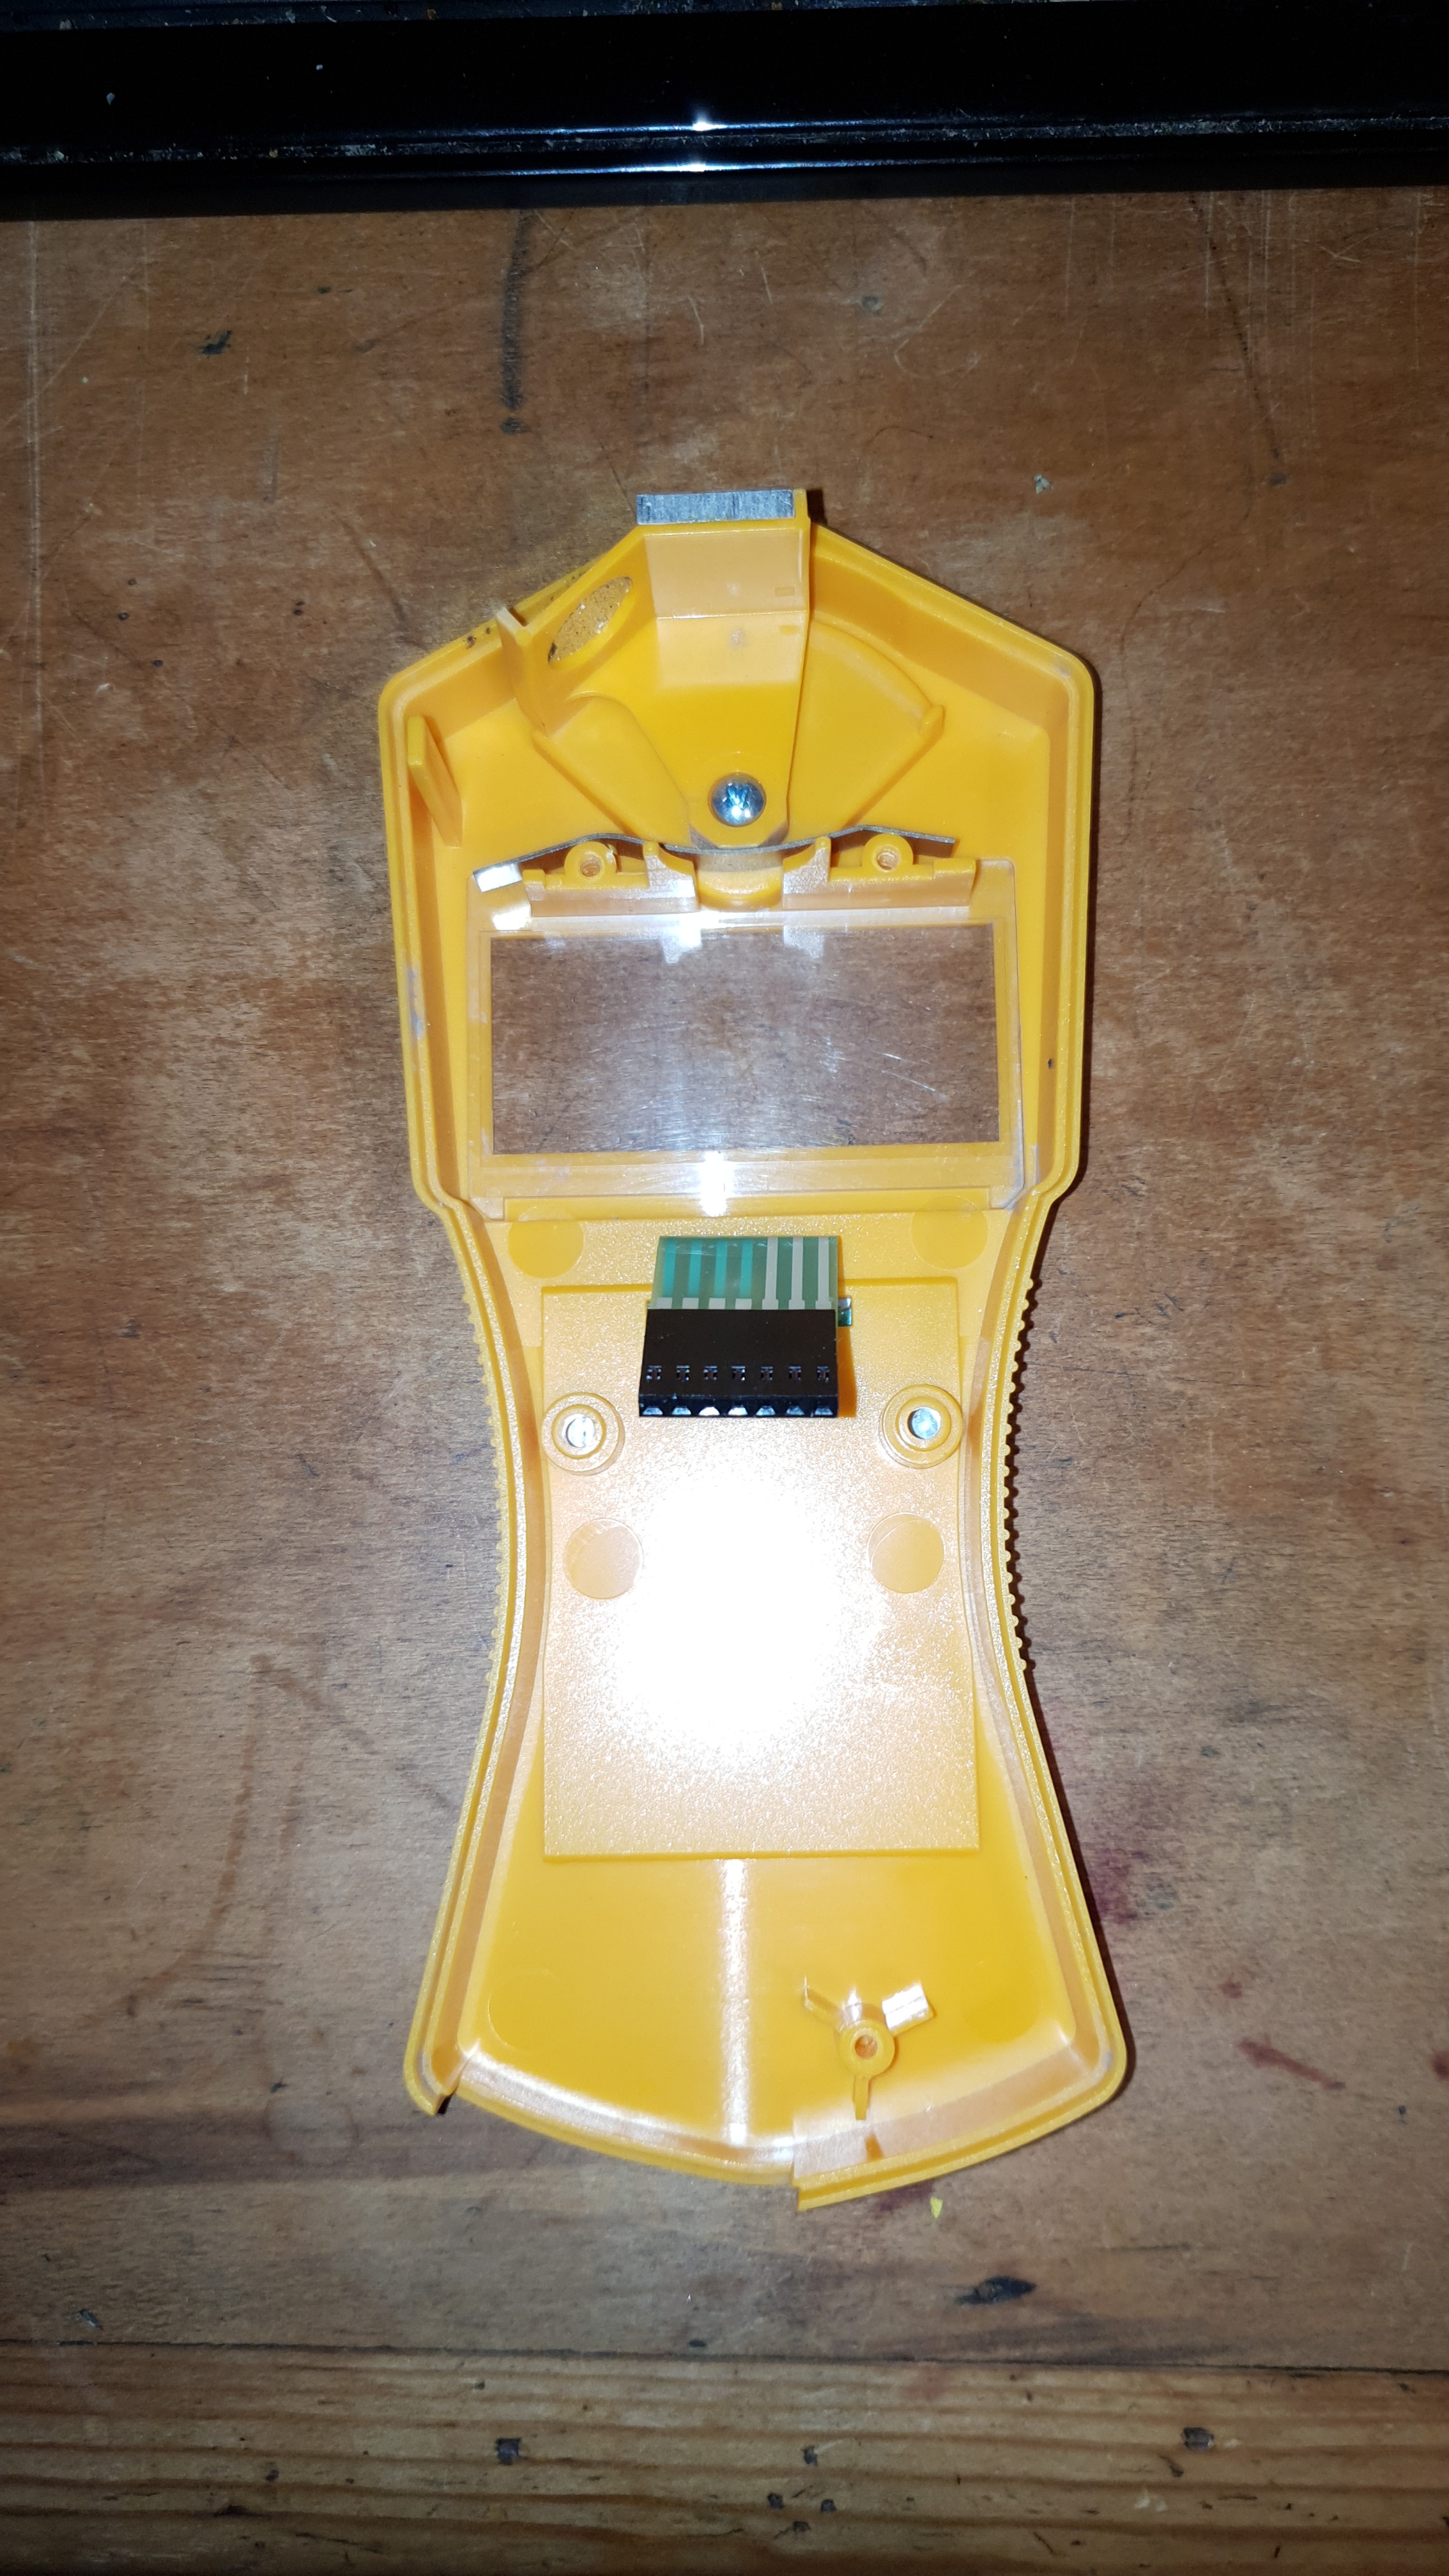
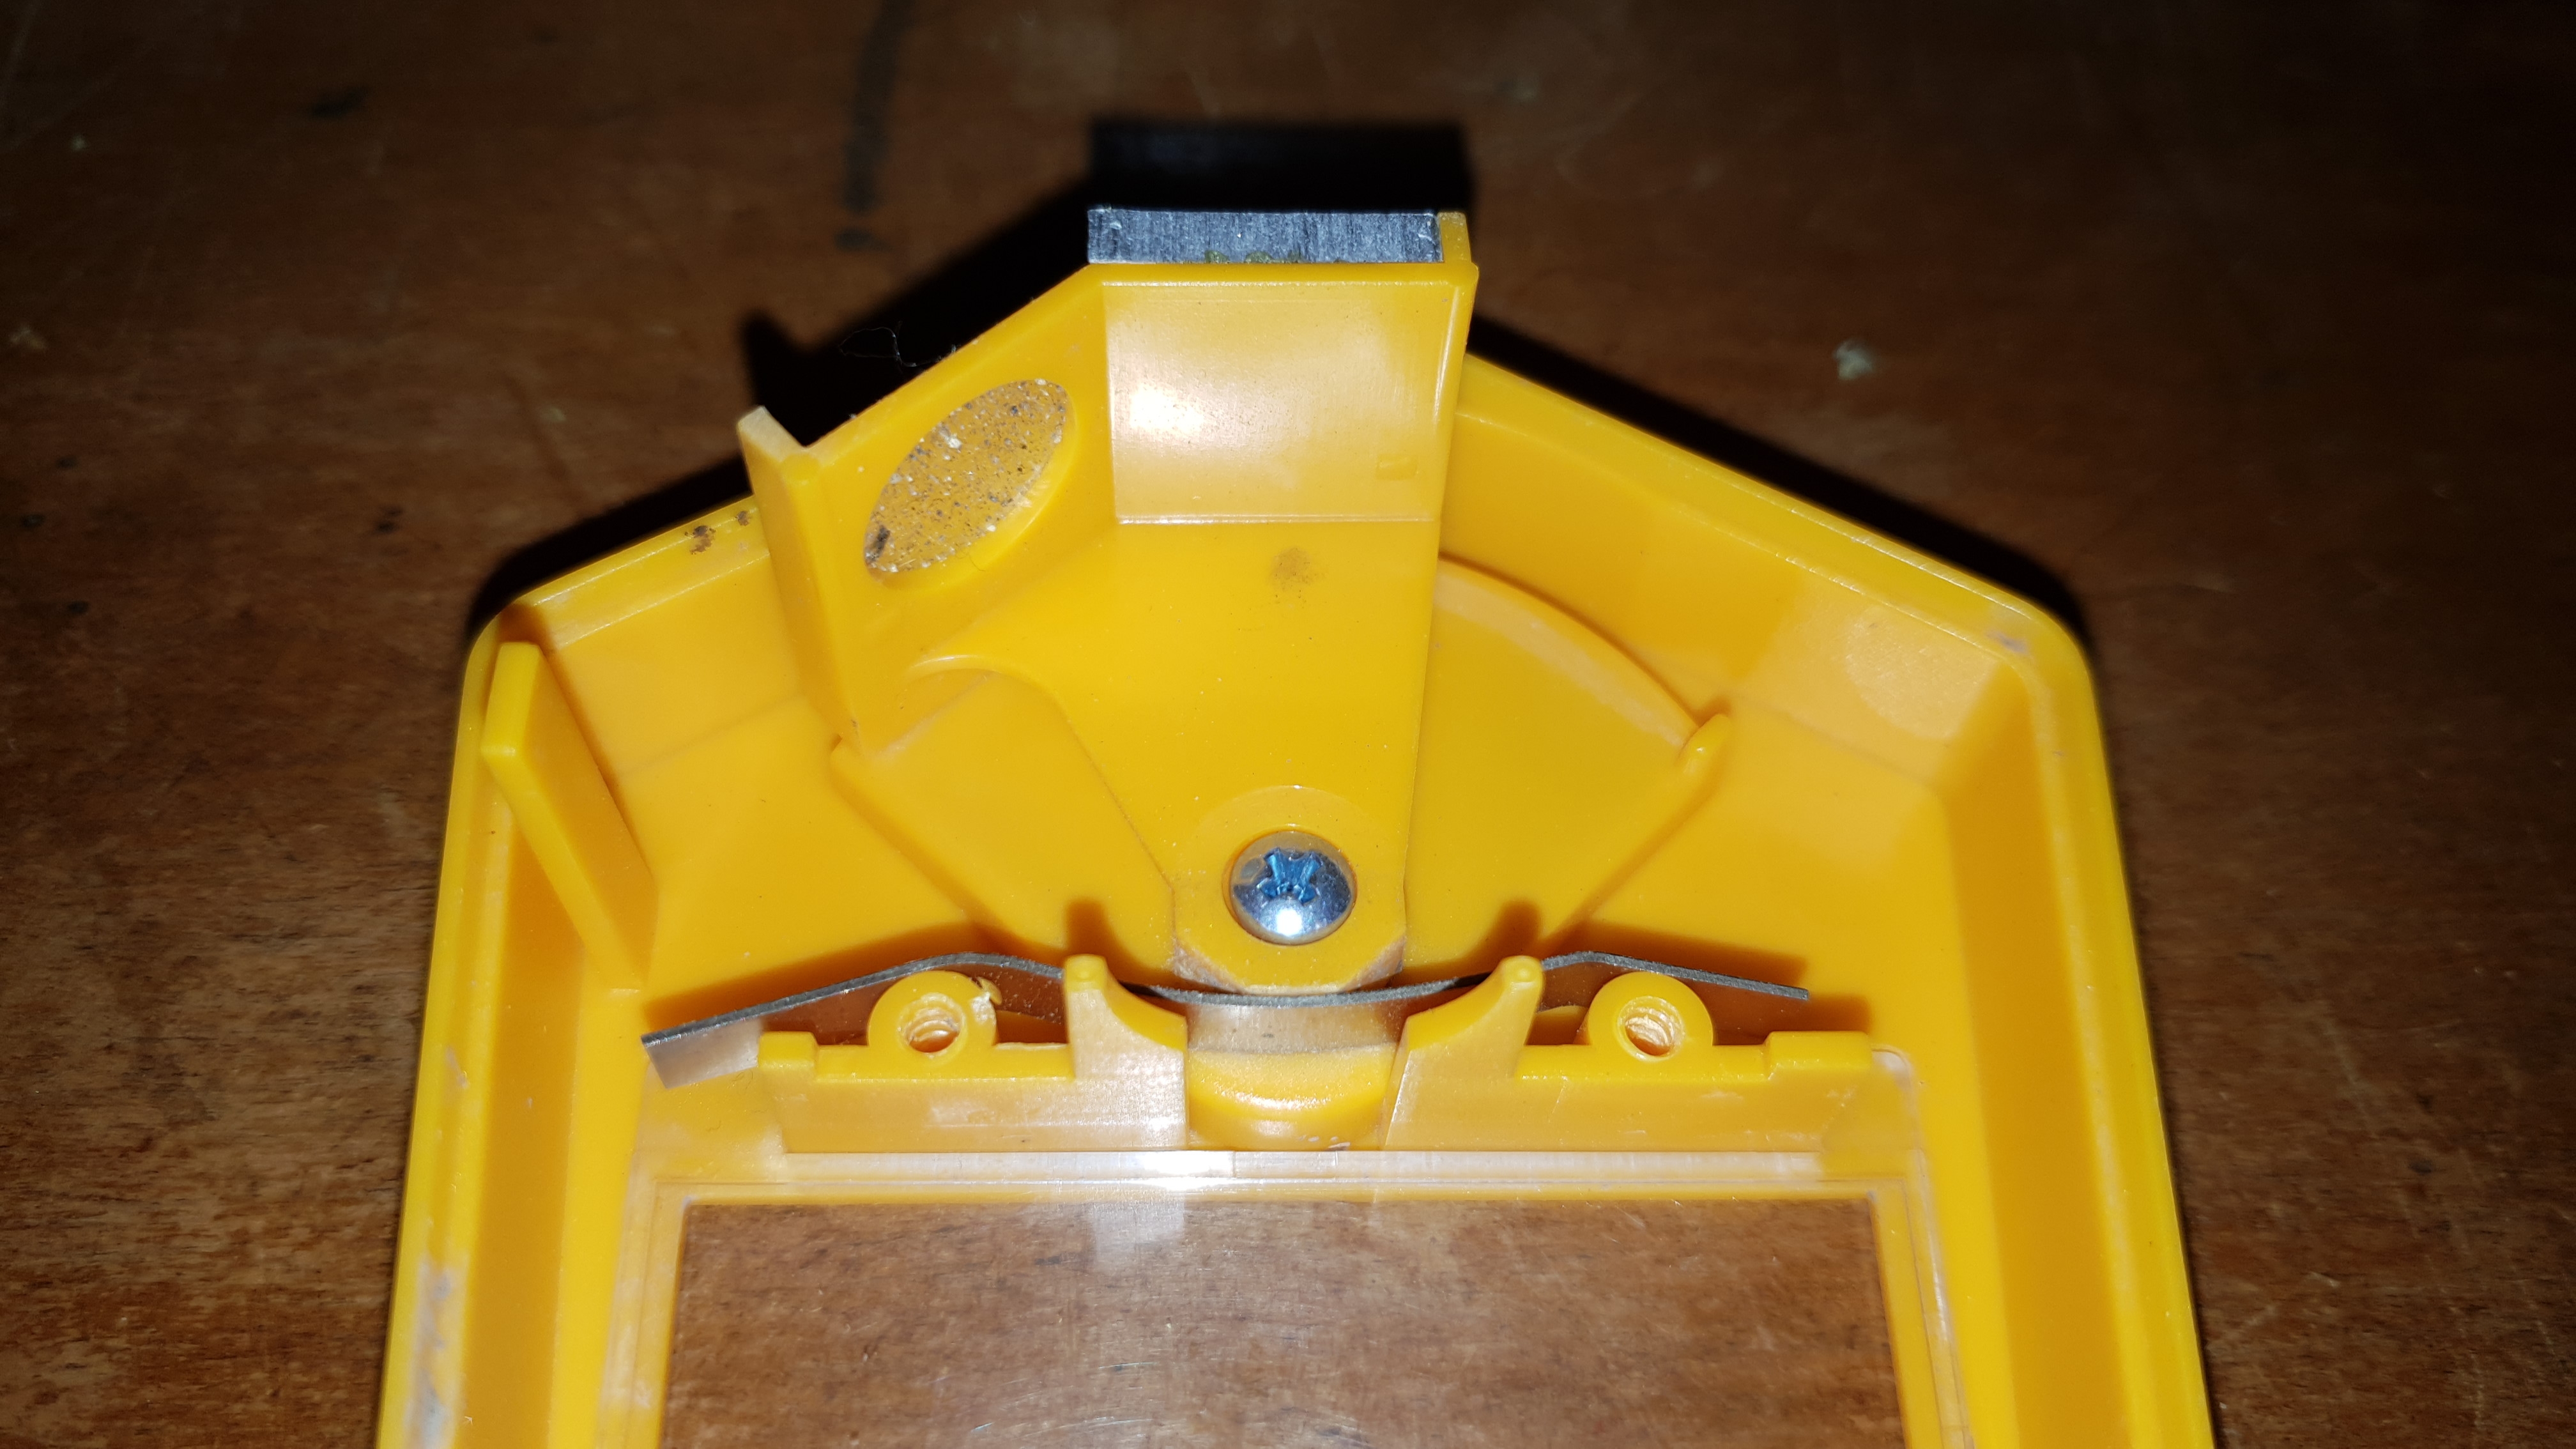
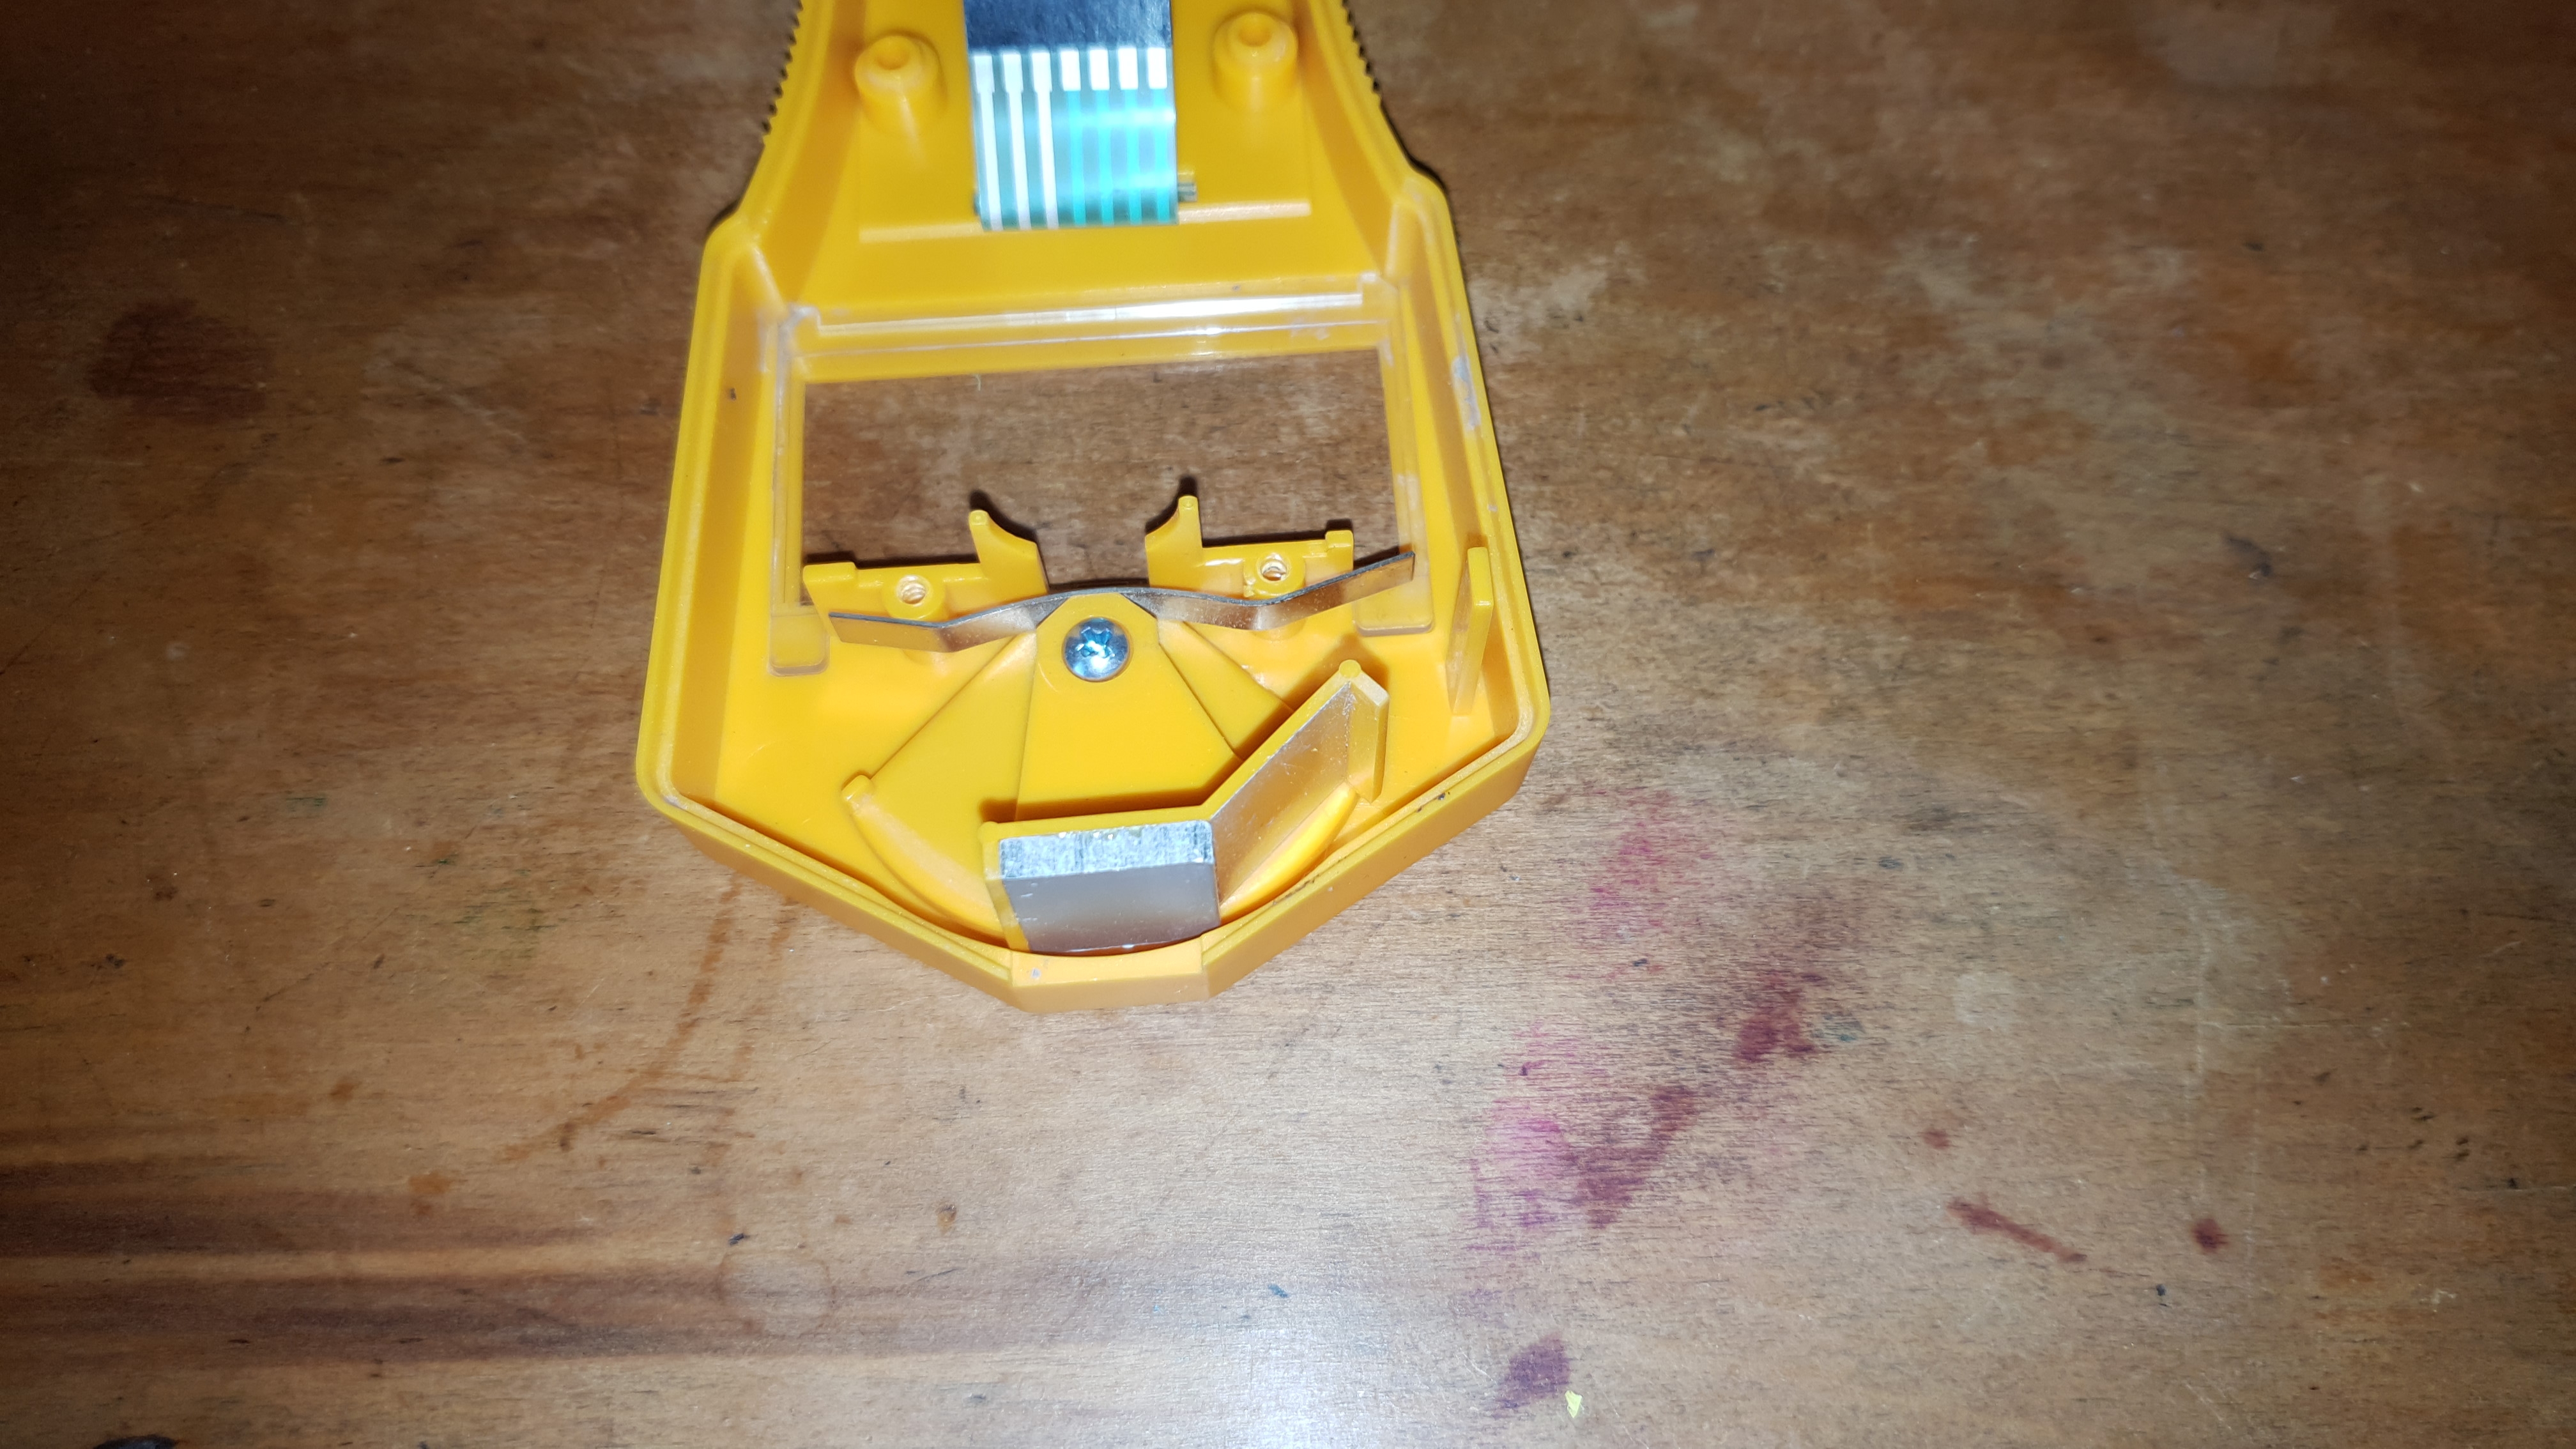
    The counter is made in Germany. It feels like a fair quality Chinese product, but not German. It doesn't have that 'edge' that German products usually have. The case is light and feels slightly flimsy. It feels like a fairly brittle plastic from touch. I'm not willing to find out though! ;) It flexes slightly when I grip the top and bottom and twist slightly. the plastic creaks slightly. It squishes in a the sides when I squeeze it with my thumb and finger. It is not something I would want to drop. Everything about it feels plasticky. The a/b/y selector lever feels flimsy and there is no real positive indent when switching between a, b & y. The screen does have a fairly thick (my view without taking it apart) window, probably acrylic as it scratches deep easily as there are some scratches and scuffs on screen as I received it, but little on the body itself. Only very minor scuffing on the bottom. This suggests the case body plastic is harder than the screen plastic. Not ideal in my opinion. I think the screen should be harder, maybe polycarbonate. The buttons are simply a plastic sticker over the actual buttons. Much like on a super thin remote control. I guess this would help splash damage but I don't think the screen is sealed so I don't think that was re reason behind such a keypad. I think less money to produce.

    Grabbing it out of the box and holding it, looking at the buttons at first reaction is nothing more than confusion. The buttons have symbols on them that really don't iterate their function. If you don't know how to use a Gamma Scout prior, then you will need to read the manual. A few times (I'll come to that later). Playing about with it and randomly pushing buttons reveals nothing but more confusion. The button symbols and display are simply not intuitive in the slightest. Far from it. I'm not one for reading instructions as I usually pick things up quite easily but without instructions this counter is impossible to operate to it's fullest. After a couple of attempts as working it all out I realised that the 'radioactive' symbol button made things return to the regular usv/hr readout, and that was all. Looking at the buttons it looks like the unit has a massive functionality with lots of modes and things to explore. It doesn't. It has what I would consider to be basic functionality for a modern Geiger counter. These are: Realtime dose rate (radiation reading in usv/hr) Realtime dose rate is counts per second. It does not have counts per minute which I feels is something that every counter should have at its core Accumulated dose Records readings for later download

    And that is pretty much it. You can tweak the parameters for the logging and dose rate such as the logging interval or the length of time for the dose rate, or just let it accumulate. You can set the time and date etc. View the battery voltage and turn the 'clicker' on or off. Download readings to PC. And that is pretty much it as far as functionality goes.

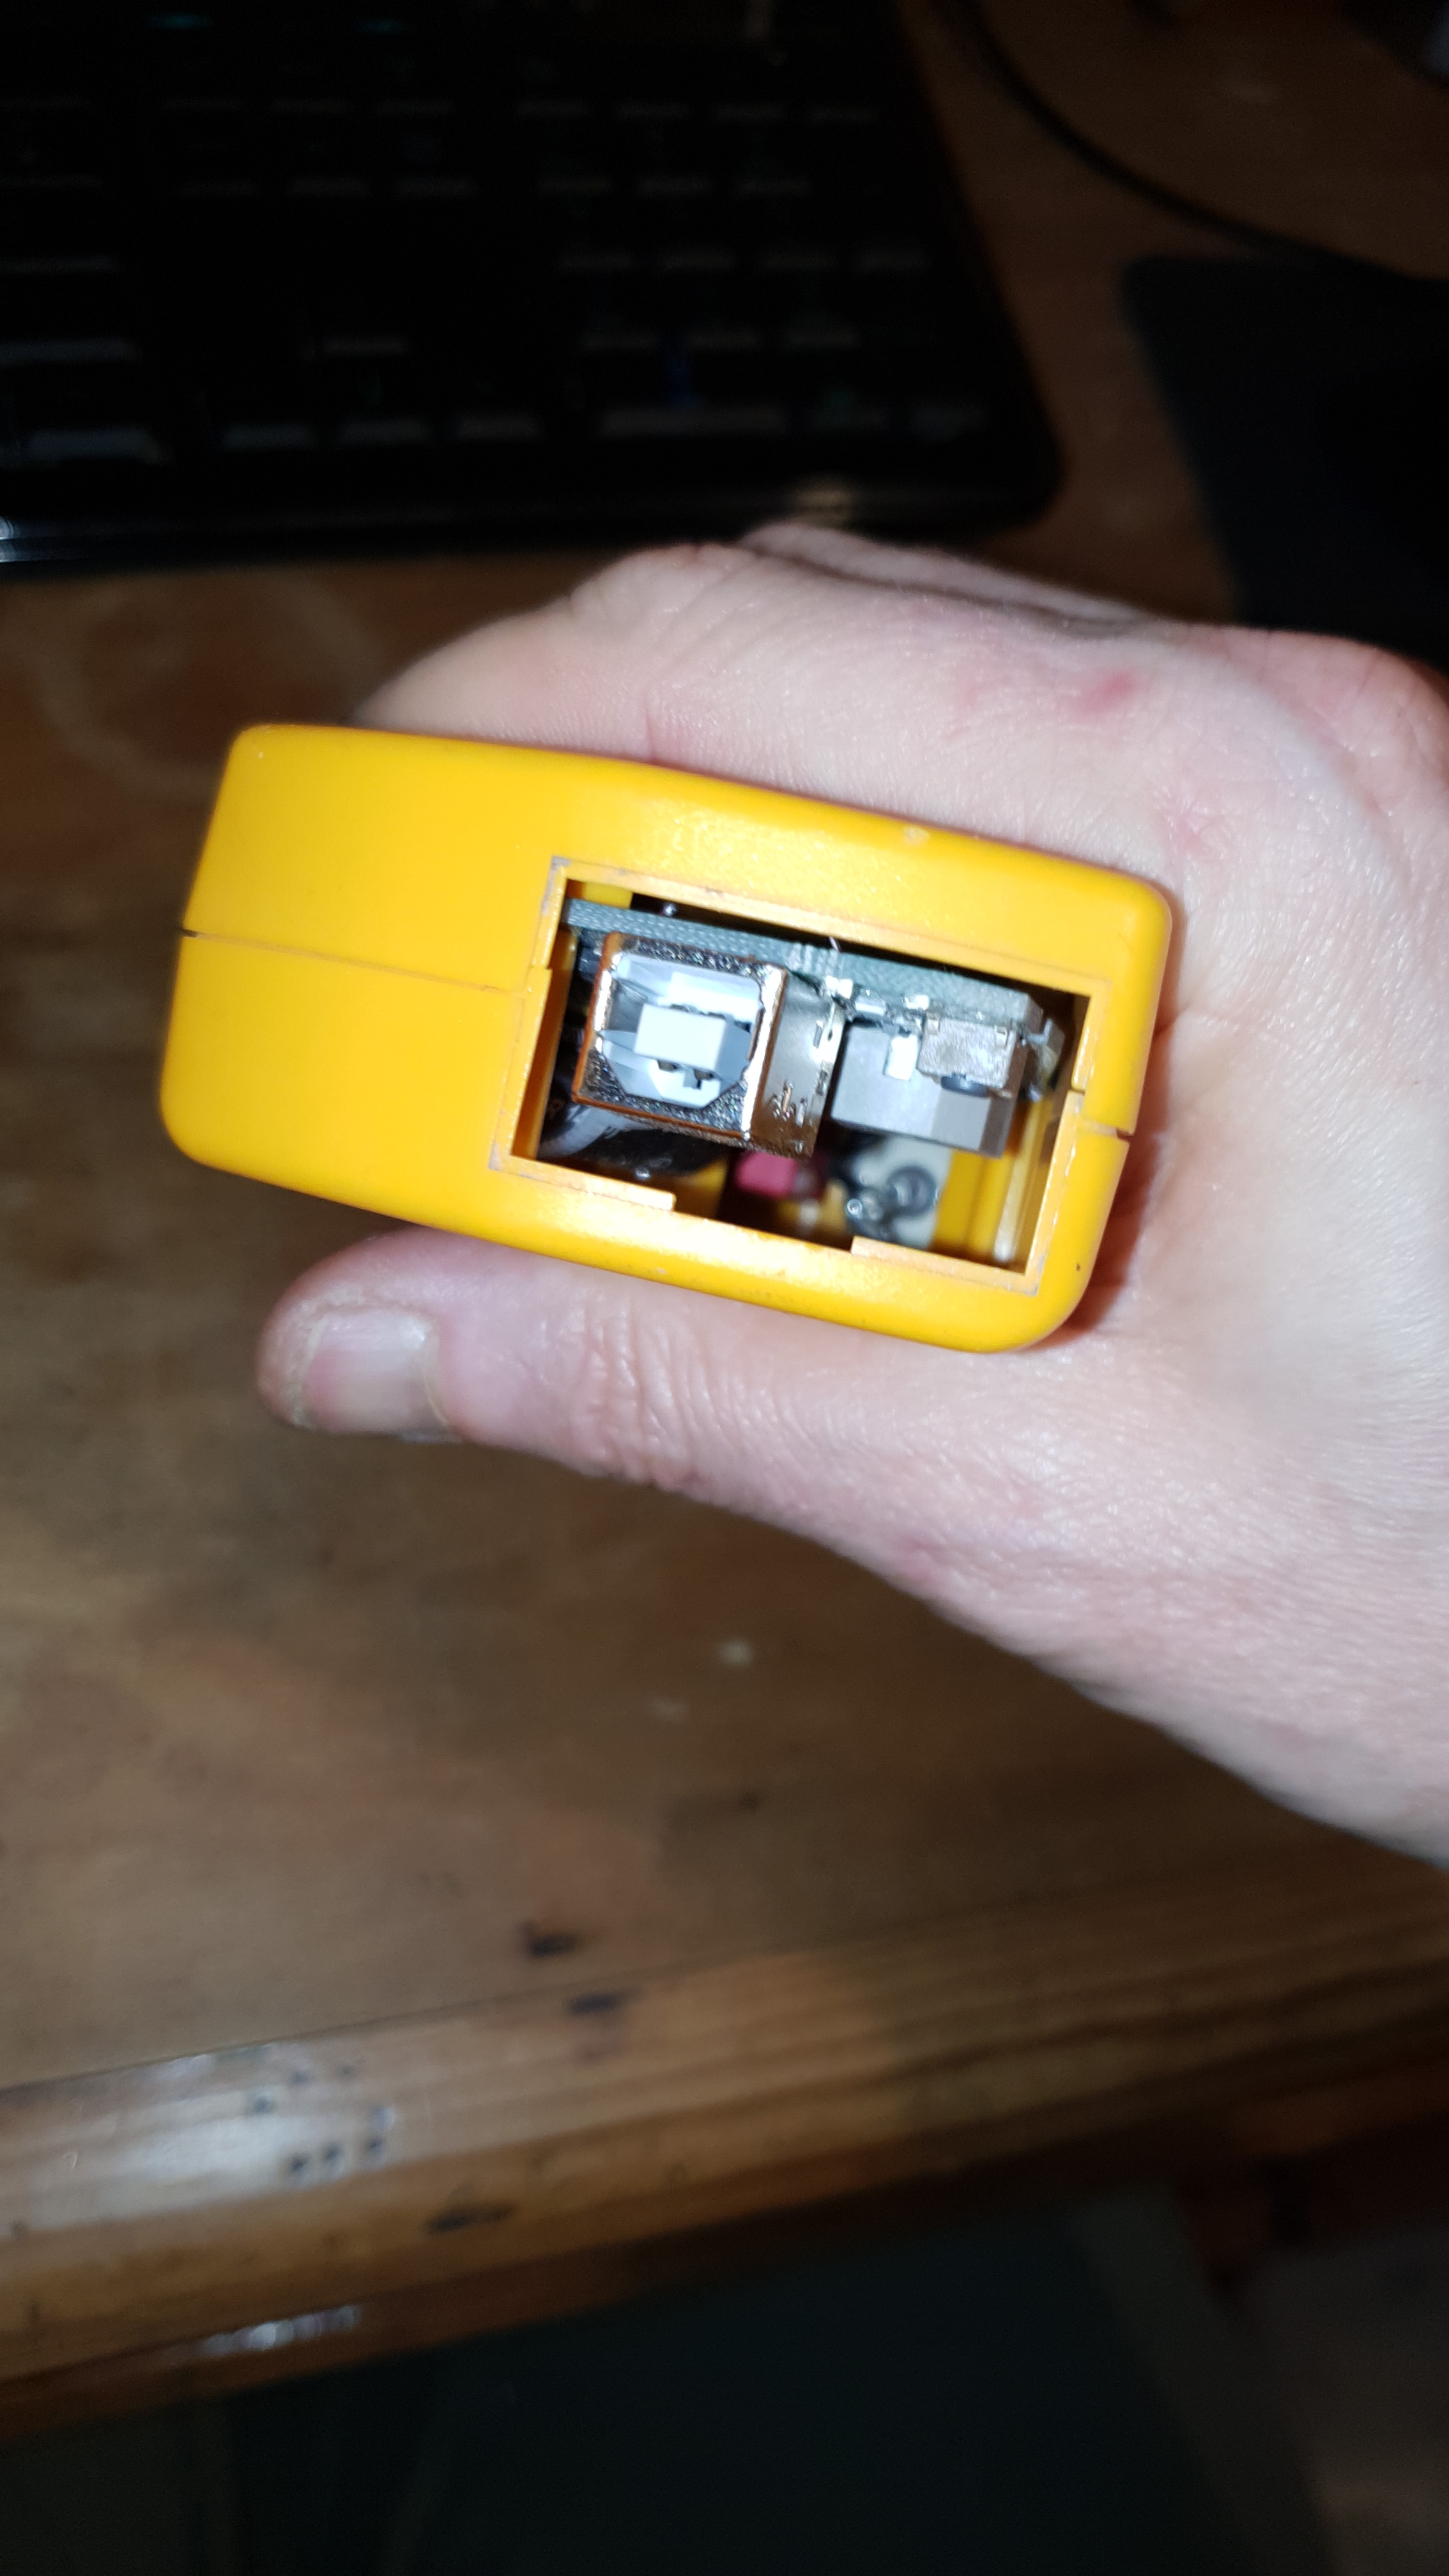
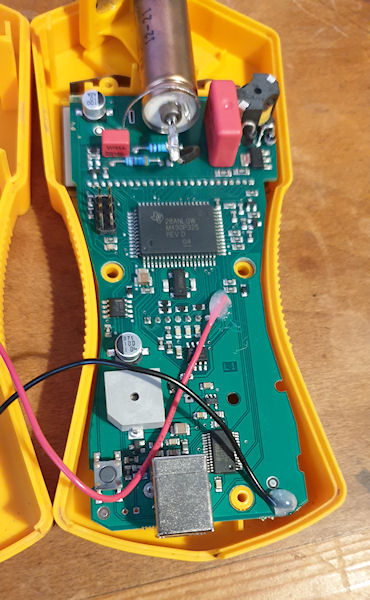
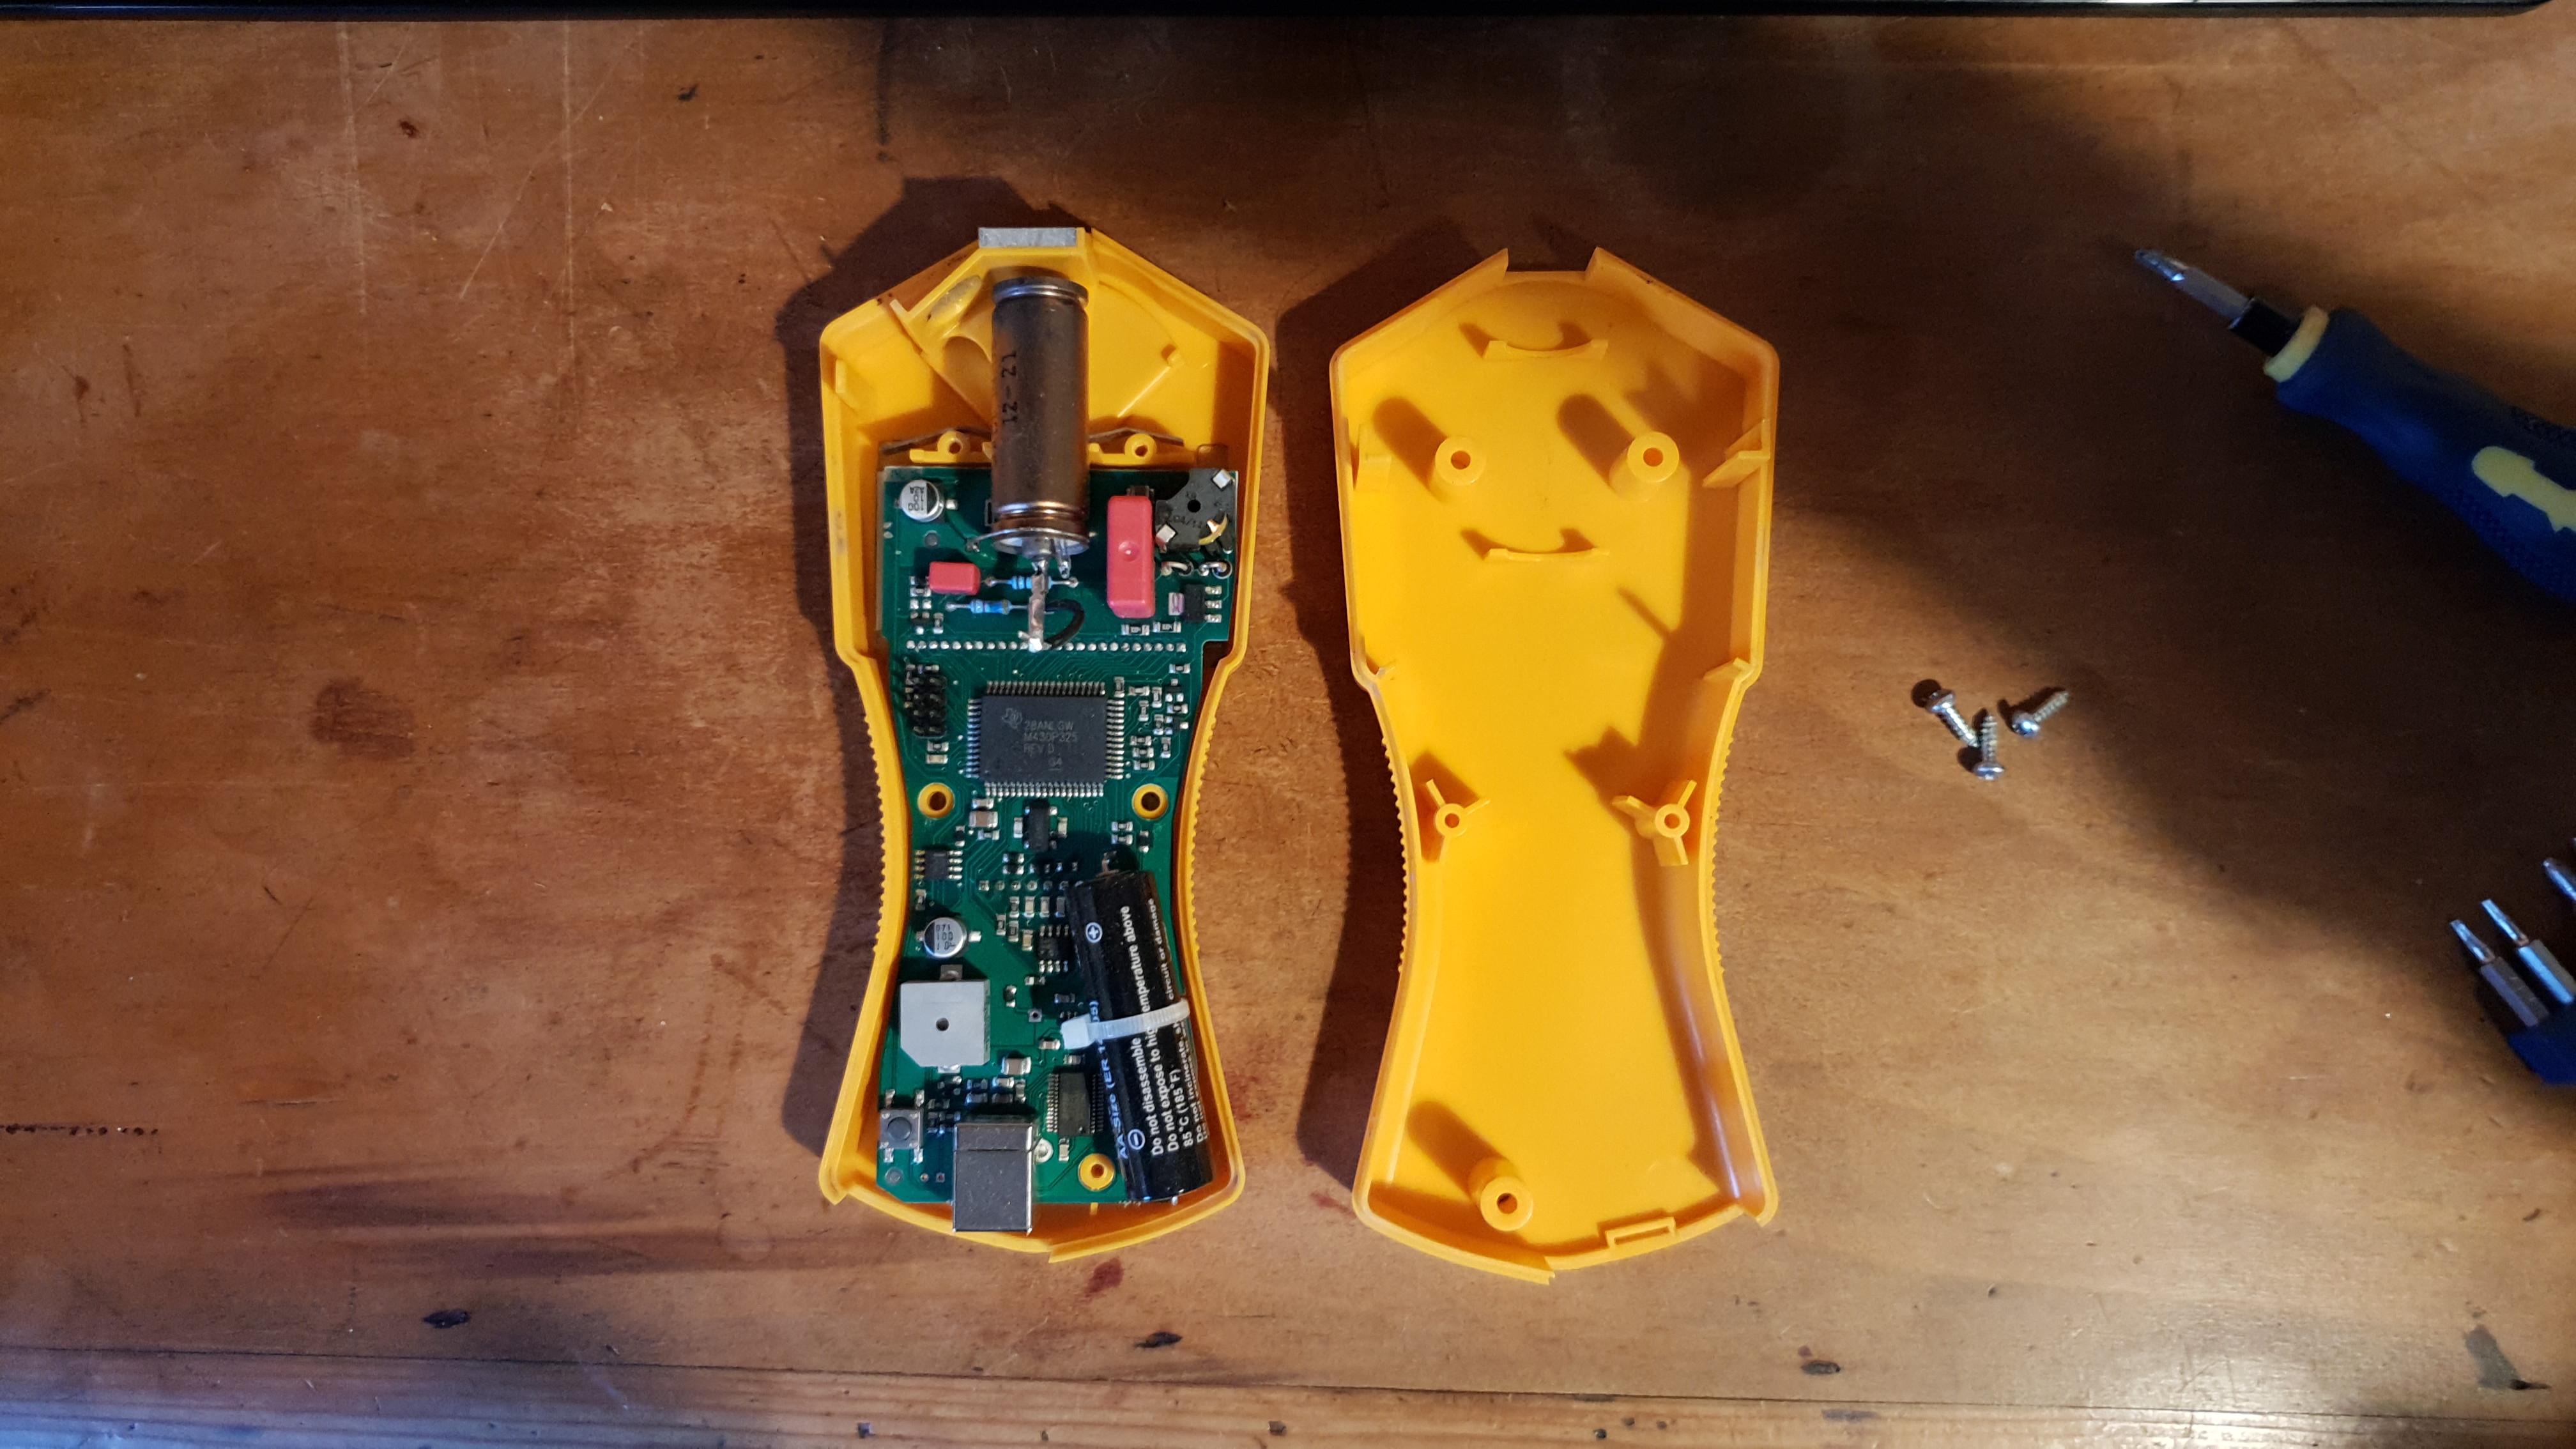
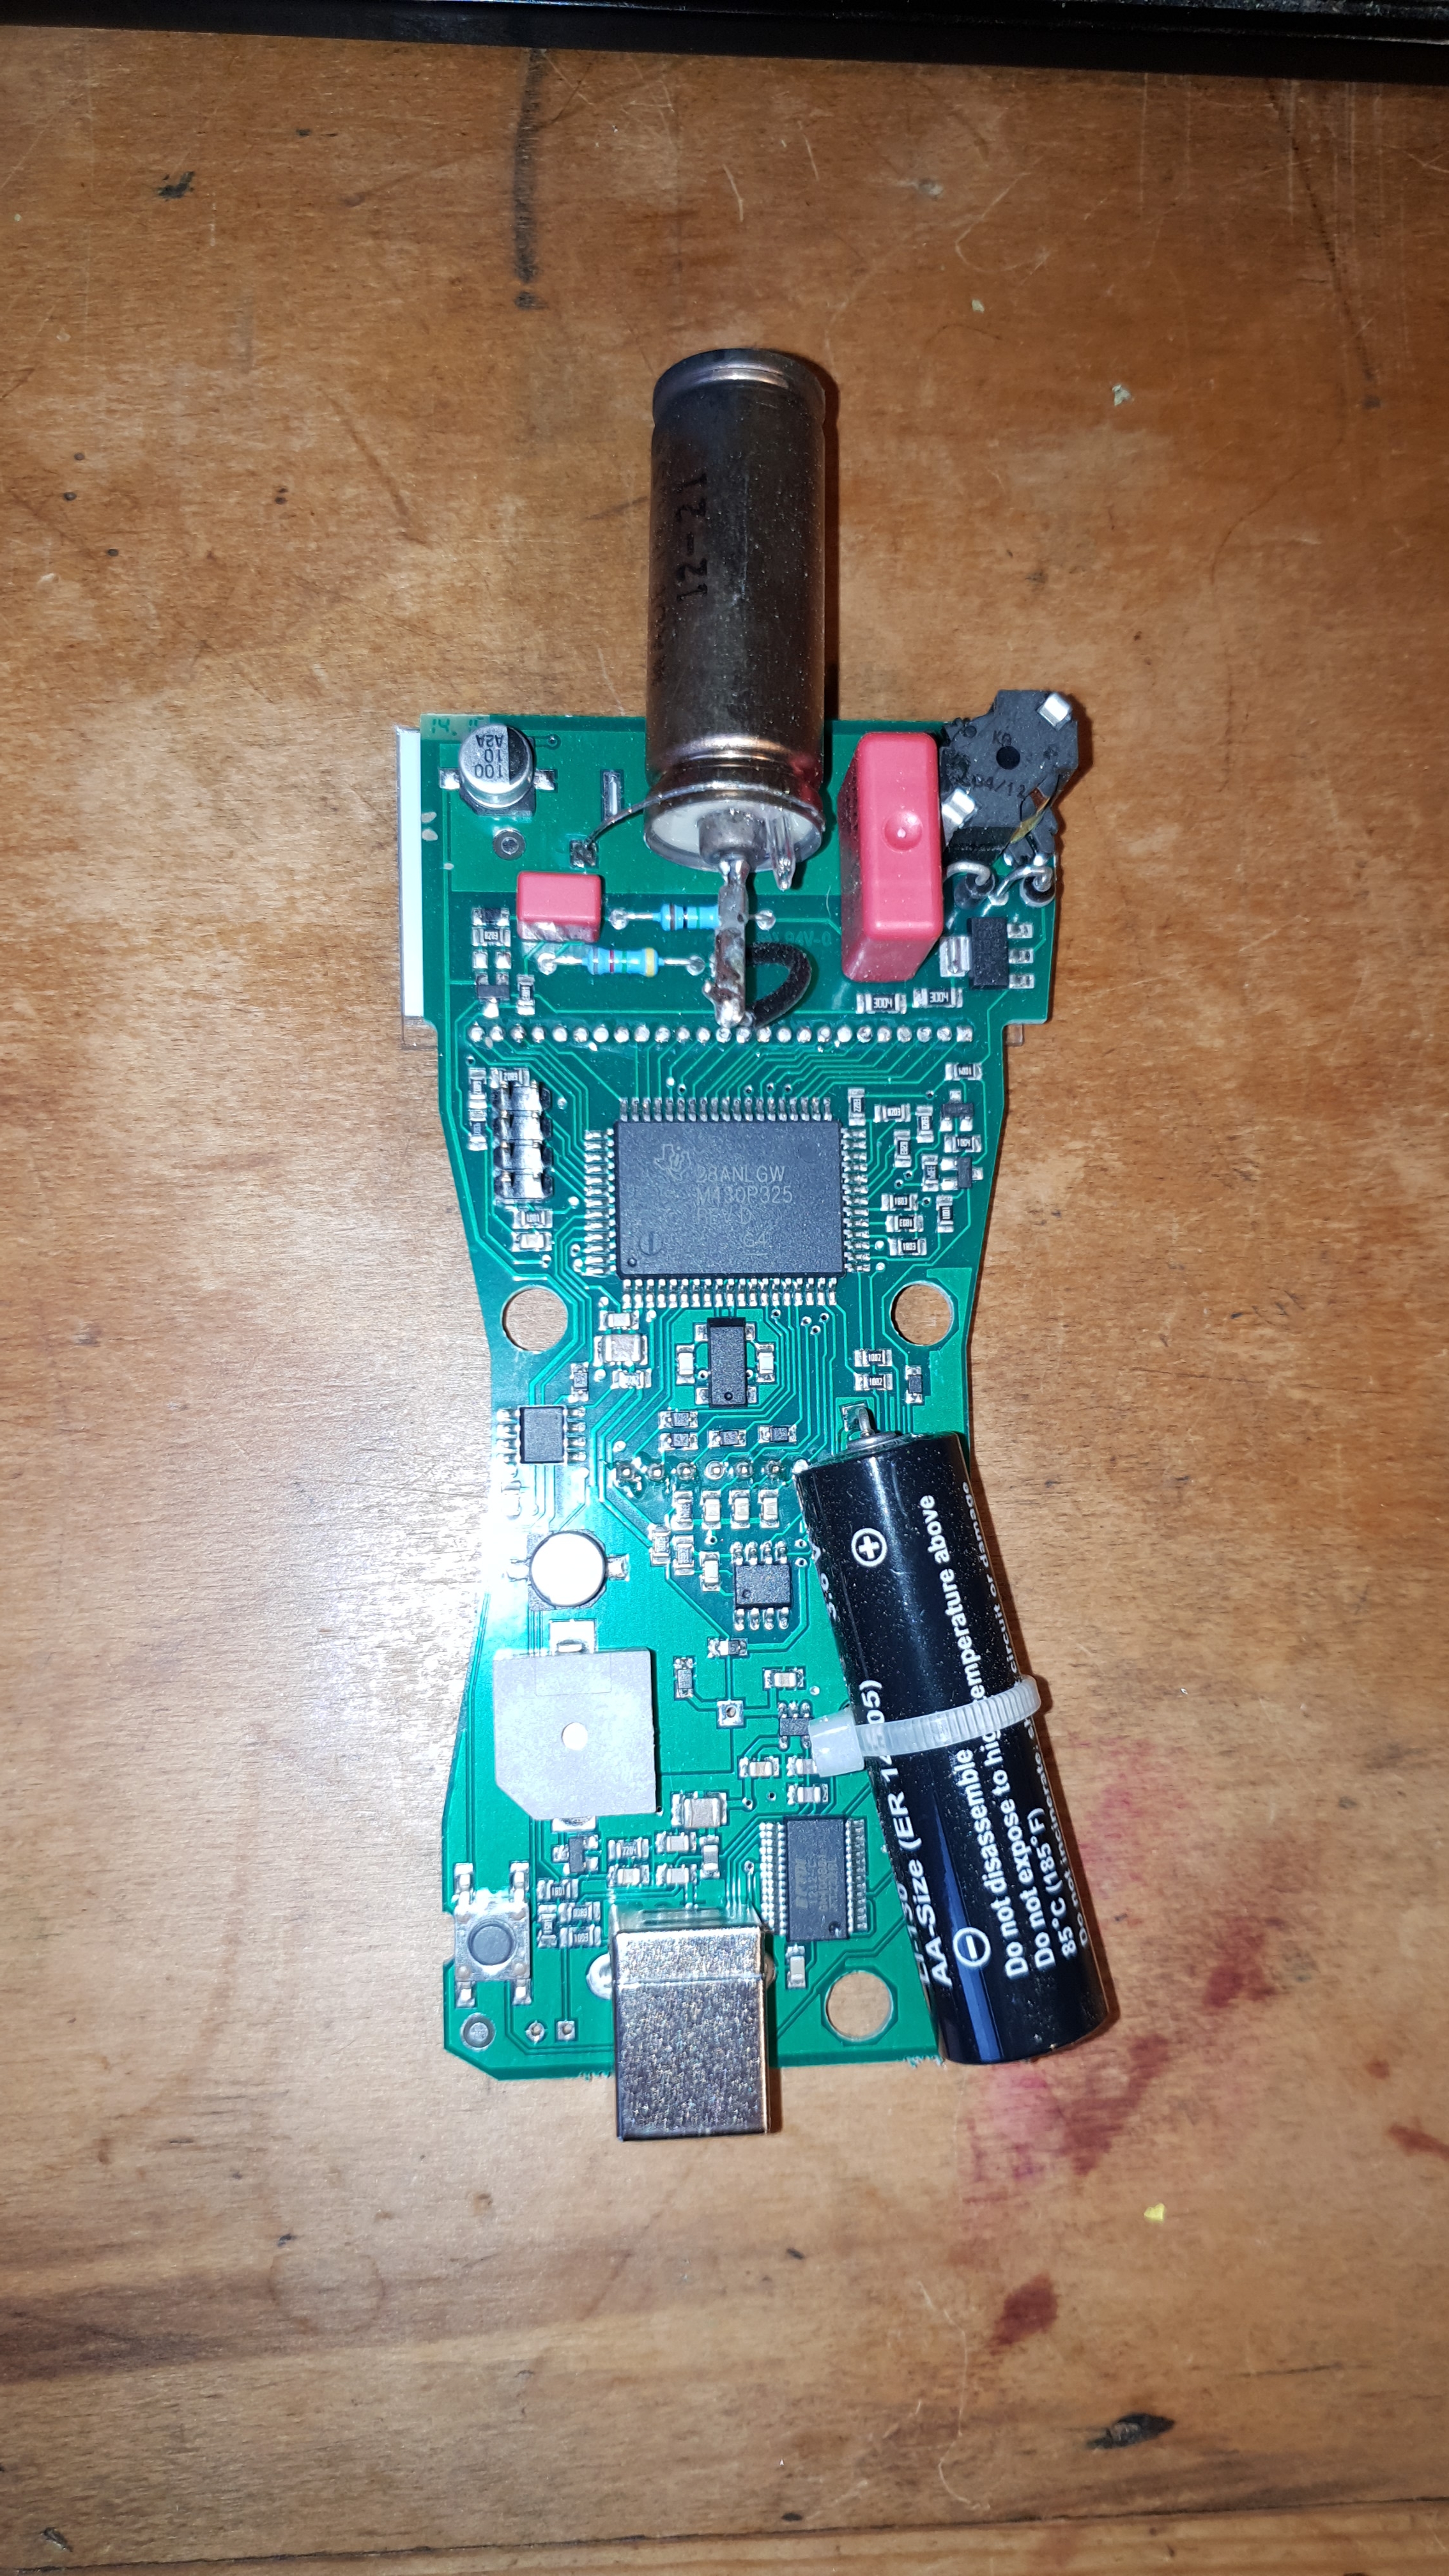
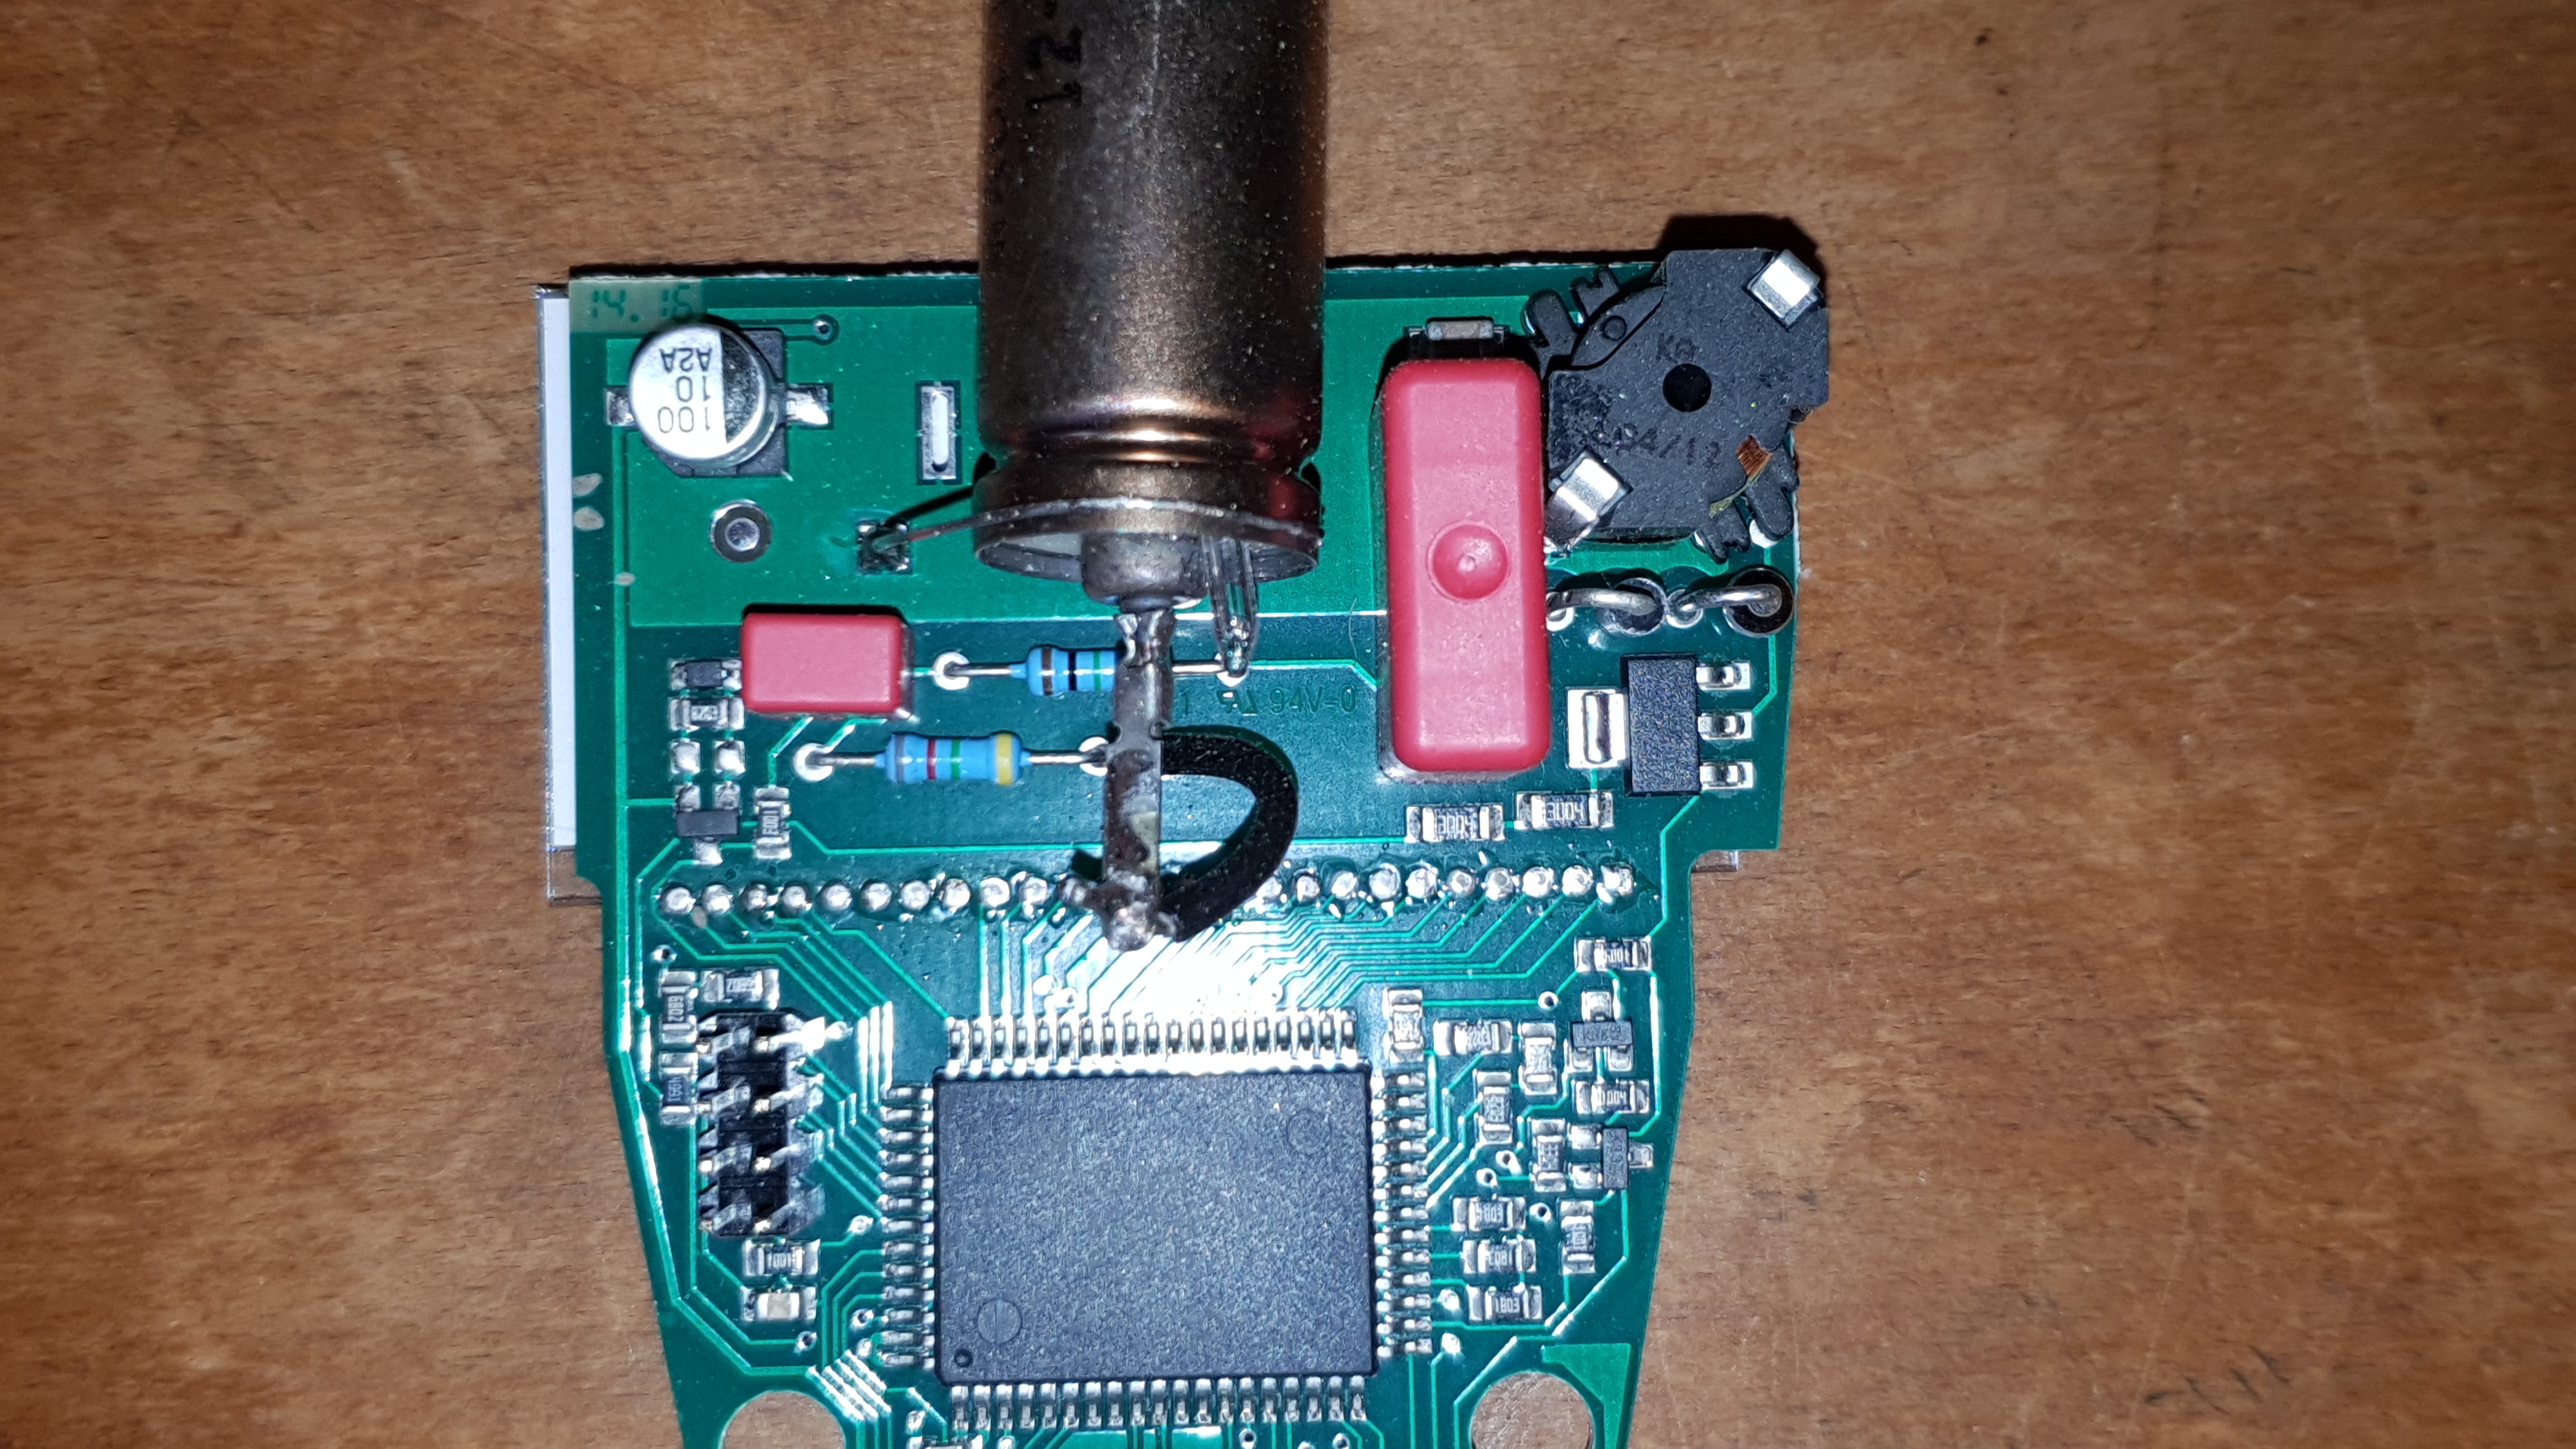
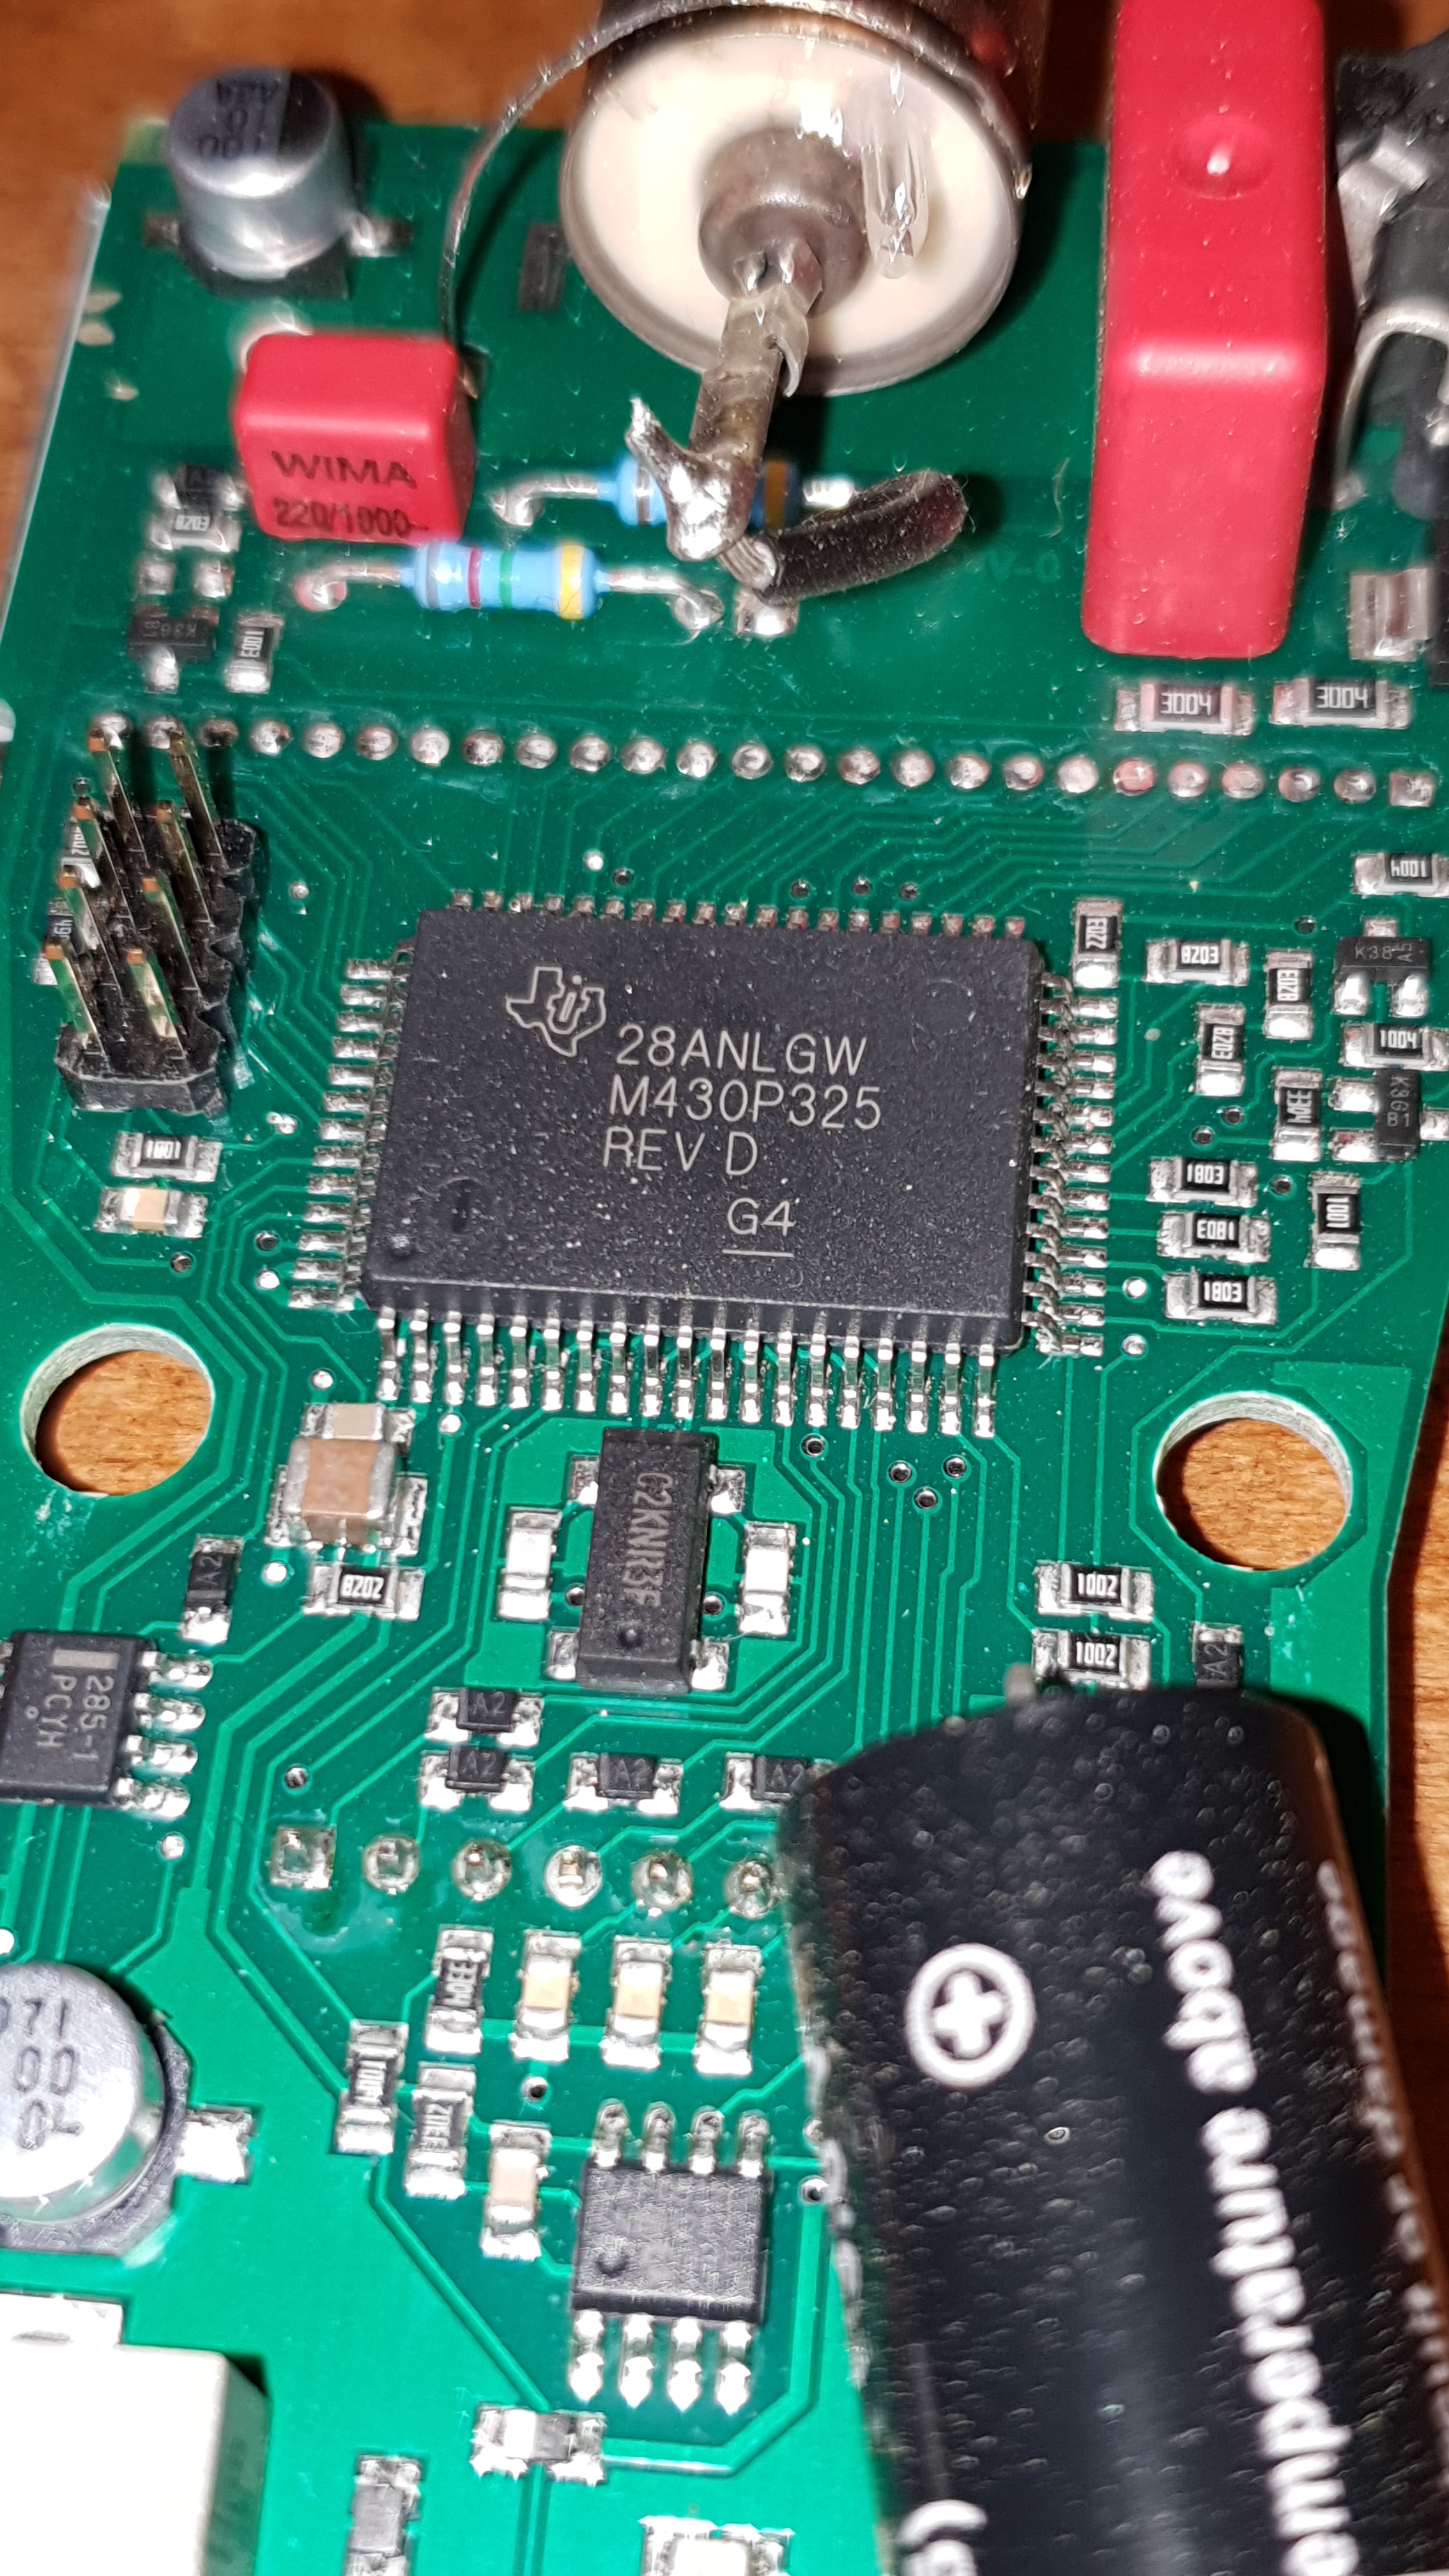
    The a/b/y selection is fairly good. It does seem to differentiate between a, b & y quite well. I have tested with a number of different sources and does seem to do it's job pretty well. The alpha shield is a thin aluminium sheet and the a & b shield is a sheet of aluminium about 3mm think. The tube does as expected. I actually thought the body of the LND712 was shielded with a wrap of lead. It isn't. I had seen somewhere on the web the tube was wrapped but this may have been someone's modification. I'm not sure as I haven't been able to find it now. I already have a LND712 and have played about with it a bit on other counters and one I am building (and have been for ages now!) so I have a fair idea how the LND712 reacts and the Gamma Scout simply reflects that of my findings already. The LND712 is a good tube. Not massively sensitive, but a great all-rounder for small hand held counters. The advantage over the SBM-20 is it's ability to detect alpha radiation. The SBM-20 is very marginally more sensitive to beta and gamma but lacks alpha. But the LND712 is about £70 new as opposed to around £10 for an SBM-20. It is a big jump in price for the ability to detect alpha.

    The instructions are very difficult to understand and took me several attempts are reading the manual. It is not that it is a bad translation as the translation appears to be very good but simply the way it is worded. It is difficult are requires that you go through each part whilst performing the function on the counter in order to understand and remember it. I have already forgotten what half of the buttons do already and how to go about performing specific functions. To be quite honest it is one of the most hard work, nonintuitive bits of kit I have ever owned. The different modes are indicated by little symbols on the screen that are hard to differentiate and yeah, not great to use really. Quite disappointing. The software is very basic pretty much allowing you to set the time and date from PC and download the results and clear the memory. Nothing more for the alert version. You can't even display real-time data on the PC (you need the ONLINE version for that). So is very minimal in it's functionality.

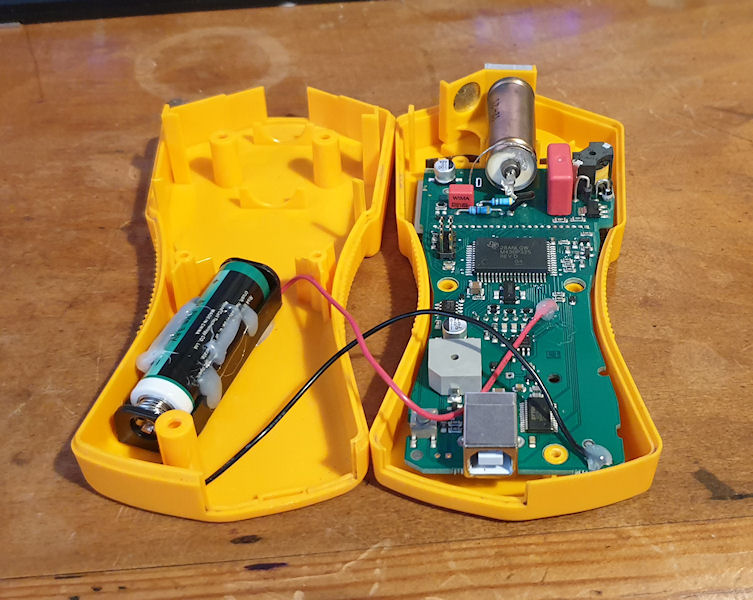
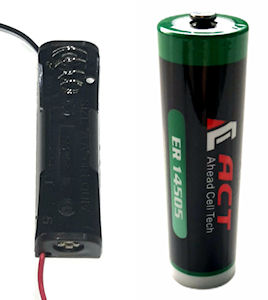
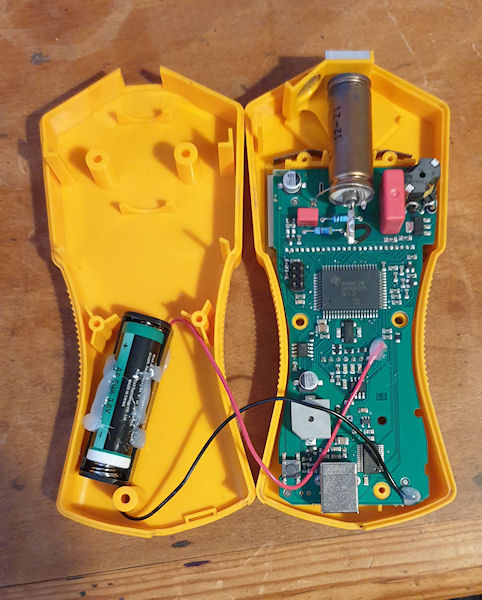
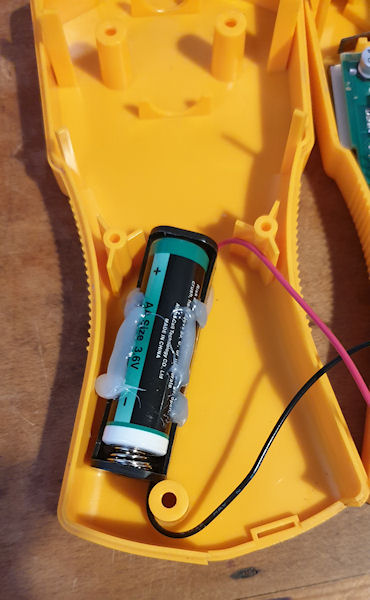
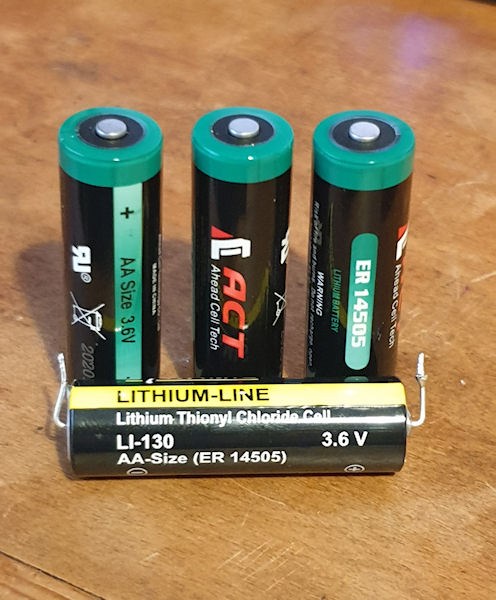
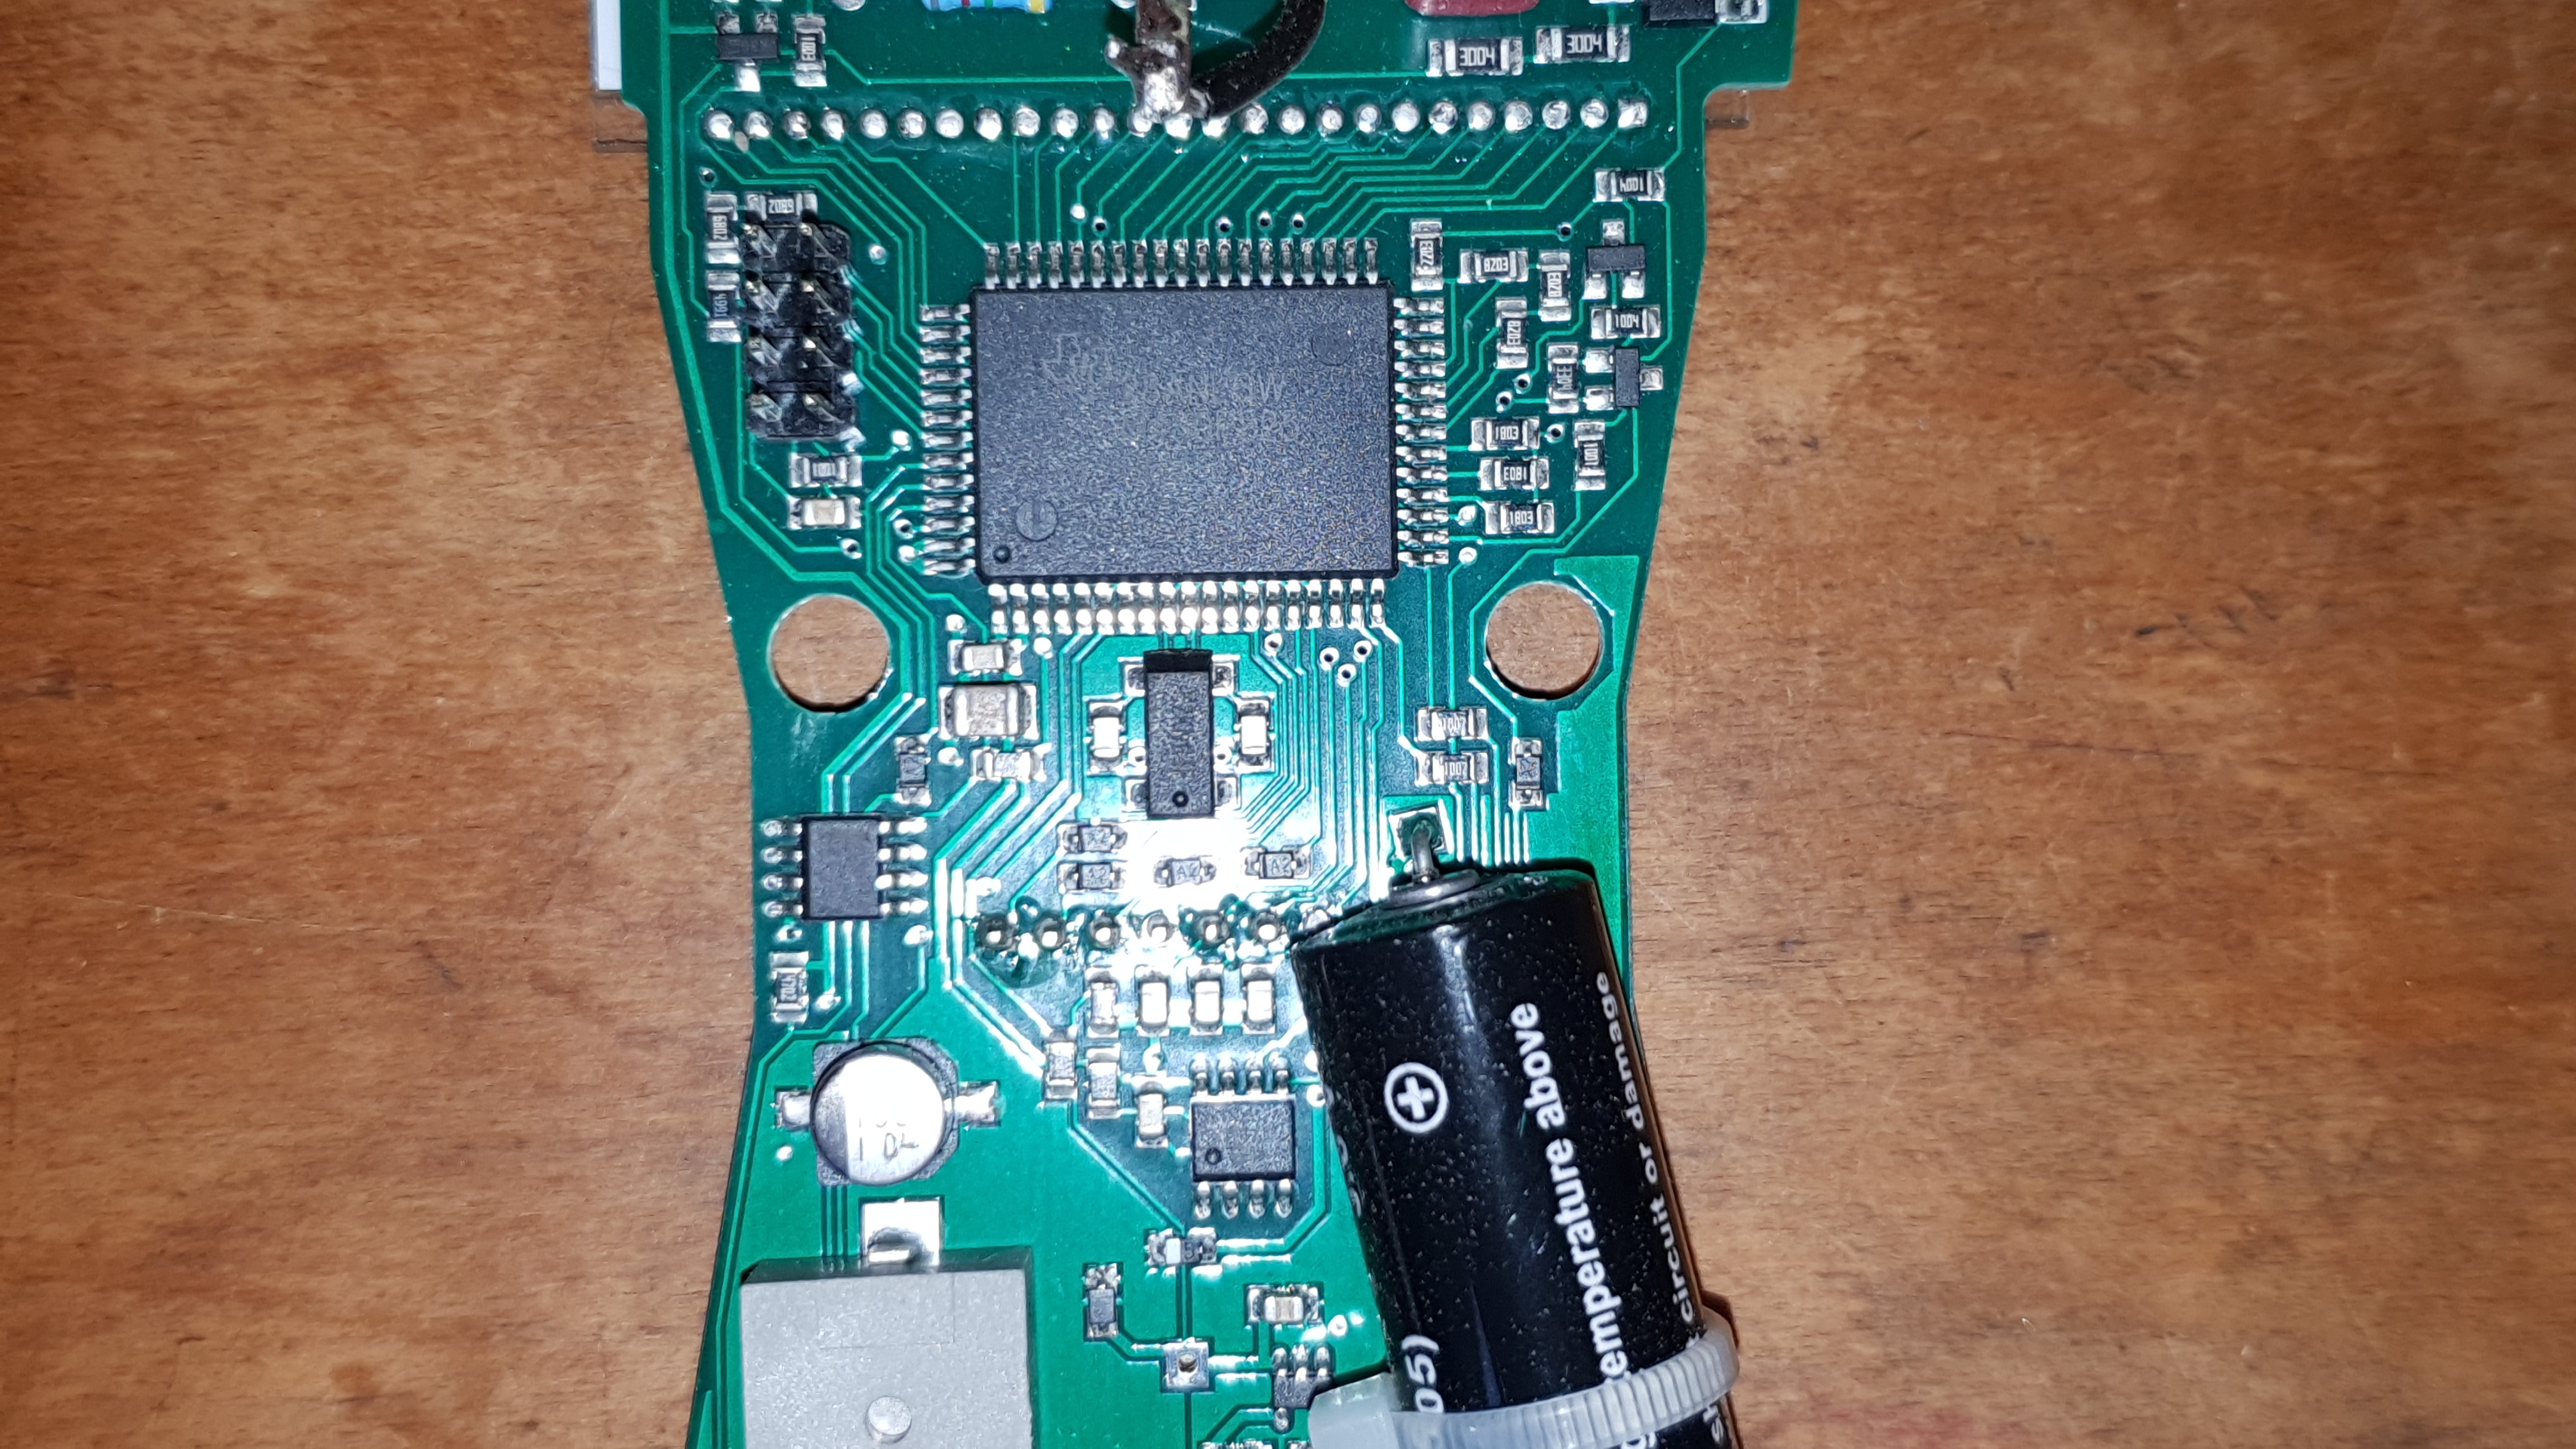
    One thing it really does have going for it though, that is, if this is a requirement, is battery life. It has a non user replaceable battery soldered to the board that lasts for several years. The 'clicker' uses most battery life so when activated the clicker turns off after ten minutes. I can see how the long battery life could be a benefit for some uses but a real pain to replace eventually having to send it back to Germany along with 45 euro just for a new battery. The company claims that basically a battery holder and terminals is unreliable and therefore a 'permanent' battery is the solution. I can see arguments for and against this. I have a weather station that has been running on two AA batteries for 4 years now without an issue. It is outside and prone to high humidity, and varying temperatures and has never been an issue. However, my weather station isn't getting handled and knocked about.

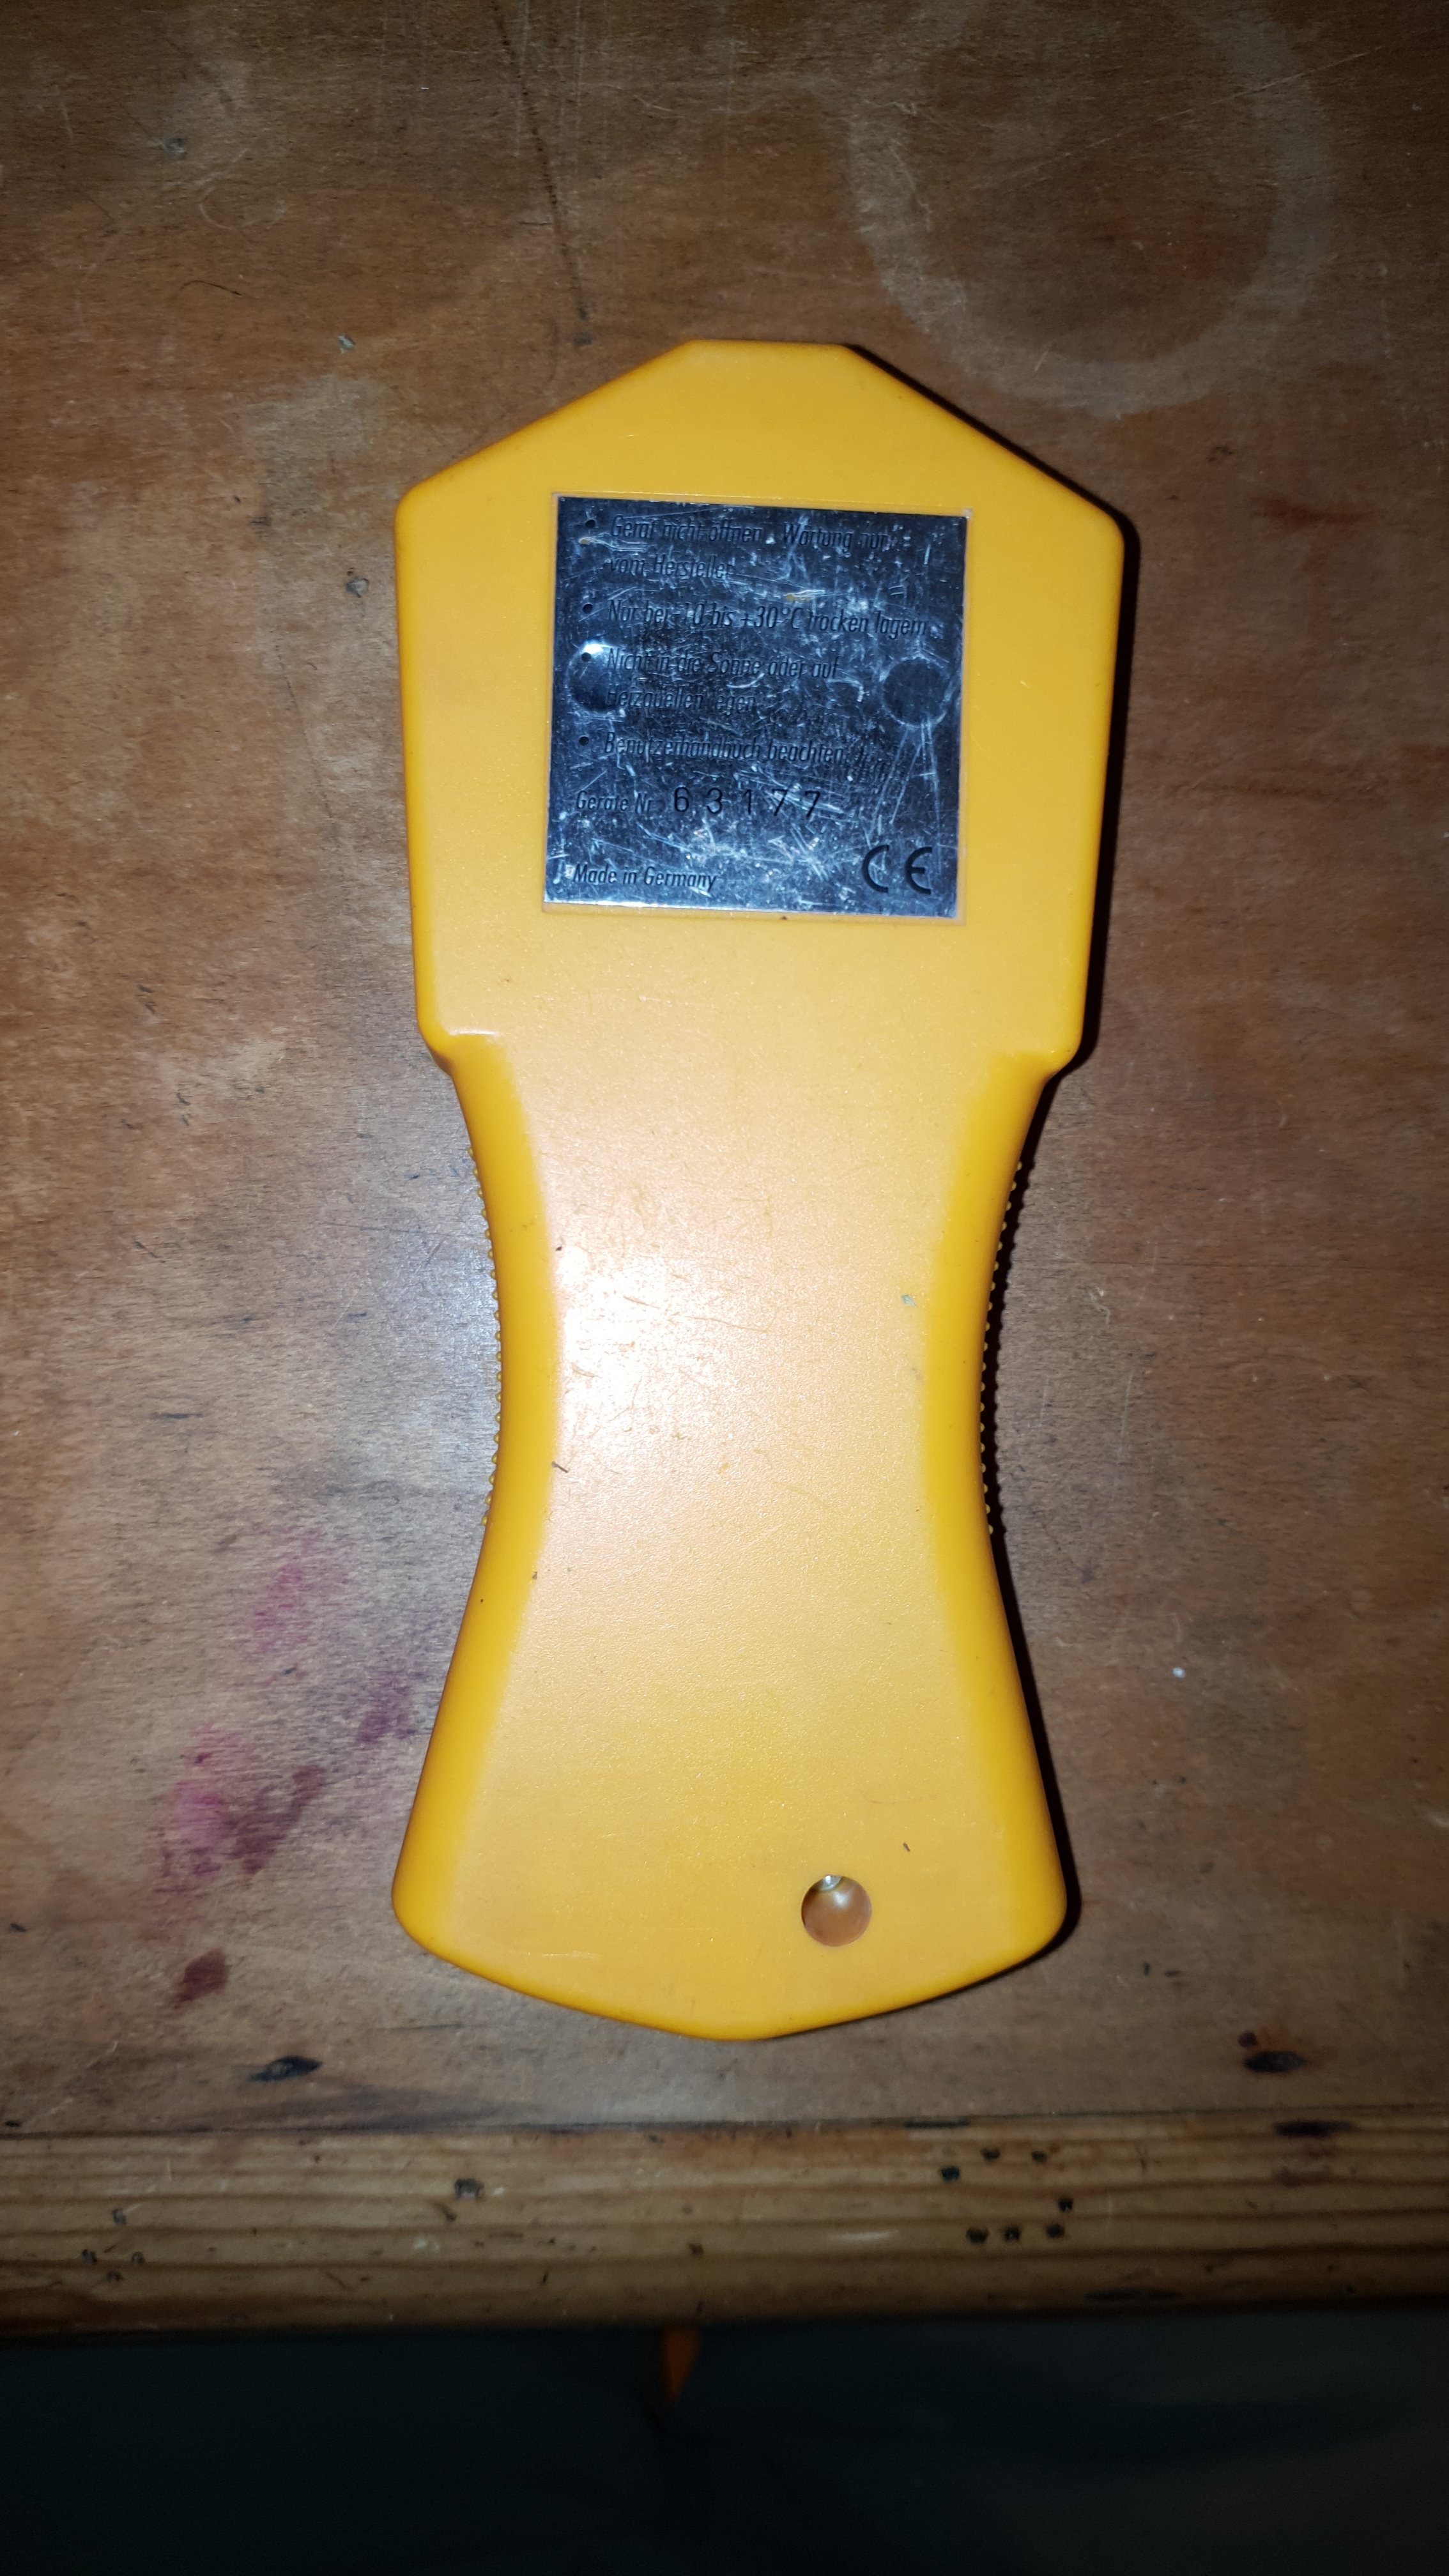
    To close; I am still glad that I bought it for the price I did. I would have been very underwhelmed if I had paid full price for it. Quite pissed in fact. I haven't taken it apart and the seals are still in place. I'm a little loathe to take it apart and it will leave holes in the rear sticker. I have no idea how much, if any, warranty is left on it.

    It's a fair counter with a high price in my opinion. The tube is about £70 retail so I can't see the unit costing much more than £150 to produce. Although I don't know the production count and less units cost more to produce. For the money it costs new I think much better counters are to be had.

    To put it another way, I think you would be getting much more functionality at a fraction of the price if you bought a kit from BroHogan (DIYGeiger) and a brand new LND712. Fixed it up in a case with a nice rechargeable battery. It would not be hard to replicate all of the functionality in a home made counter and to the same specification and that all lies with the tube mainly. Except for the battery life and I think that is the whole idea around the Gamma Scout is for it to just work and last out in the field. Although knocking and dropping would probably render it useless fairly quickly. I have read multiple reports of people damaging the mica end window on the tube as when in a/b/y mode there is no protection for the tube whatsoever.

    Anyway I hope you found that interesting. I hadn't found any criticism about the unit online so I hope this may serve someone, sometime. :)

    All the best and wishing you a very happy Christmas and a super duper new year! Simon

    Oh, something I forgot to add. You can't switch the Gamma Scout off. It stays on all the time. I guess this is a good thing if you are using it as a dosimeter but if like me, you just want to use it when you do, then I would certainly prefer the option of turning it off and stopping logging in favour of battery life. But unfortunately you cant :/

    enter image description here

    enter image description here

    enter image description here

    enter image description here

  • Posted on
    Increase in Radiation During Downpour

    Archived from radmon.org - originally posted 19/07/2017

    Blackpool UK - 19 July 2017 - Started around 17:00 BST / 16:00 UTC

    During quite a downpour today, 20mm in one hour. At it's peak was 65mm/h. Background radiation increased by approx 50% / 11CPM over a 2.5hour period. Not much by any means but still an indication there was some radioactive substance in the rain.

    Please note the Radmon graphs are UTC and the rain graphs are BST (UTC + 1) and so there is an hour difference between them.

    enter image description here

    enter image description here

    enter image description here

    enter image description here

    What caused it? I could be anyone's guess. Radon causing decay products to get caught up in the rain? Radioactive cloud blowing over from somewhere? Radioactive UFO floating about somewhere overhead? 😂 It should be noted that the difference from ~21 CPM to ~30 CPM is miniscule. It is so tiny it causes no concern whatsoever. I found it interesting that the slight rise coincided with a downpour.

  • Posted on

    Archived from radmon.org - originally posted 04/04/2016

    I have finished up building/setting up my home radiation monitoring station and is all up and running. :cheer:

    https://www.schmoozie.co.uk/radmon/ (currently offline.)

    enter image description here

    I won't go into too much detail as it is pretty much just a NetIO GC10, in an enclosure with a couple of buttons and switches added. It is mounted outside under a canopy on my workshop so rain is no issue and I have used all sealed switches/buttons etc with rubber gaskets on each to seal it up nicely. The window for the tube at the front is covered with some Kapton tape to seal that up also. Power is taken from a 5v PSU inside the workshop but here is the interesting thing, (for me anyway) the RS232 output is sent over wireless transceivers to my computer in the house at the other end of the garden. I'm pretty happy with it so far and the only thing I want to do to finish it is either paint it or cover in some kind of vinyl or similar to make it pretty.

    I used two HC11 RS232 transceivers, one connected to the GC10 and the other connected to a USB FTDI adapter (USB <> RS232 adapter). The transceivers work very well so far hardly missing a beat. They worked for me right out of the box with no additional configuration needed. Check them out at this link , but you can get them much cheaper on ebay. I paid £2.96 each including shipping for mine, so it was probably cheaper than buying actual cable to run the RS232 and saved all the hassle or running a cable etc.

    This is the receiver that sits on my windowsill: enter image description here

    I put a bag of silica gel desiccant inside the enclosure to aid in keeping moisture at bay. I have done this for years whenever mounting any kind of enclosure outside and it works a treat, keeping everything dry and electrical contacts clean and shiny.

    Some years ago I went through a period at work of designing and building custom switches/keypads for use in sauna, steam rooms and swimming pools. They were only basic with a couple of buttons on them but they were in very hostile (to electronics) environments. The circuits were potted and that kept the circuit happy and the switches/buttons were hermetically sealed. The case covers were all gasketed but this left the main connections to the 'elements' inside the enclosure. In testing these would last for weeks even months, but they would eventually fail. The failure mode was corrosion on the incoming cable terminals where it was connected to the circuit. At first The design was changed and a cable was soldered directly onto the board and potted in. This worked great provided the installers would install them correctly, but they didn't. Mainly they would cut down the cable, use a terminal block and just shove it behind the switch/keypad. Some even drilled a hole in the back of the enclosure and put the terminal block inside the enclosure pretty much leaving it to the elements.

    I changed the design slightly so the cable was potted in and soldered to the board, like the last, but the cable was only 3" or so with a fairly robust connector. I added a bag of silica gel (as big as I could fit in the enclosure) and that pretty much solved the issues of the terminals/connectors corroding. I learned that no matter how much you think the enclosure is sealed, unless it is airtight, it will eventually pull in some moisture. This is down to the fact that as the enclosure and contents heat up the air expands and may push some out. Then it will cool down, the air inside cools and contracts, creating a very small vacuum in the enclosure. Air from outside with a higher moisture content will be sucked into the enclosure and with that happening every day the enclosure would eventually get enough moisture inside it would condense and corrode the contacts. This was in very harsh environments especially in steam rooms but the same will happen outside, it will just take much longer. I usually change silica gel bags in my stuff outside every year or so and that keeps them nice and happy.

    I have been playing about a bit trying to make my website 'radmon' page look nifty. I'm pretty pleased with the page so far.

    I use radlog to transfer the locally generated graph to my website. I grab the european map from radlog.org in an iframe and then grab each of the six history/trend data images from radlog.org. Because I like a black background and use that on my page, the images right from radlog.org have white backgrounds and look poor, so I run them through a PHP image filter to change the colours negative, cache them locally and display on my page.

    enter image description here

  • Posted on

    Archived from radmon.org - originally posted 20/03/2016

    After some more testing and investigation I found the issue in sketchy GPS was actually the code. I've fixed it and the results are much, much better. There is just one tiny issue now where the CPM being read from the counter is recorded occasionally with an extra digit or two counts on one record. I reckon once that is sorted I can call it version 1.0 :)

    I have updated the download link with the latest code. Here are the results so far:

    https://www.google.com/maps/d/edit?mid=zasLAdbQXqtw.kInoUYbBsJO8&usp=sharing

    enter image description here

    I changed the way the serial CPM is read and that appears to have fixed the issue with the serial data not being read properly..

    I have uploaded the changes to the zip file and can be found here.

    It does very occasionally miss the first digit from the CPM but knowing what I know now about why this is happening it would require a complete rewrite of the code. The issue is caused by the timing from the CPM being transmitted by the GC10 and then the serial is being read by the microprocessor. If the CPM is transmitted from the GC10 before the microprocessor is ready to read it it missed off the first digit. I left it logging all night and I found this happened 3 times in 10,000 records. So whilst not 100% perfect I feel this is 99.9% perfect and is certainly decent enough for my requirements.

    I'm happy to call this version 1.0 :cheer:

  • Posted on

    Archived from radmon.org - originally posted 19/03/2016

    I have sorted the battery issue by adding a couple of 18650 Lipo's and a buck converter to regulate the voltage to 5.0V. That seems to be holding up well. The entire unit (logger and counter) consume about 10ma at 20CPM background radiation so roughly working out if my batteries are 2000mAh (they state 2600mAh but I doubt I will get that) and the unit uses 10mA then it should last for around 200 hours! I just need to sort a charging circuit now to charge the batteries when the unit is powered from 12v from the car, or mains adapter.

    I went out for a quick test with it and it seems to be OK except for sketchy GPS data. I think I need to improve the GPS antenna, so adding an external antenna should sort that. I have a Peugeot car with heat reflective windscreen and it plays havok with most cheaper GPS receivers. At least I'm hoping that is the issue!

    Here is the data for anyone interested and a quick picture of what it looks like so far: https://www.google.com/maps/d/viewer?mid=zasLAdbQXqtw.kxVyakPPw-s0

    enter image description here

  • Posted on

    Archived from radmon.org - originally posted 17/03/2016

    I recently bought myself a DP-66M from ebay, then another one, then a NetIO GC-10 and I have another on the way. Maybe a different one soon? It's fair to say I have been bitten by the Geiger counter bug!

    I am building a static outdoor monitoring station at home, monitoring 24/7, but currently waiting on parts from China. In the meantime I have been playing with the GC-10 and built a prototype mobile GPS logging unit to take on my travels. I live not too far from Heysham power station and the Westinghouse Springfields nuclear fuel manufacturing site, so I will be having a drive around them soon to see if there are any elevated levels

    enter image description here

    The unit uses an Arduino Pro-mini at the core, with a GY-GPS6MV2 GPS receiver module and a Catalex SD card module. All are cheap as chips on ebay from China. The Arduino takes the GPS data via RS232, the CPM from the GC-10 RS232, does a little processing and parsing of the data and shoves it on the SD card in a CSV. Each time the logging is started it creates a new filename generated from the date/time so should be easy to get the data and upload it to Google maps or something similar (I haven't gotten round to that part yet). There is a bi-coloured LED that changes from red to green when a good satellite lock is acheived and it will not start to log the data on the card until a valid date/time is received from GPS. This keeps the CSV files nice and tidy with proper logs only.

    In testing I have had issues with the batteries (2x AA via a 5v boost converter to the GC-10), but I think that was down to bad batteries, so I am currently testing on fresh batteries. I checked the current and it is pulling just under 4mA at the batteries, so whilst they won't last long, it should be enough for some walky-walky monitoring. I plan to add an external GPS antenna/socket and maybe a couple of 18650 Lipo batteries and charger/protection circuit/module. I think it would be nice to be able to power from either the car 12v or maybe a 5v USB type power input that would charge the batteries when plugged in, but that is for another day.

    enter image description here

    A zip file containing the source/schematic etc. can be download here: GPS Geiger Counter. Please note this was a long time ago and may contain old library code, so may not compile as is.

    Contained in the zip are some photos of my prototype build, the Arduino source and schematic so anyone that wants can go build one also! Some knowledge of electronics/arduino will probably be needed as I have not, nor intend on doing a step-by-step.

    ETA: I forgot to mention that this can be used with any Geiger counter that spits out the CPM over RS232, such as the counters to connect to Radlog.

    AETA: I also forgot to mention that some of the code is a little clumsy and probably not very efficient, especially the LED part for changing the colour etc, but that said it does seem to run well on the Pro-mini.