Blinky's Lab

geiger-muller-tubes

All posts tagged geiger-muller-tubes by Blinky's Lab
  • Posted on

    Archived from radmon.org - originally posted 04/12/2021

    Well, I managed to destroy my second SBT-10A. The first destroyed itself as far as I am concerned as I took it out of it's box one day, and it was toast - post here . This one was my fault. I dropped a polarizing filter on the mica window (only from about 4cm) but it hit it and went with a proper loud bang, right in my face and showered my microscope and desk with bits of mica, then the black bits on the inside of the mica just turned to a yellow schmoo in the air atmosphere. It would have been a nice experiment had I actually planned it, but I did manage to get some video of the black crystals turning to yellow liquid in real time - below. The volume of the bang was quite extraordinary and made my ears ring. Very, very surprising. It must have had quite the vaccuum in there.

    It had lots of black spots on the mica window, so a few weeks ago I put it under my stereo microscope and I could very clearly see at 45x that they were a crystaline structure. Some were larger than others, they grew next to each other and some on top of others. This game them a very arbitrary shape to the human eye and looked like black blobs. I reckon this was something in the resin that was leaching out over time. My SBT-10A had gotten pretty bad with the black spots, but still worked and performed as it always had. Until I broke it.... Grrrr.... So, since it was destroyed, already showered me in mica and whatever else, I guess a safety requirement for handling it wasn't justified any more so just cleaned it up and took some photos of the tube without the mica window. The photos aren't really that interesting but we do get to see the insides of a SBT-10A and the video of the black crystals breaking down is pretty good.

    enter image description here

    enter image description here

    enter image description here

    enter image description here

    enter image description here

    enter image description here

    Below is a piece of the mica that I made the video with and some yellow schmoo that I cleaned up with a tissue.

    enter image description here

    enter image description here

    Finally, this video shows the black crystals breaking down into the yellow schmoo. Fun times! 😄

    It is very possible the substance was absorbing water from the air as it appeared the volume of liquid was greater than the initial substance. It could also be that the crystals/substance was either used to, or required an extremely low pressure environment and introducing it into a high(er) pressure environment forced the moisture into the substance. Was interesting to see and I'm glad I caught it on video. As soon as I saw the liquid moving I started recording and the whole thing lasted about 4-5 minutes from start to finish. I missed the first minute, or just over, with all the panic of the thing blowing up on me!

    So, do I buy another SBT-10A?..... I do like the tube and it does make a nice part of my collection, but I dunno if I can risk breaking another!

  • Posted on

    Archived from radmon.org - originally posted 12/08/2019

    In reply to a nzoomed's question on radmon.org:

    Im wanting to build an outdoor monitoring station with an SBM20 and not sure if its good to use a PVC pipe to place the tube inside? Obviously im wanting something as thin as possible to let as many particles through as possible. Are there some materials I should avoid? Are beta particles typically encountered much in the environment? Should I only be worried about cosmic rays? Im not sure how much background radiation is from other sources, but im expecting there is a great deal from alpha decay from the likes of radon etc which will never be picked up anyway? What does everybody else do? Im wanting to get the highest possible outdoor readings if possible.

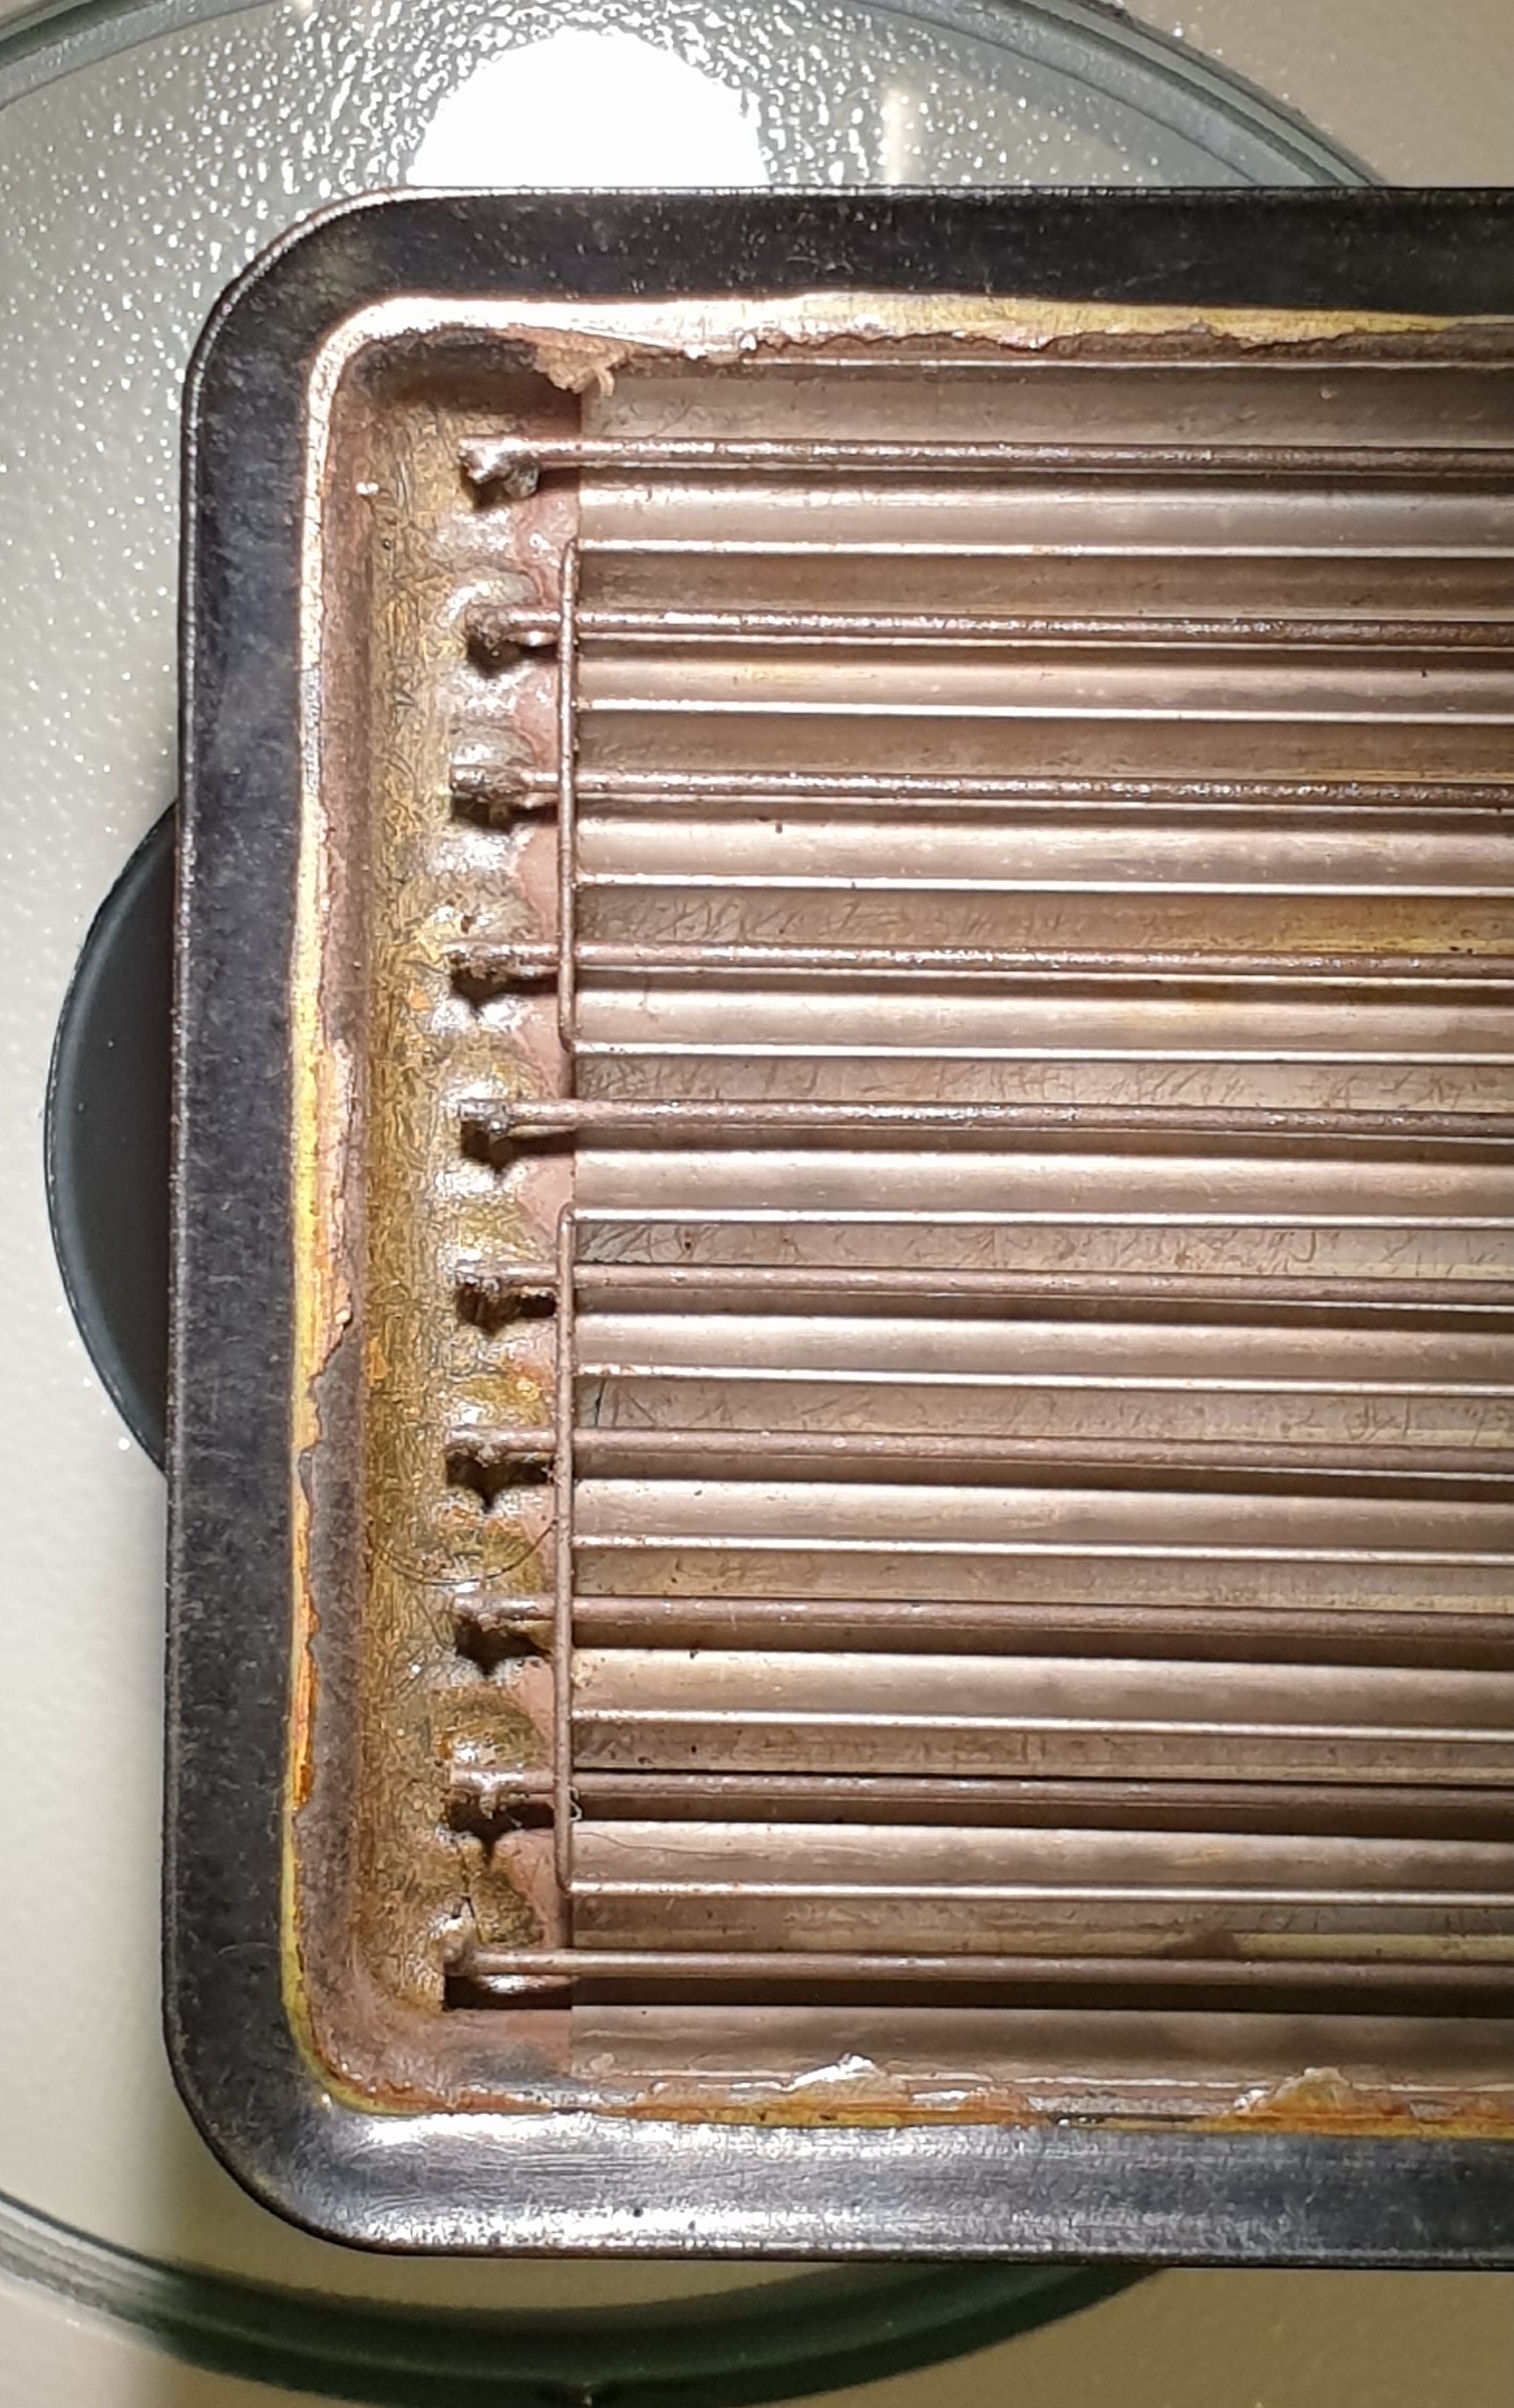
    I mounted my counter in an ABS enclosure outside under a canopy on my workshop. I cut a slot in the front where the tube is and covered that with Kapton tape to keep it reasonably air tight. I have seen people use PVC pipe for housing their tubes. I used some 20mm plastic (PVC?) electrical conduit to make a house for a SBM-20 tube that I can fix externally to a window on my car with a sucker. It works fine but it is ever so slightly less sensitive. For background monitoring though I think this would be fine. As you mention, use something with as thin a wall as possible and also keep it watertight if used outside. Airtight would be better but it is hard to achieve whilst maintaining accessibility for service etc. I have a couple of large bags of desiccant behind the board in my counter that I have replaced once in 3 years and has done a fine job of keeping it dry and corrosion free. I live by the sea so we have quite humid air at most times.

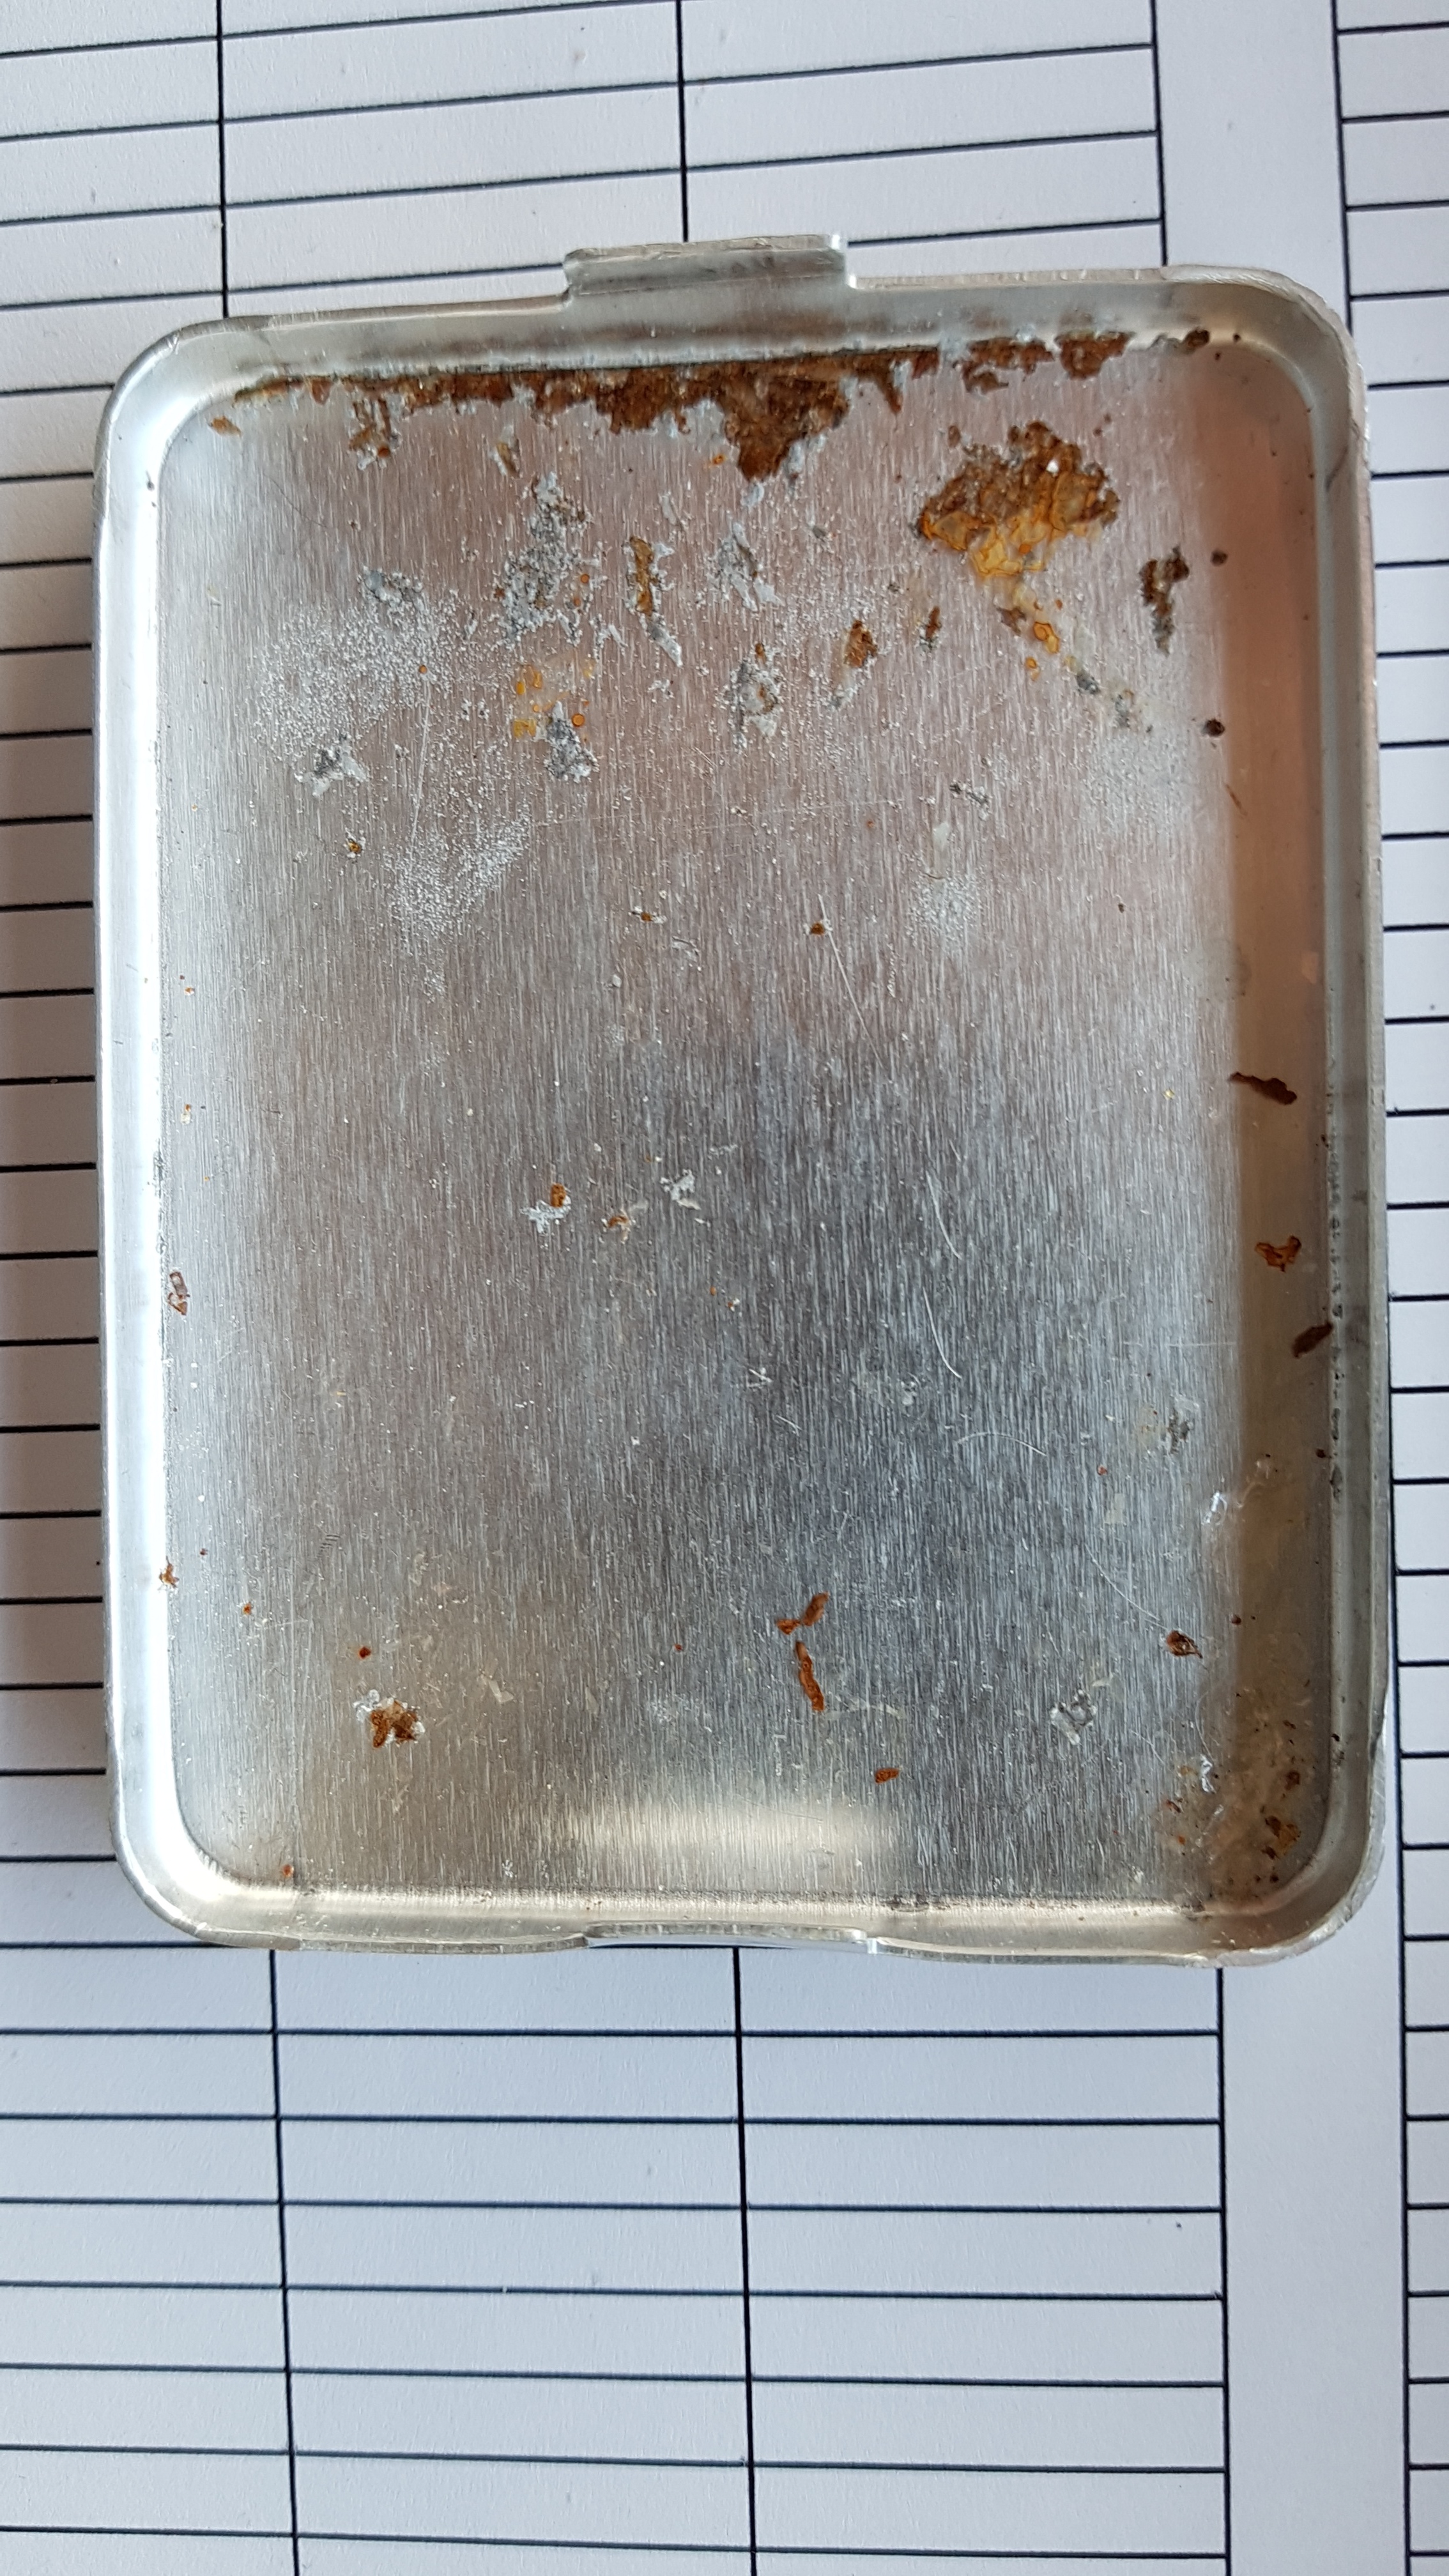
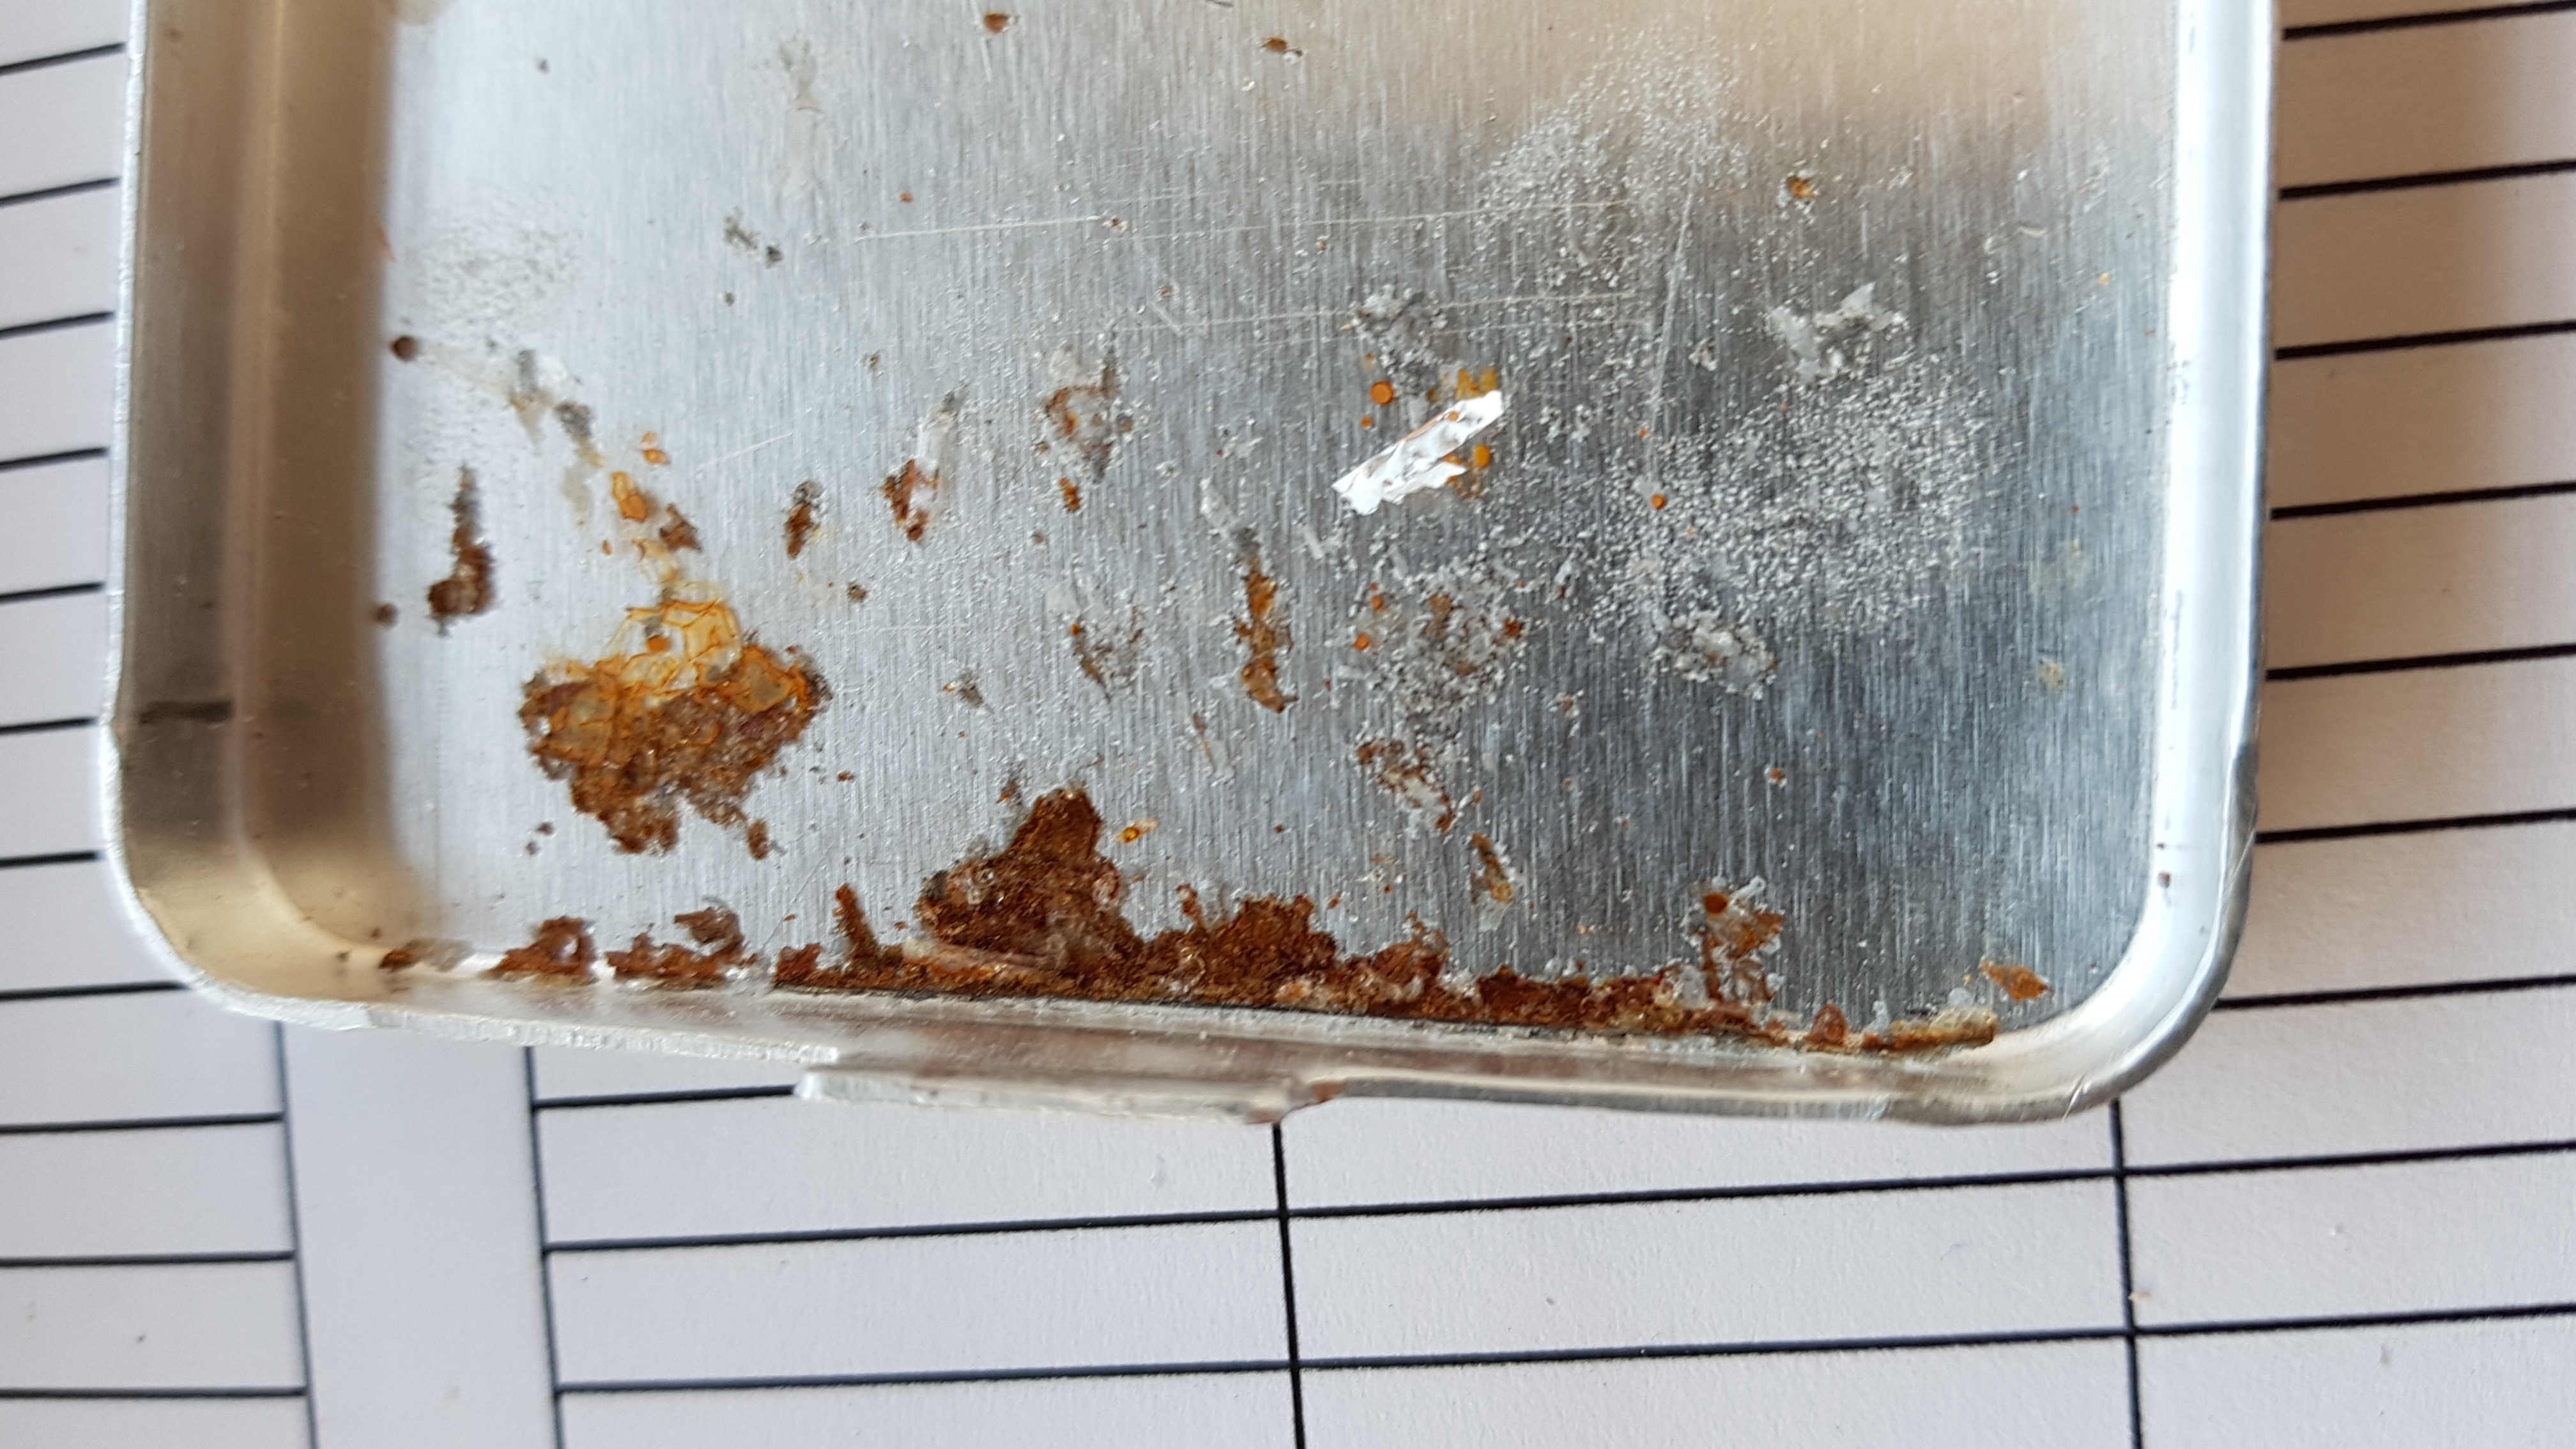
    When it comes to detection and detecting alpha/beta/gamma it depends how far down the rabbit hole you want to go. The SBM-20 tube is capable of detecting gamma and hard beta OK. It however, will not detect alpha at all. For that you will need a tube such as the LND712 (great for portable hand held counters) or something like the SBT-10A (very sensitive to alpha, beta & gamma - great for surveying). The issue with detecting alpha outdoors is that the tube itself would need to be open to the elements. Over time the tube window would need cleaning which in most cases would ruin the tube itself as you are not supposed to touch the alpha window at all. I have a SBT-10A that mysteriously destroyed itself but does show how fragile they are. I believe it is possible by using mica to create a window for the tube as that apparently lets alpha pass through but I have never experimented with so can't say for sure although a lot of alpha tubes use mica themselves. It is possible to detect beta and gamma using SBM-20 tubes but this requires two tubes, one shielded with 3-4mm of aluminium and the necessary counting electronics. Basically two separate Geiger counters, one with the shielded tube. The unshielded tube will detect gamma and beta whereas the shielded tube will detect gamma only thus if there is a noticeable difference in counts, math can be applied and the difference in counts would be the beta detection.

    Going back to your SBM-20 housed outdoors there are some things to be aware of. Make sure the cable between the tube and the counter is no more than about 1m in length. If you are going to mount the tube separate to the counter it would be prudent to place the anode resistor at the tube itself and not at the counter. This will reduce interference causing inaccurate readings. I like to keep my tube as close to the counter as possible which rules out any interference a cable may pick up. It would be perfectly fine to place the counter on the inside of a wall and the tube directly outside using a small cable (20cm or so). I would still put the anode resistor at the tube though. But in doing that you will have two things to house and mount so putting the tube in a larger enclosure with the tube may mean a lot less work.

    With regard to Radon gas, it is pretty much impossible to detect outdoors as it dilutes in the air fast and with just a gentle breeze it is gone. Radon is an alpha emitter but also produces alpha and beta decay products during it's decay. The beta decay products would be detectable using an SBM-20 tube but their half life is so small it would be very hard unless you had a monumental release of Radon. Radon outside won't harm you as it is diluted by the air and swept away in the wind but it can be potentially very harmful indoors if exposed to over time. The best places to detect Radon gas at home would be in a basement or under the floor boards on the ground floor as it emanates out of the ground itself. If you were conscious about checking for radon there are specially made units for detecting Radon gas but I don't believe any outdoor units exist except for very expensive specialized detectors.

    Are beta particles typically encountered much in the environment? 
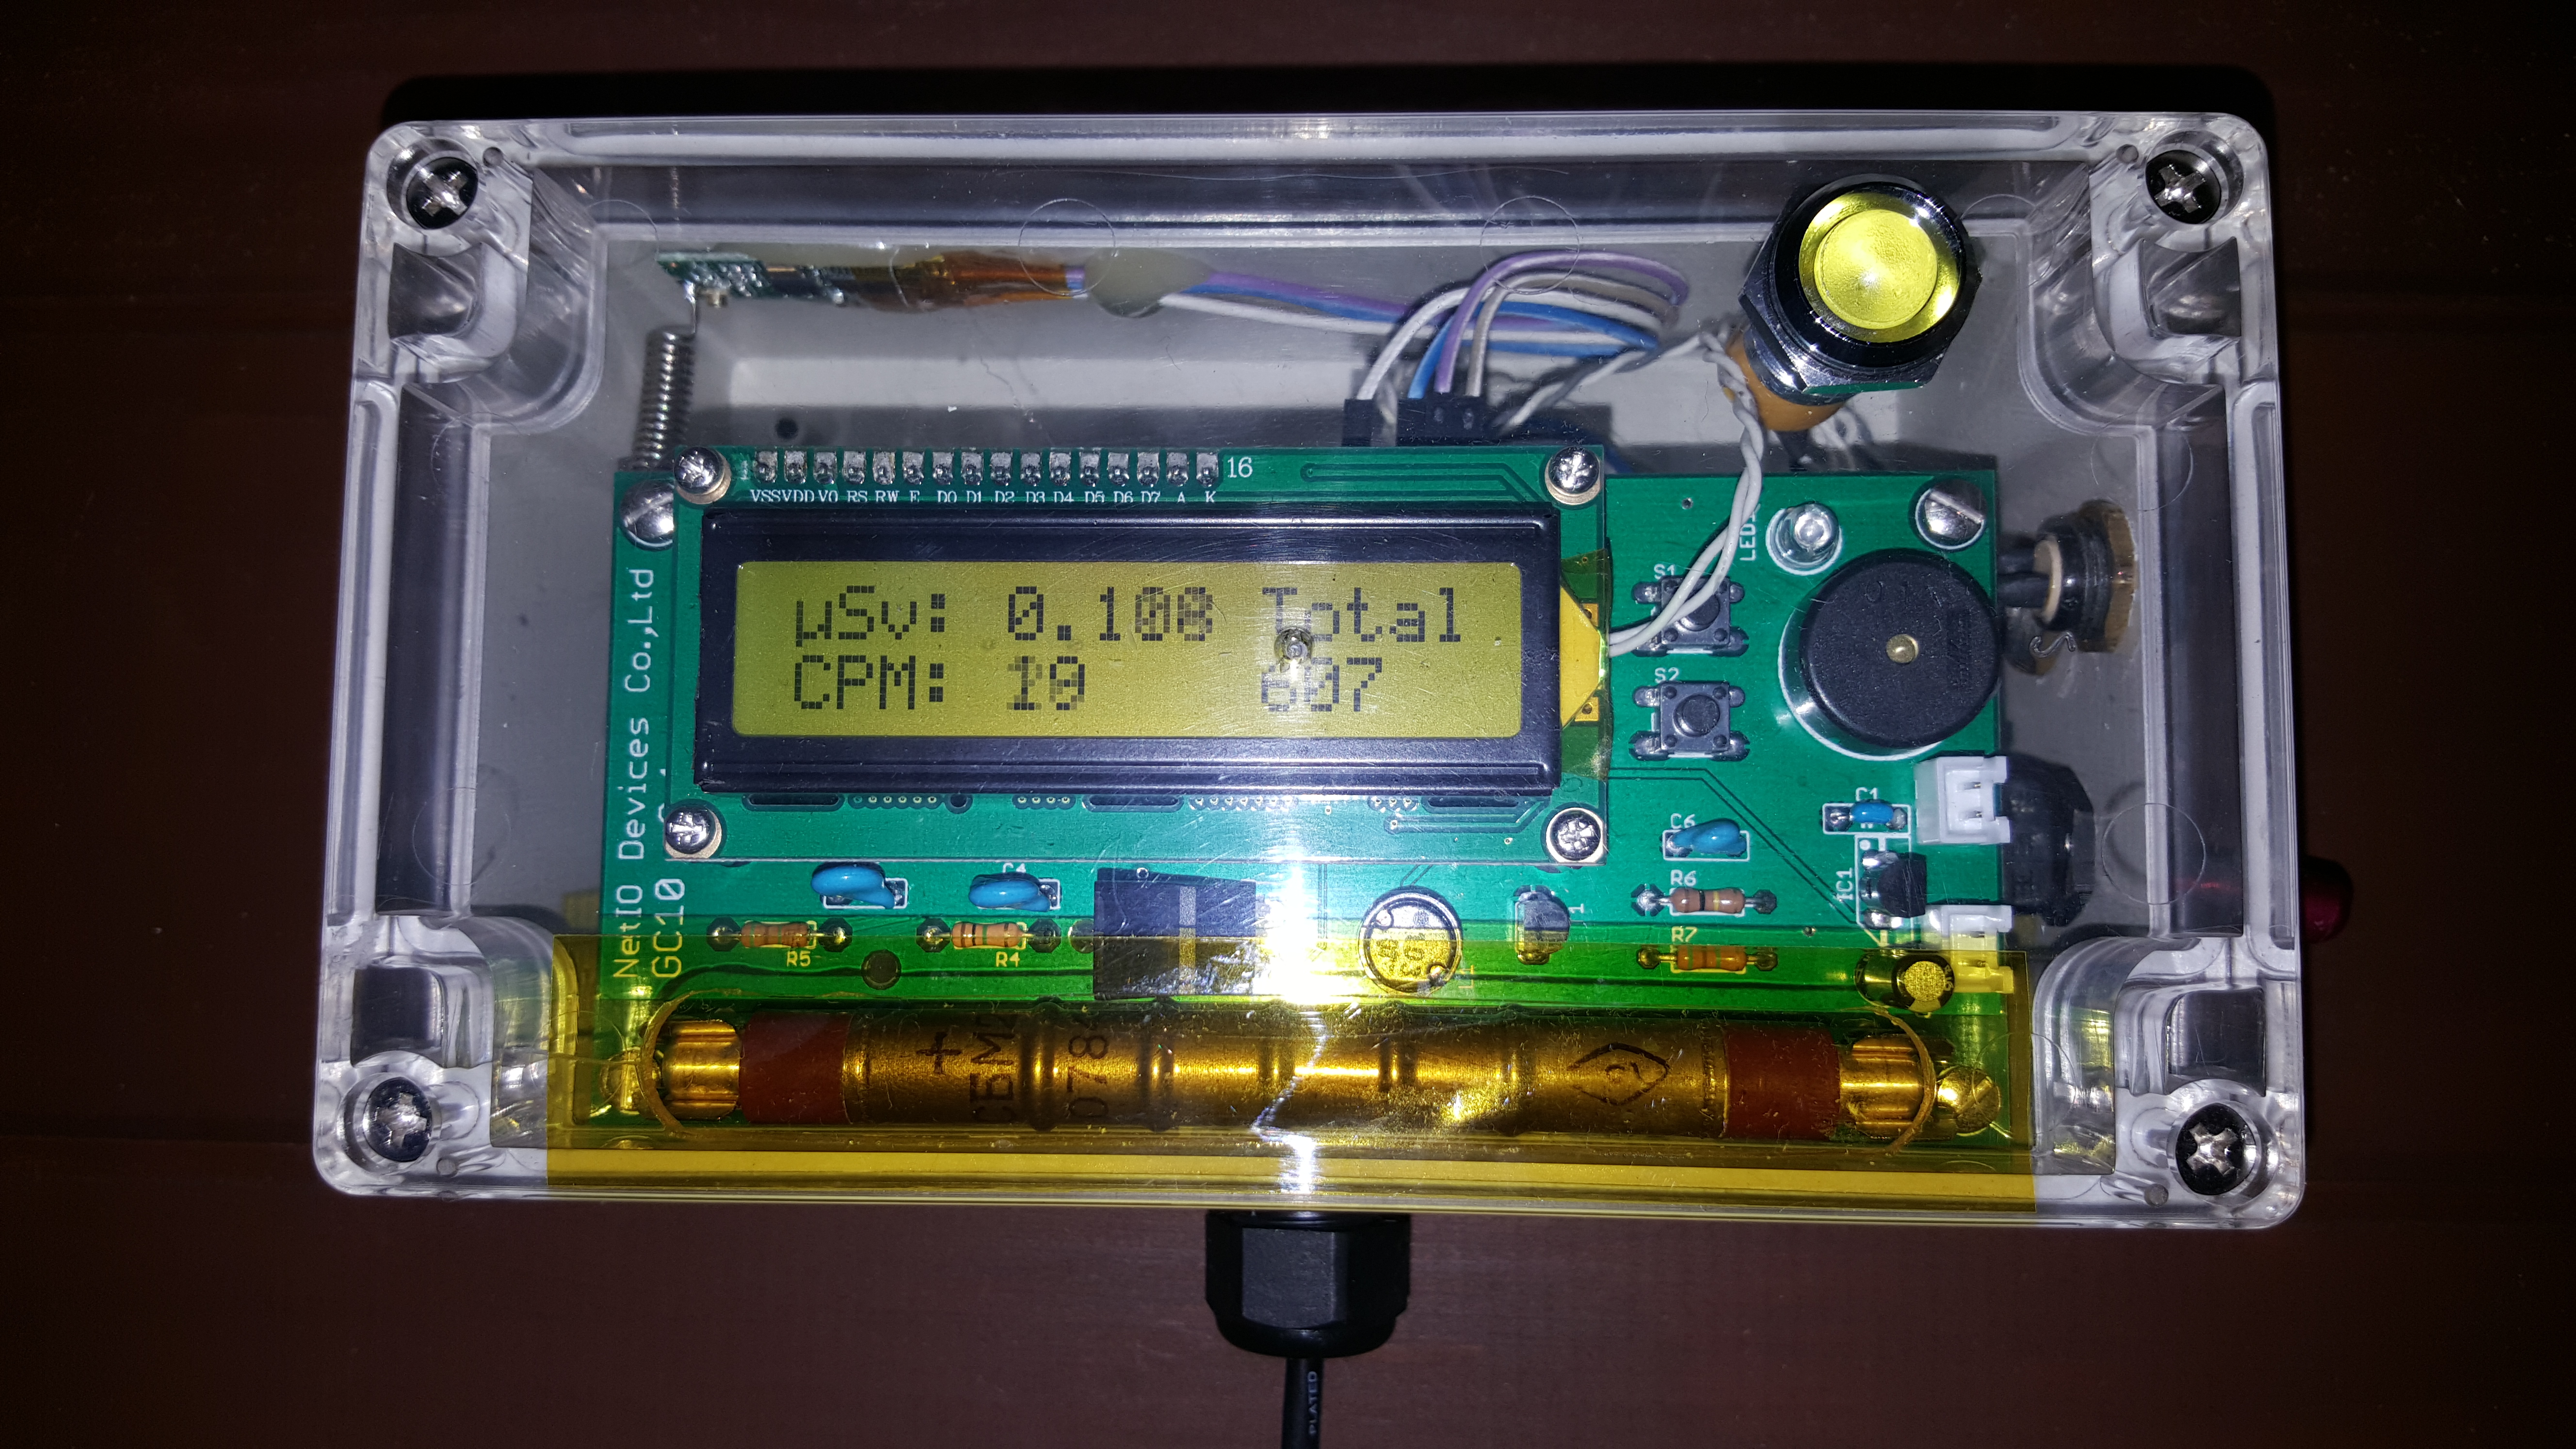
Most likely (Radon decay products produce beta), but without the equipment to differentiate between gamma and beta there is no way to know, unless you knew what the actual radioactive source isotope was. Using the two tube method it is possible to gain a feel for whether a detection was beta or gamma but bear in mind that an average Geiger counter isn't very accurate. I believe my NET-IO GC10 with SBM-20 is about +-25% accurate so what it tells me could actually be 25% less or 25% more radioactive than what the counter lets on. You can increase the accuracy by using more sensitive tubes like the SBT-10A or an SI-22G. The SI-22G is about 9 times more sensitive (and about 4 times larger) than the STM-20 so over time this would give a better resolution but not necessarily more accurate, although a greater resolution would offer a greater accuracy over time. Over time you will get to know your counter and it's results and you should get a good feel for whether it is detecting anything other than background.

    Should I only be worried about cosmic rays? Nope. You shouldn't worry about cosmic rays (muons) at all. They are subatomic particles and will literally go straight through you. Every square meter on earth is hit by thousands of these every second so there is a good chance you are getting hit with thousands of them right now, and they are passing right through you. The occasional one might bump into one of the atoms in your body but they are few and far between and the body will naturally get rid of any damaged cells and replace them as it sees fit, providing you are relatively fit and healthy. I suspect a percentage of background radiation that is detected is caused by muons and a muon detector can be made using multiple GM tubes using electronics to detect coincidences (simultaneous detections) with the tubes. With enough tubes in a matrix you could even see what direction they are traveling in. But you shouldn't worry about them at all. The sun will cook you far faster than muons could cook you, unless our sun goes supernova! ;) I often get spikes with my counter, sometimes going from ~20CPM to ~60CPM or more and sometimes in clusters over a few minutes/hours. I think this is due to a flurry of muons hitting my counter as a given time.

    I'm not sure how much background radiation is from other sources, but I'm expecting there is a great deal from alpha decay from the likes of radon etc which will never be picked up anyway? It is hard to say. There are lots of radioactive sources on this planet besides Uranium, Plutonium and the usual suspects. Granite and Lead (some isotopes) are radioactive but they are so slow at decaying they are hard to detect, but they are there and probably account for a certain amount of background. The tubes themselves have their own internal background count which I believe is about ~14CPM for the SBM-20. So if my SBM-20 has an internal background of 14 and my average is about 21CPM that would give about 7 counts per minute actual background, which is pretty much nothing in the big scheme of things. As I have mentioned you will need a tube capable of alpha for detecting Radon but would be pretty useless outside.

    Im wanting to get the highest possible outdoor readings if possible. No, you're not wanting this, far from it! You want the lowest results possible from your counter unless you want to be irradiated! :P I think what you mean is that you want the most accurate results? It's doable at the relevant expense. The more accurate the equipment, the higher the cost and the SBM-20 is a toy compared to some other detection equipment. If you wanted real accuracy then you should go down the route of scintillation and gamma spectroscopy. The SBM-20 is a great tube for background monitoring though. I think most people here that have an external Geiger counter use the SBM-20. It offers modest detection and is super cheap and reliable. Once you have your counter up and running you will get a feel for it and after getting a baseline of a few days/weeks/months you will know if there is elevated radiation being detected. It is hard to work out dosage for a given tube as you need to know what the radioisotope is and what the CPM/CPS would be for that particular isotope with the particular tube. Tubes have a conversion factor from CPM to uSv/hr (dose) but that will only apply to a particular isotope say Cobalt-60. A different conversion factor would have to be applied for Caesium-137 or Strontium-90. It is a mine field when it comes to getting an accurate reading and does require very expensive equipment. An SBM-20 for a domestic background radiation detector is suitable for just that but it is only going to tell you that there is an increase in radiation, not what.

    You will probably find that (if your tube/counter is outdoors) when it rains occasionally you may get a slight increase in counts. This is due to the radioactive matter being caught in the rain and coming down to the ground. It won't last long though as most is caused by Radon decay products and last for minutes at most before decaying into their final elemental isotope which would always be non-radioactive and stable.

    Something fun to do outdoors (which I have yet to do myself!) is to get something to filter air. Just some cloth or sponge or whatever you have to hand and set it up outside with a fan so it constantly pulls the outside air through the filter. Leave that running for about a week or so then get the filter (cloth/sponge/whatever) and place it close to your counter. You may see an increase in CPM as there would be radioactive particles captured in the filter. Also wiping the rain off a car outside (whilst still wet and has been raining for a bit) and checking that with a counter as the particles that come down with the rain tend to get stuck on the cars surface. Don't worry though as most of these isotopes have a half life of seconds to minutes only so aren't harmful.

    I hope this has been helpful to you and if not helpful interesting at least. :)

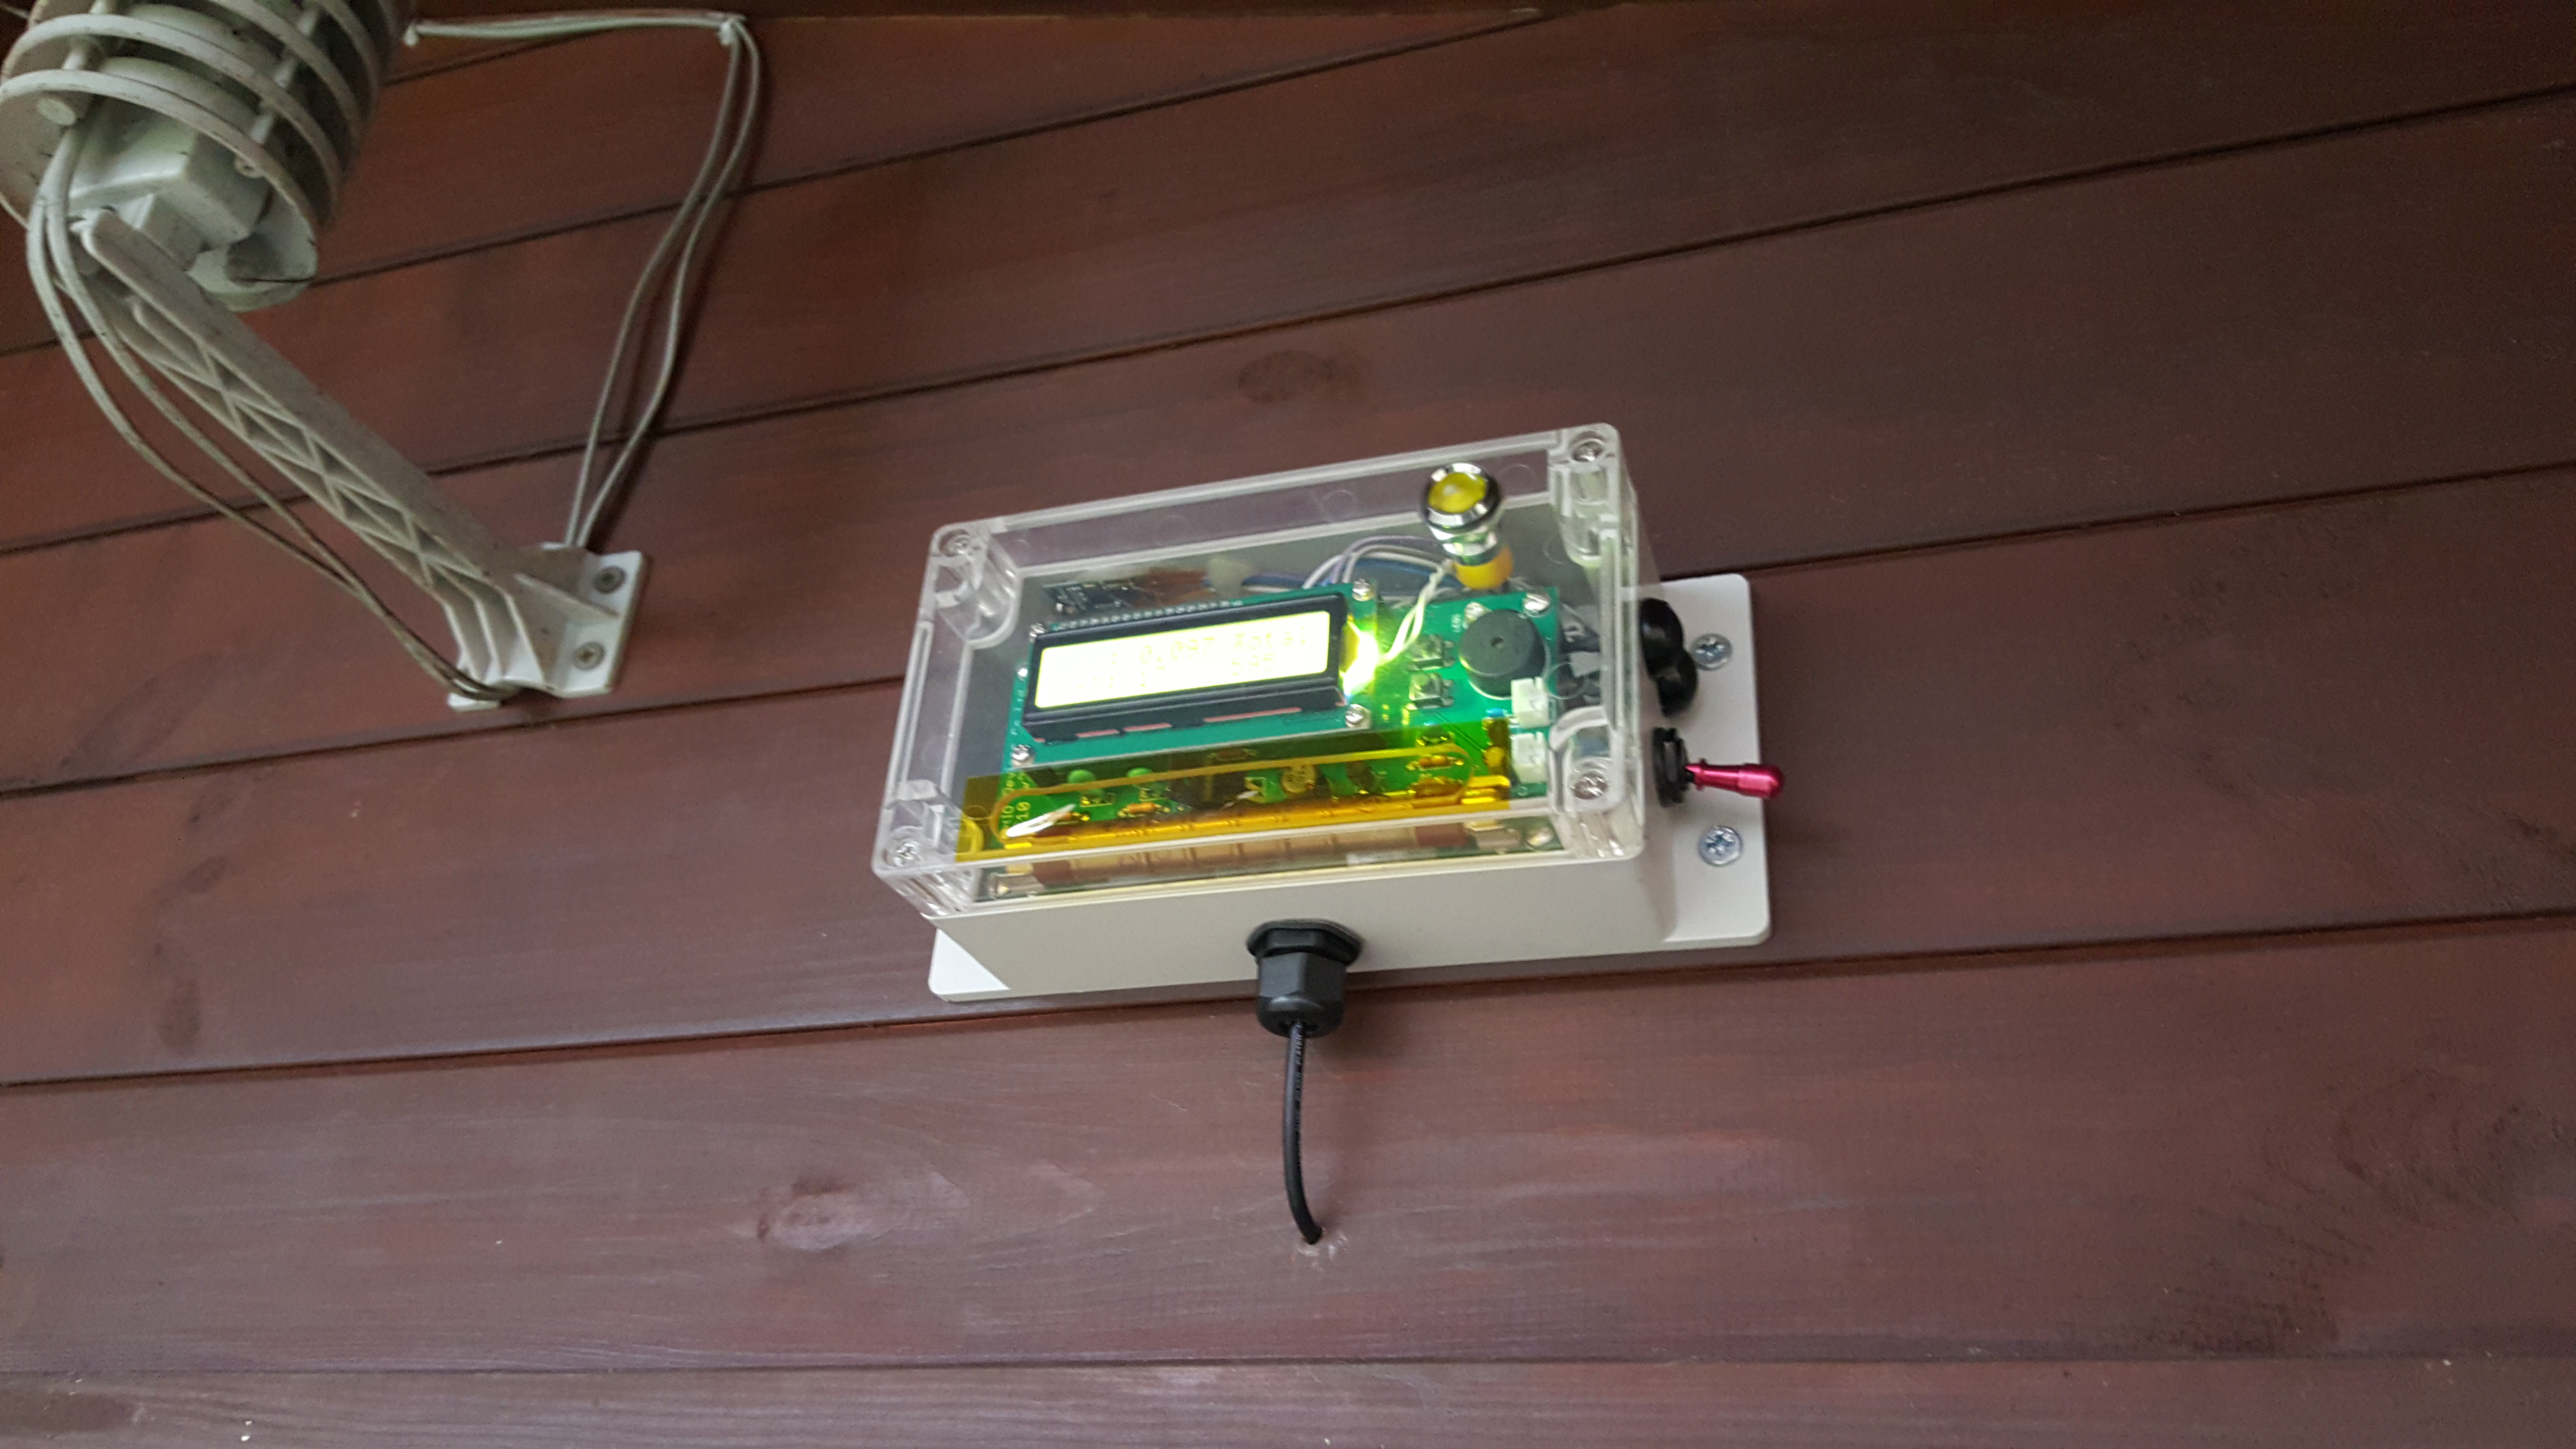
    My background monitor at home (mounted outside under a canopy on my workshop)

    enter image description here

    enter image description here

  • Posted on

    Archived from radmon.org - originally posted 15/11/2018

    A very strange one here. I'm looking for answers but after scouring the internet I doubt I'll find any.

    My SBT-10A tube has been destroyed for some reason unbeknown to myself. The mica window has completely shattered. I have no idea why. In the pictures you can see the damage. It appears that the mica has either reacted with something or it has catastrophically degraded. The last time I used this was on 20/10/2018 (so less than a month ago) when I decided to setup a reasonably controlled comparison of all my sources (I'll post about that in the future). It was working perfectly then and got packed away the same as it always has until I got it out today. Hooked it up with the aluminium cover on and got nothing, so took the cover off and that is when I saw the damage.

    Examining it closely it appears that the resin at the edge (top of picture of tube) has some marks in it. Looks like physical damage but I fear some sort of corrosion. The resin was once black and shiny and now it appears to be greyish and powdery looking. This could be a form of residue or corrosion. Until I get it under a microscope it is hard to tell. There are some strange marks on the remaining mica. Light brown patches that look like some kind of contaminant. On the aluminium shield there is what resembles rust. But aluminium doesn't form this kind of oxidization. There are also signs of aluminium oxide towards the middle of the inside of the shield.

    It is all very strange and I would like to get to the bottom of it as I have ordered a replacement from Romania and I don't want the same to happen to the new one.

    If anyone has any ideas I would very much appreciate your input. I find it hard to understand that a chemical reaction or corrosion has caused this as mica is a silicate and silicates are very resistant to chemicals (however I could be wrong), allthough things are pointing to that. I am always extremely careful handling my tubes and counters. My thoughts are that some contaminant has caused a reaction with either the resin or the mica itself.

    In the pictures: The tube itself at the top has some damage to the resin at the edge and also light brown marks to appear to be on the inside of the mica.

    enter image description here

    The aluminium shield has what looks like iron oxide (rust) that was at the same side as the damage to the resin. There is also what appears to be aluminium oxide towards the middle of the inside of the shield.

    enter image description here

    enter image description here

    I have looked under a cheap USB microscope and though the image was crappy it looks like the mica has shattered, but not in a physical sense but chemical. As though the atom bonds have detached causing to mica to retain a smaller crystalline form. I am pretty sure it is some kind of contamination on the mica that has caused a reaction and this is the result. I doubt very much it is physical damage. I intend on looking again with the microscope so I'll grab some images. They don't explain anything but are interesting.

    Once I have done that I'm going to remove all of the mica and grab some good photos of the tube so we can see what the SBT-10A looks like inside and hopefully see how the separate anodes and cathode are constructed. I'll try and do it soon.

    On a positive note my replacement arrived today. It came in the original box and is nice and shiny but there is some serious patching and black speckles on the inside or the mica window. I think this is just down to age and the way it has been stored (temperatures/humidity etc.) That said it works well, and seems very slightly more sensitive than the last one. The bad part is that I still don't know what caused the damage on the last one, so I'm going to have to be super careful with this.

  • Posted on

    (Paraphrased) Archived from radmon.org - originally posted 19/03/2017

    A radmon.org user was having avalanche issues with their SBT-10 Geiger Muller tube. Doing a little research I found a little information stating that each anode on the GM tube (there is ten in total) should have it's own quenching resistor. I have mine set with a 10Mohm on each anode (see pic below) and appears to work OK, although I haven't had it running for long and just some simple tests. When I got it I scoured the web looking for info but it seems there is very little. One recurring theme was that the voltage and resistor(s) did play a very big part on getting correct counts from the tube.

    From this site: https://sites.google.com/site/diygeigercounter/gm-tubes-supported

    SBT10-A - alpha tube A good tube for measuring food? This report from Pedro (thanks for keeping us in the loop): "Finally the replacement for the faulty SBT10-A tube arrived and after connecting it to the arduino the counter shows a 160/190 CPM with all the segments connected to a 10Mohm resistor. The anode voltage seems to be critical for this tube as it creates avalanches if anode voltage is over 370v. Care must be taken in the voltage calibration as most voltmeters will show erroneous reading due to intrinsic impedance, so in my case the adjustment was made to 330v (digital readout) but the real voltage without voltmeter load was 370v. In my case this tube detects 2400 CPM for a lantern mantle at 10cm from the mica window without alpha blocked and 690 CPM with alpha blocked." [7/22/16] A customer reports that 10MΩ is too low for this tube. He had expected results with as high as 30MΩ. He used that resistance on every anode of the tube. He also said that the sensitivity to the HV setting described above is explained by too low of anode resistance. For the conversion ratio, I calculated using Method 2 below, and got a ratio of 1641 CPM / uSv. Seems high, but is a sensitive tube.

    Doing a bit more digging for what little info there is regarding this, I found a forum where a couple of users stated that a 30M ohm resistor works best per anode.

    enter image description here 
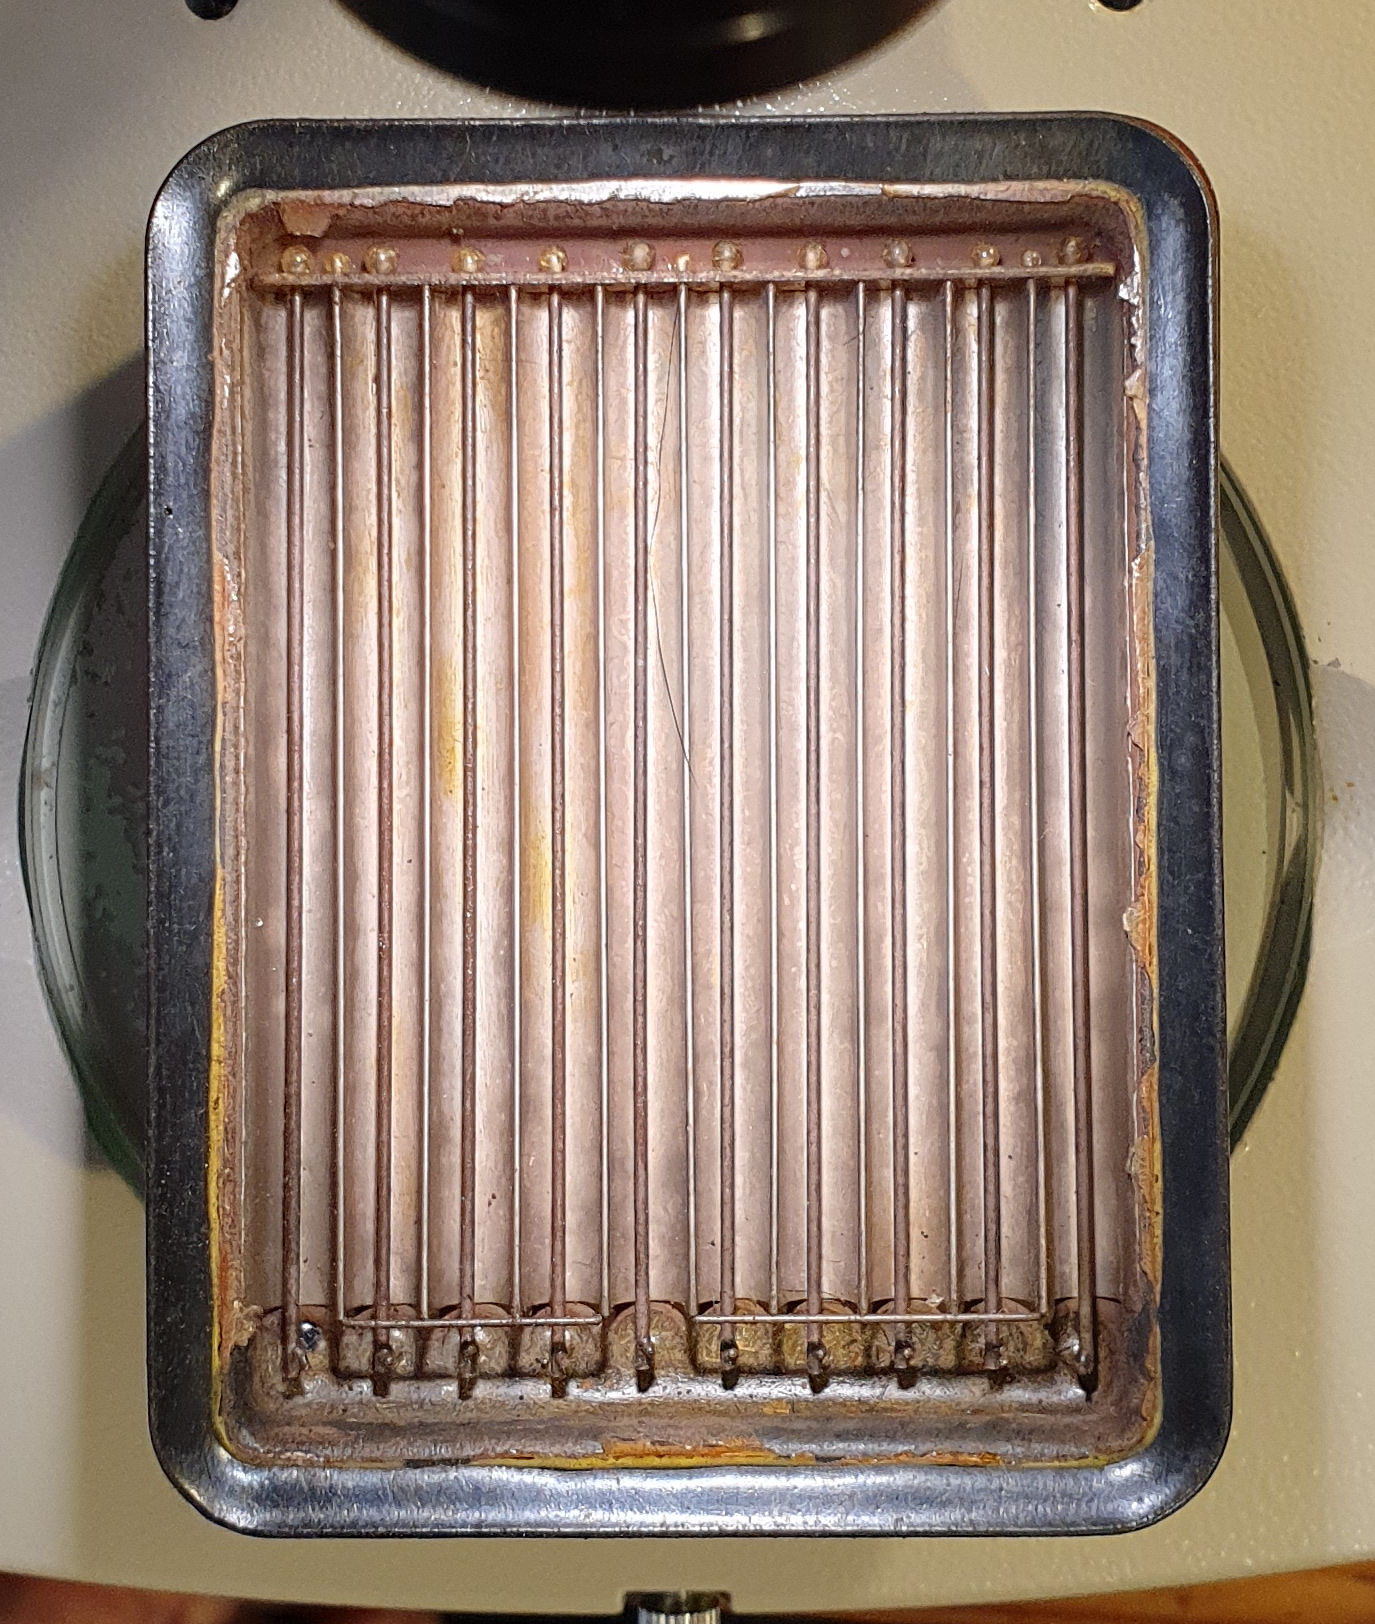
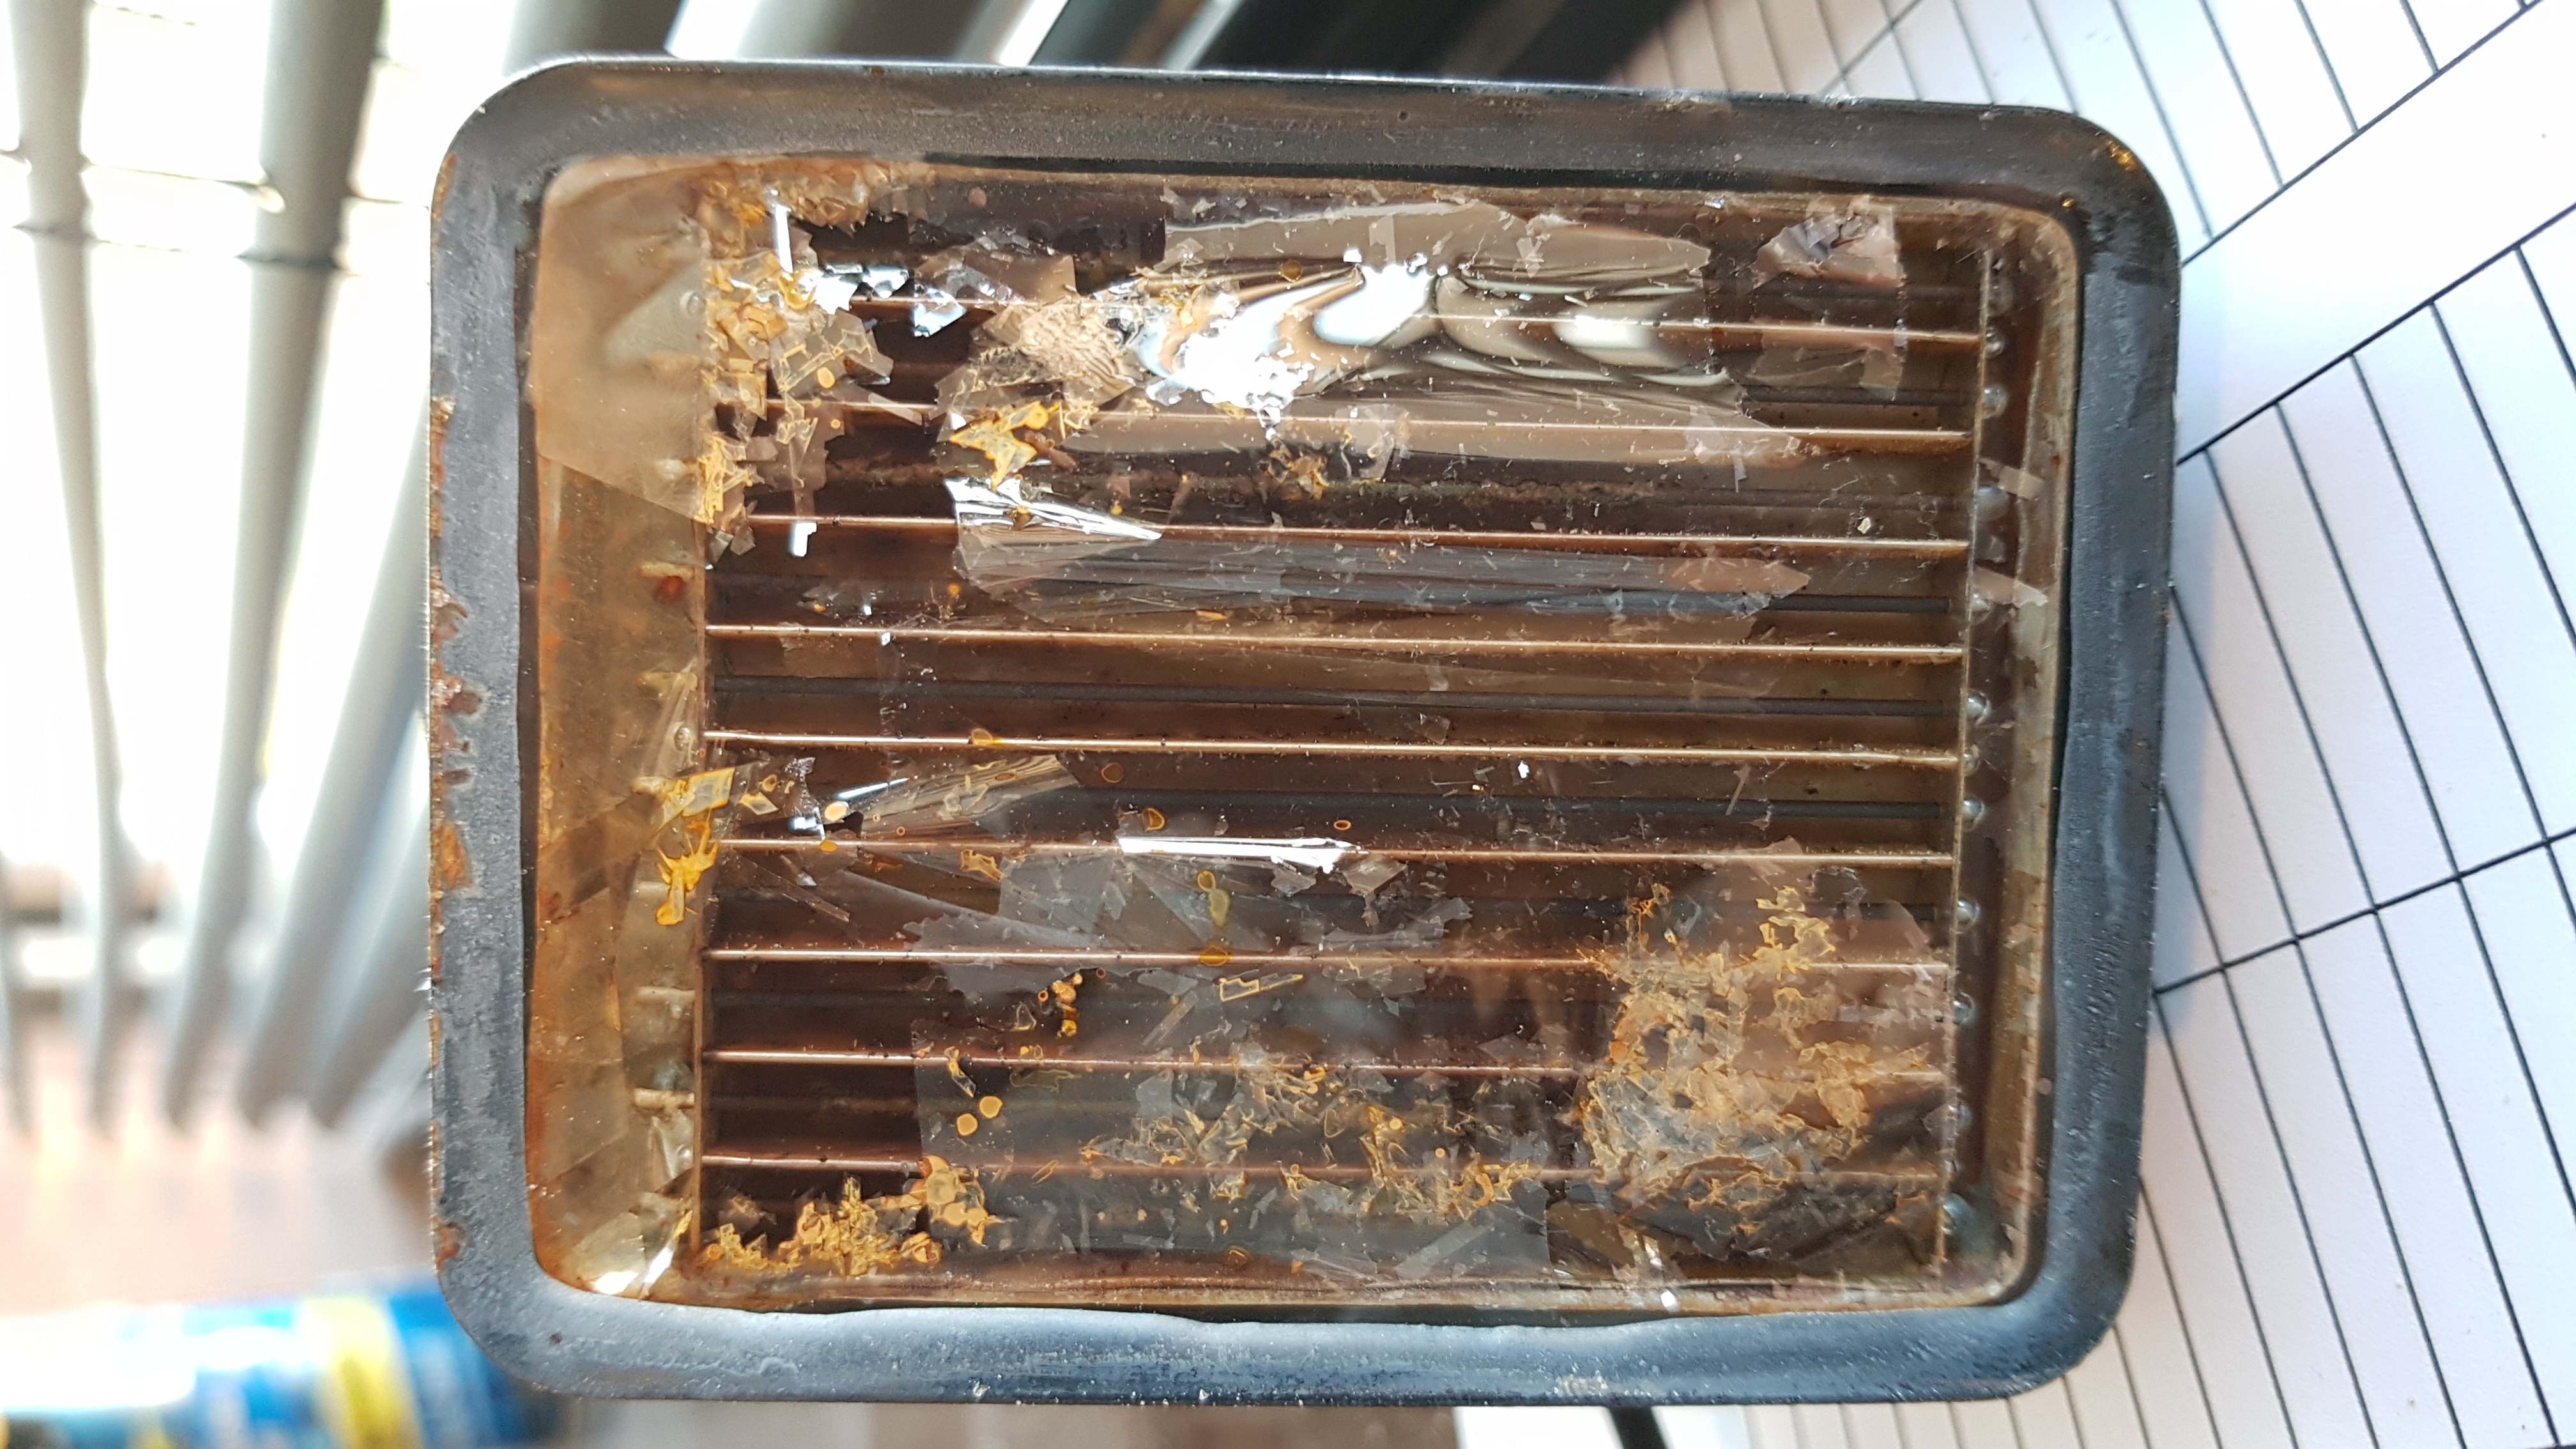
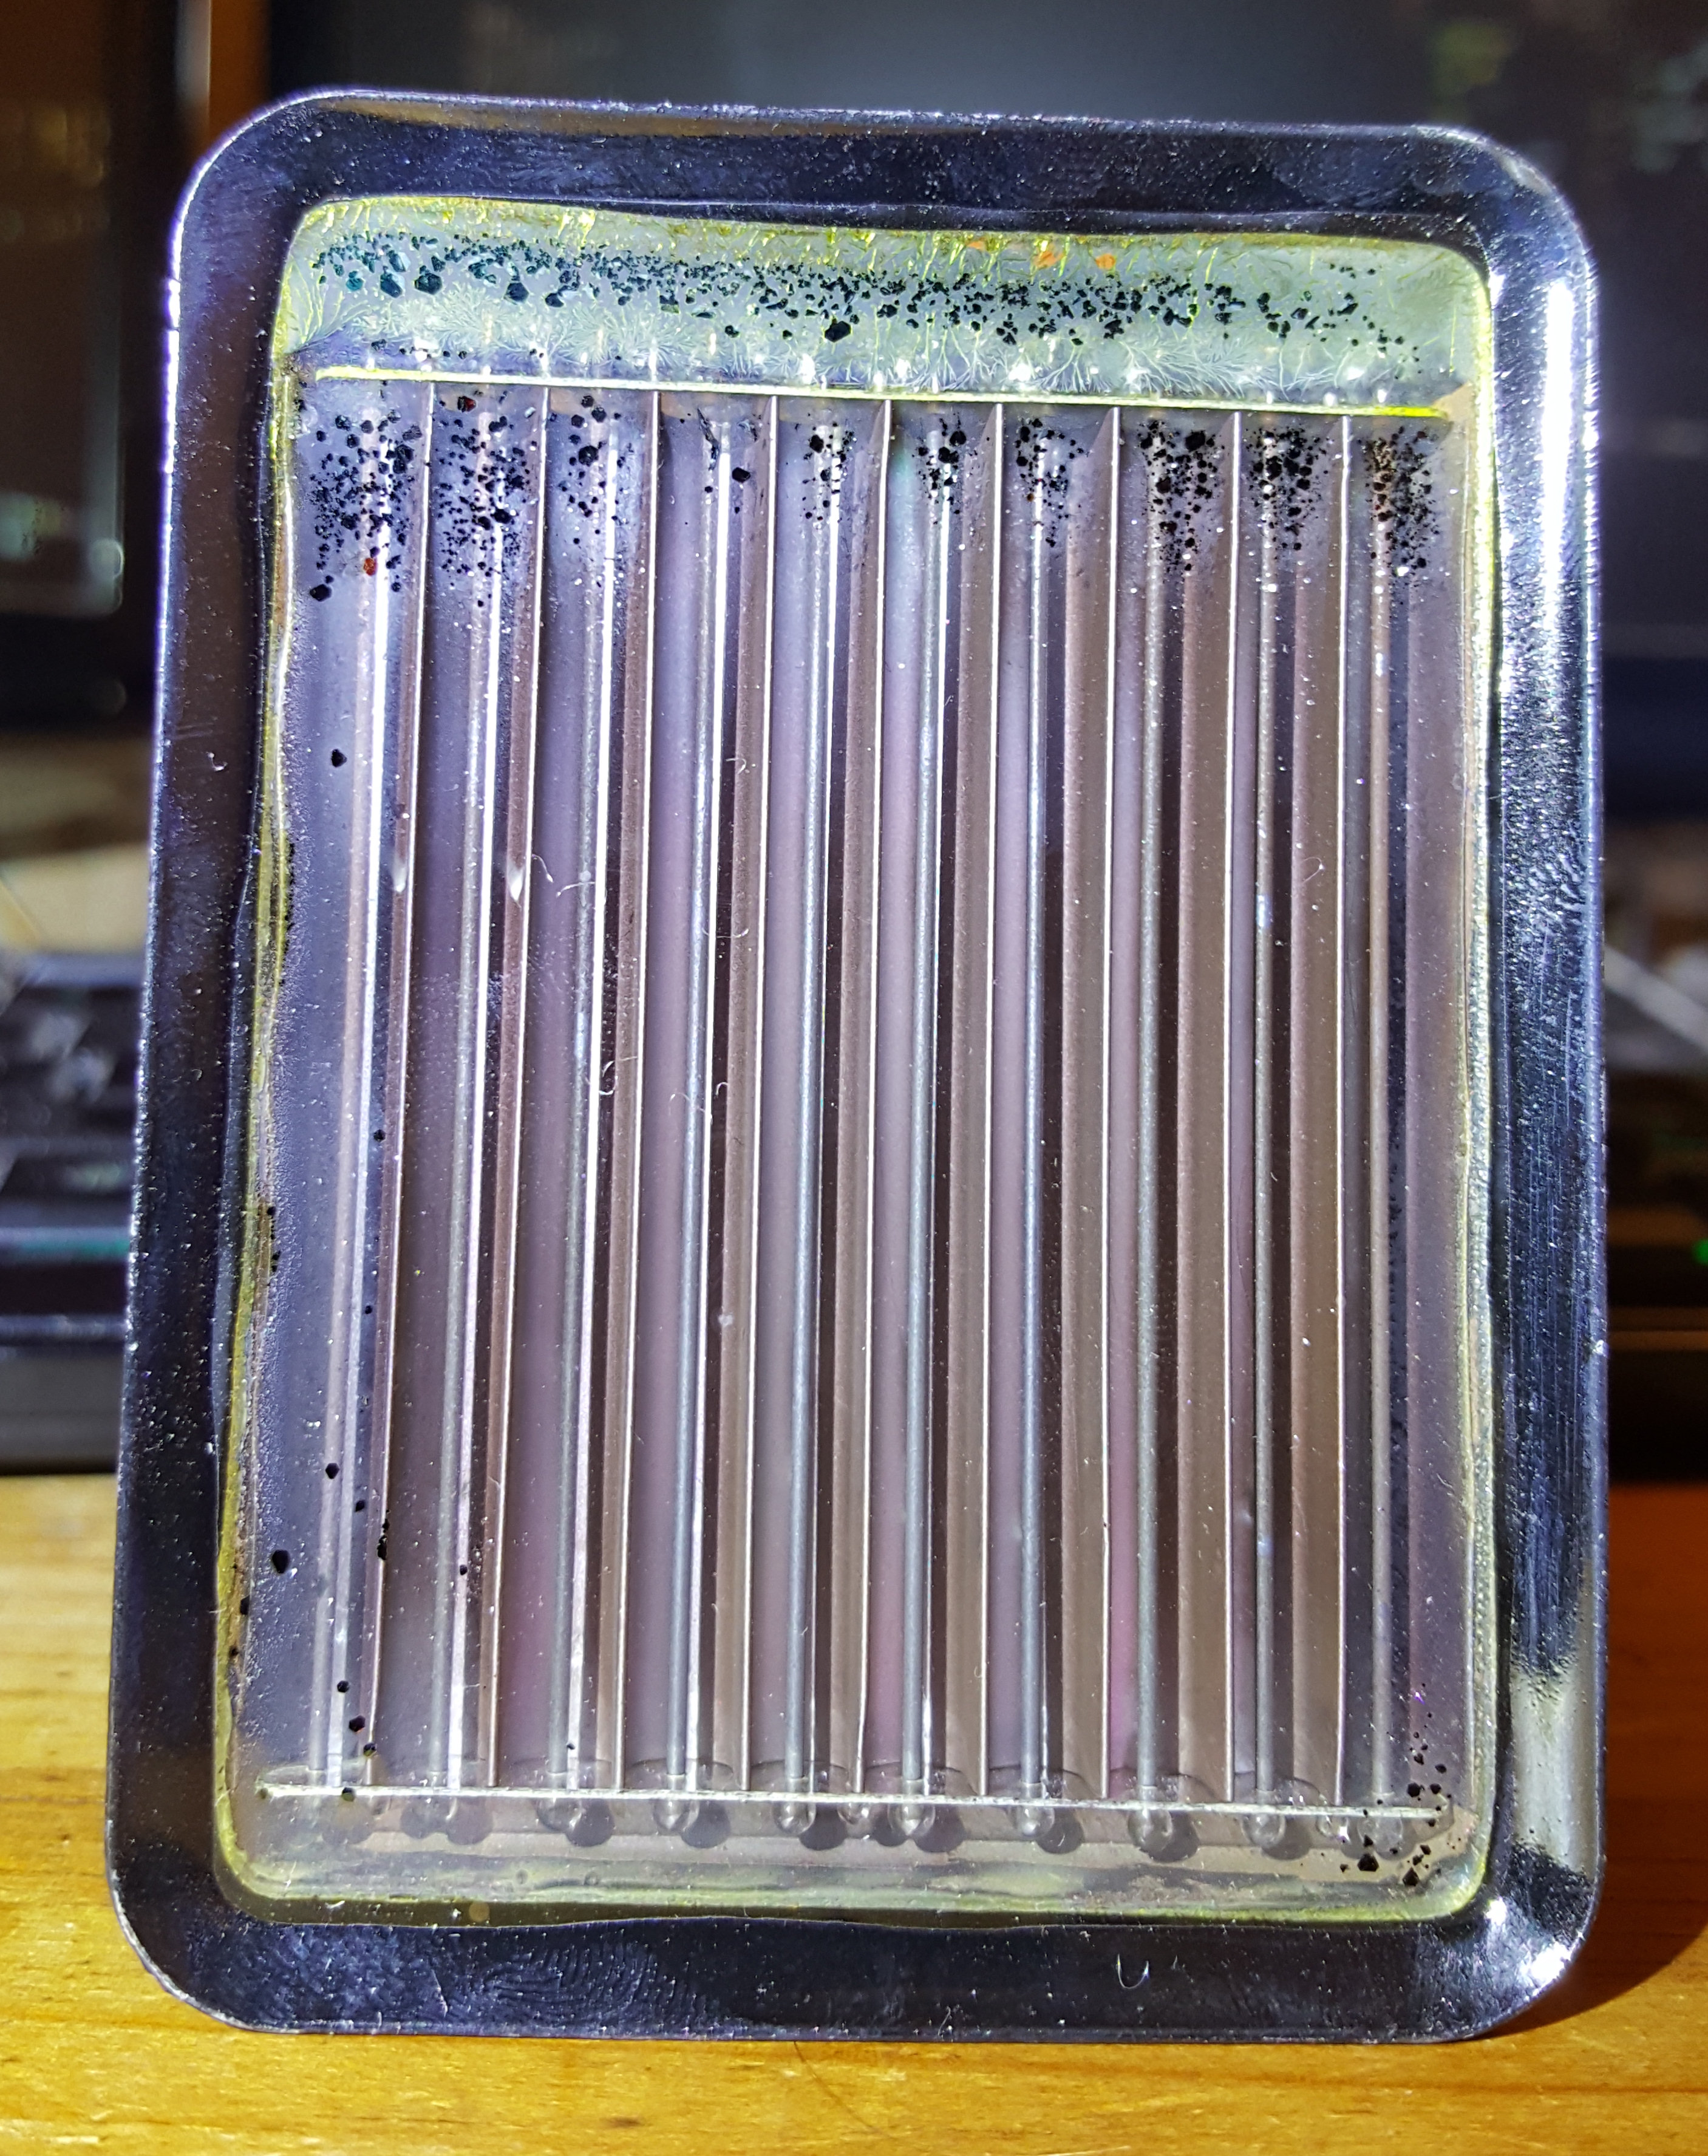
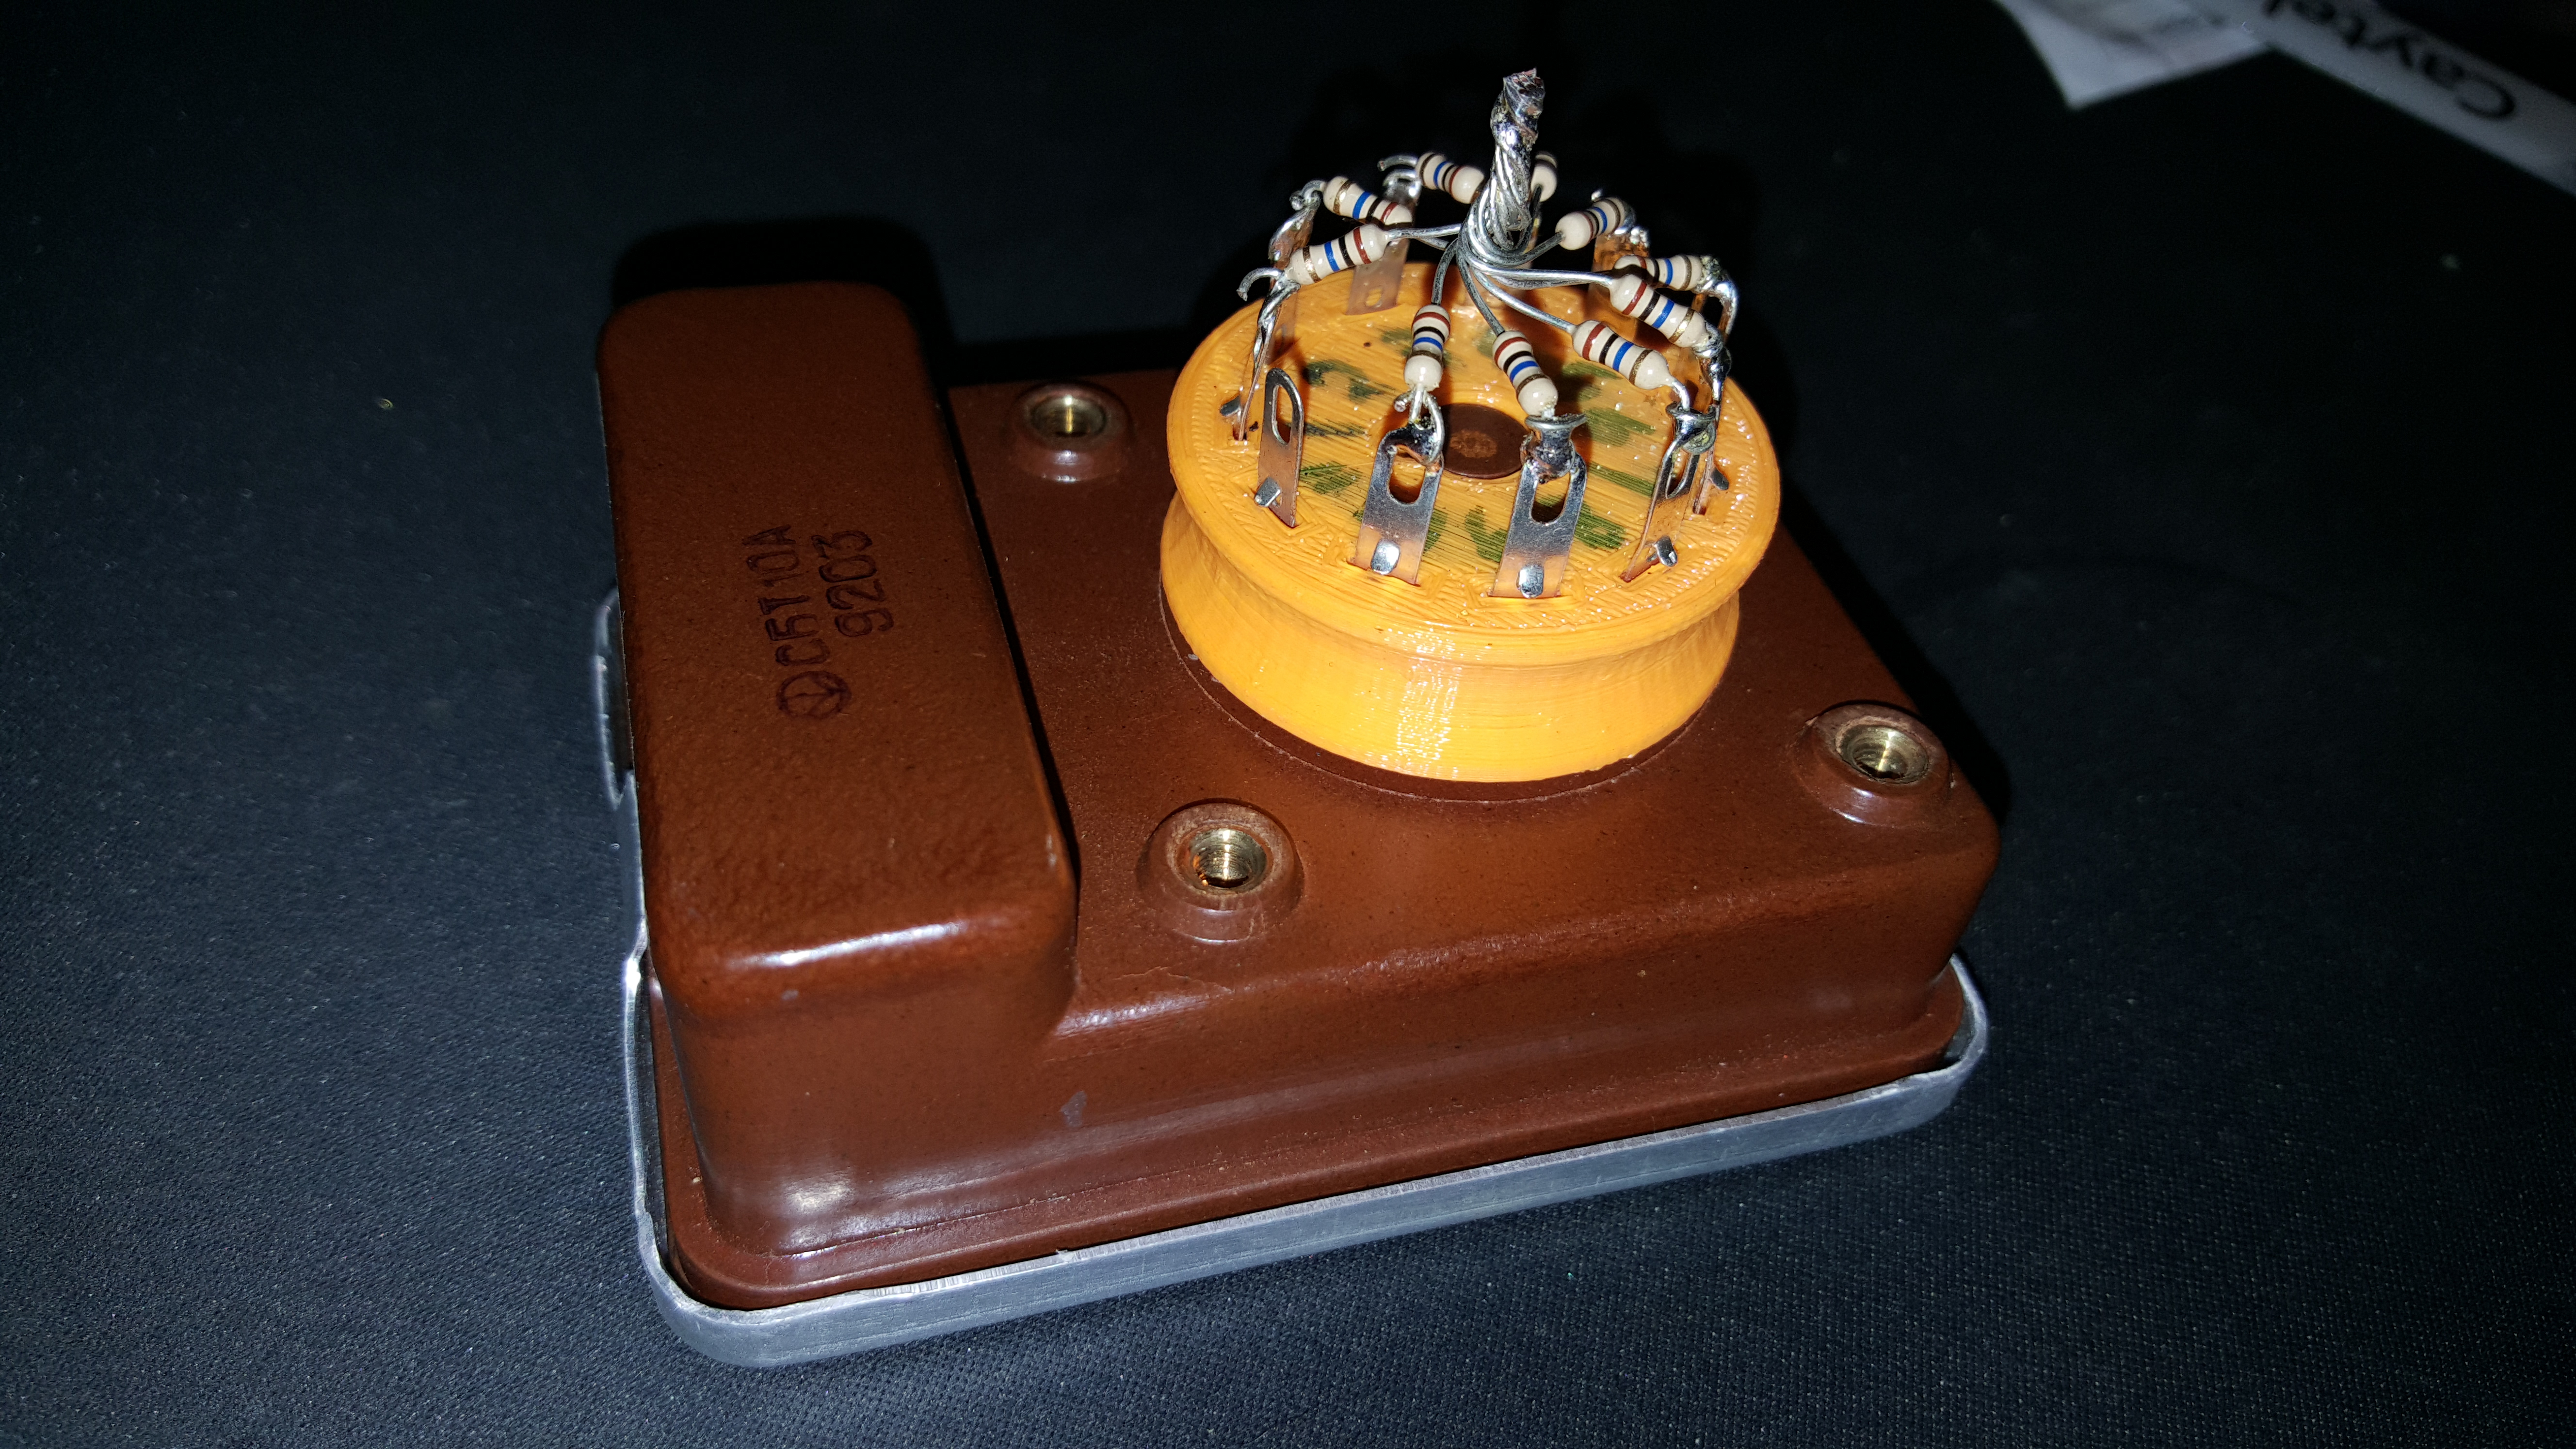
Each anode connection on the 3D printed connector has it's own 10M resistor.

  • Posted on
    Black Spots on SBT-10 Geiger Muller Tube

    Archived from radmon.org - originally posted 19/03/2017

    A radmon.org user posted a question asking what the black spots were in his SBT-10. I had recently bought one of these from a seller in Ukraine and mine too has the black spots similar to the one posted on radmon.org. The seller assured me that mine was NOS (new-old-stock), meaning whilst it is old, it has merely been stored for the time and never used. It appears to be working correctly regardless of it's condition. I tested each element separately and each reads around the same CPM as the others so I'm assuming that whilst cosmetically nasty, the black spots appear to do no harm. What causes them I'm unsure of, but I suspect it is some kind of age related issue. Possibly some kind of reaction between the materials and the gasses used in constructing these tubes. I wish I could help you more. I too would like to know what the spots are and if they are impacting the reliability of the tube.

    On a side note, I have found a person in Lithuania that supplies a 3D printed connector with pins or just the pins themselves here: http://arduino-geiger-pcb.blogspot.co.uk/2015/03/a-new-contact-socket-for-sbt-10-10.html

    After some close inspection I sort of know what the black spots are now. They are some kind of crystalline chemical or mineral that is growing on the surface of the mica.

    I put my SBT-10A under my stereo microscope a few weeks ago (before I had a camera for my microscopes) and could see they were hexagonal in shape. Some were like triangles with their points cut off. They appear as arbitrary shapes and almost like little blobs and that is because some grow next to others and some grow on top of others. They appear to be very very thin, although there were a couple that I could just see had a little more length to them. I think they are being caused by some chemical in the resin leaching out and reforming as crystals.

    I thought I would follow up with some microscope images of them, but I managed to destroy my tube by accident by dropping a polarizing filter from my microscope onto the tube. File Attachment: So that's the second SBT-10A that has broken on me. File Attachment:

    Oh well, at least we can see inside one now! I'll do a separate post on that.